This is a problem that’s pretty common on most homesteads in the fall. It goes like this: you pick more apples than you were expecting, then your neighbor brings you some good apples from their harvest, and all of a sudden you’re under a pile of apples and you have no idea what to do with all of them.
You make apple sauce, you give a few bags away too, maybe send some to your city cousins, and obviously you eat apples every day for 2 weeks. And guess what? You still have apples!
I swear this happened to me every single year… until I discovered this trick.
And I have to tell you that after using this method, I was able to keep apples fresh for months. I had crispy apples until spring!
So keep reading because I want to show you how I did it.
Why Sawdust? 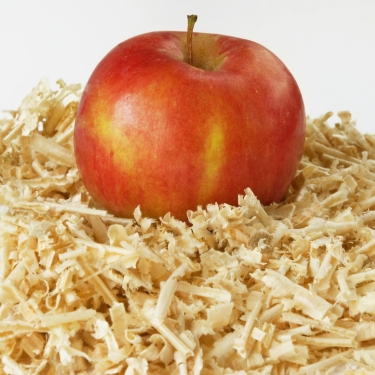
Here’s a fun fact I had no idea about: A picked apple is still alive.
An apple keeps on breathing after you take it off the tree. Even more, while doing this, it consumes the sugars it stored all summer and gives off carbon dioxide and a gas called ethylene. Once the sugar runs out, the flesh breaks down, the water leaves, and your apple transforms into one of those dry and wrinkled apples no one wants to eat.
The best thing you can do is store them somewhere cool. Right? The problem is that cold air is usually dry air, and dry air pulls the moisture right out through the skin
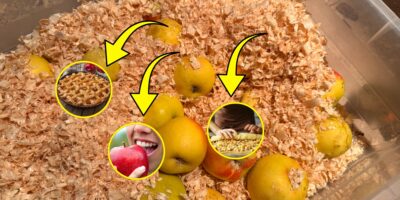
This is why sawdust is used to store apples. It holds a little humidity around every single apple, and it keeps the temperature stable.
Now if you think about it, you might say, “Wait, but there are many other materials that can do exactly that!” This is true, but sawdust does one more interesting thing.
Sawdust keeps the apples from touching each other.
If one apple goes bad, rot spreads by contact. With an inch of sawdust between them, that bad apple just sits there by itself and the rest of the box never knows a thing about it.
Sand and straw do a similar job, but sawdust is light and usually free. This is why many other homesteaders prefer it.
What Sawdust to Choose if You Want to Keep Apples Fresh for a Whole Season
Ok, sawdust is sawdust, but there are many types out there. Maybe you’ve just made a project where you used timber, and you have enough sawdust to fill a crate, so you decide to use it to preserve some apples.
But is that sawdust ok for this job?
You want clean, dry, untreated hardwood sawdust. Maple, oak, birch, and poplar are all good. If you don’t have it yourself, just call a local sawmill or a cabinet shop because they’re usually glad to see somebody haul it off.
Always stay away from these:
Cedar and pine – Too much resin and far too strong a smell. You don’t want your February pie tasting like a hamster cage.
Black walnut – It carries juglone, the same compound that kills tomatoes planted near a walnut tree. Keep it out of your food storage.
Plywood, particleboard, and MDF – That dust is glue and resin ground up fine, and you don’t want it anywhere near your fruit.
Pressure-treated lumber – Never. And ask before you haul a load off from somebody’s shop, because one afternoon of cutting deck boards contaminates the whole pile.
Chainsaw sawdust – It carries bar oil off the chain.
One more thing. Your sawdust should feel dry or just barely damp. Squeeze a handful, and if it clumps up and stays clumped, it’s too wet and you’ll grow mold instead of storing apples. If you want to fix wet sawdust, spread it on a tarp in the sun for a day first.
How to Pack Your Apples The Right Way 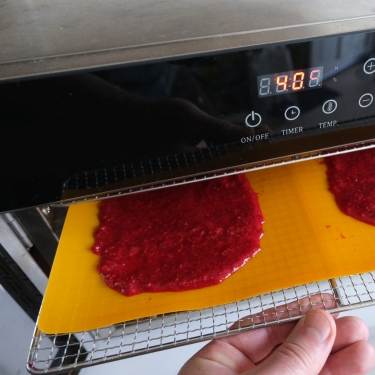
- Sort one last time. Only perfect fruit goes in the box. Apples that look questionable should not be stored with good apples because they might cause problems later and just make your life harder. So it’s better to avoid.
And now comes the question: what about all those apples that are still good to eat but too bruised to go into the box? You can only make so much applesauce, right?
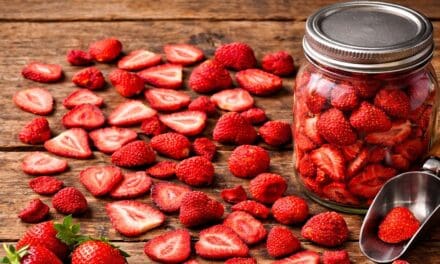
But this is not the only thing you can turn apples into. You can also dry them. And apple chips are good. But once again, you can dry apples in more than one way!
What if I tell you there’s a method that allows you to store 5 pounds of apples in a quarter jar? Just imagine how much space this could save you…
And even more, not only does this method allow you to store a large quantity in a tiny space, but it also keeps the product fresh for years! If you store it in a cool place, you can have this for years and use it as a snack, use it to make applesauce, or simply add it on top of your yogurt or oatmeal for a punch of taste and nutrients.
Click here and see how to turn leftover apples into “The Forever Fruit Leather” →
- Cool them down. Leave your apples overnight somewhere cold before you pack them. Fruit that goes into a box still carrying field heat will sweat. Sweating fruit rots.
- Get your boxes ready. Wooden crates are the gold standard, but a sturdy cardboard box works fine if you punch a few holes in the sides for air. Keep them shallow.
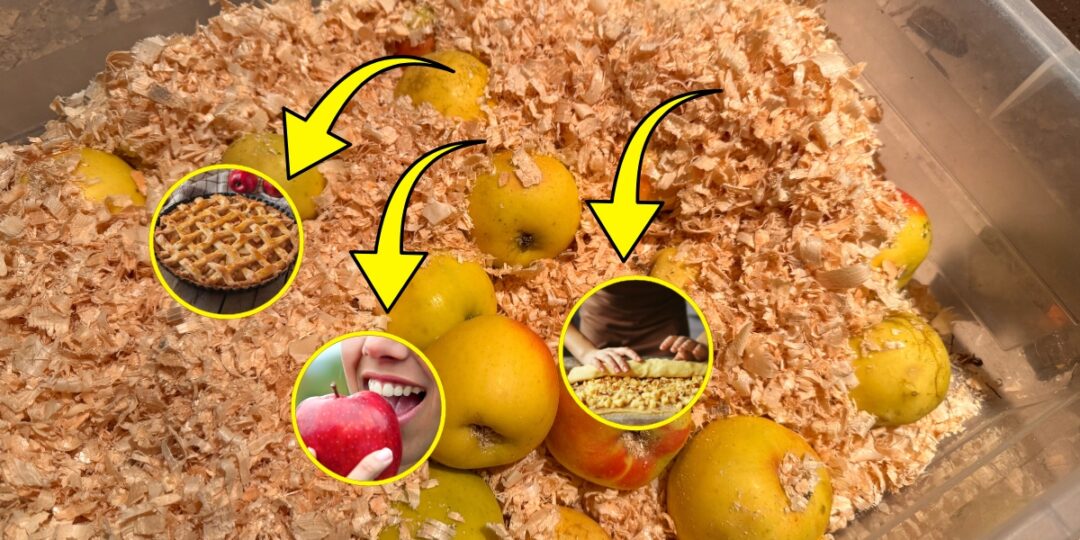
- Lay down a bed of sawdust. Put two to three inches at the bottom of the box.
- Set in your first layer. Set them up, with about an inch between each apple and an inch from the sides. No apple should touch another apple!
- Bury that layer. Work the sawdust down into the gaps, then cover the tops with another inch.
- Repeat, but stop at three or four layers. Any deeper and the bottom apples start bruising under the weight.
- Finish with two or three inches on top, then write the variety and the date on the side of the box. You’ll want to eat the shorter keepers first.
And set your boxes on pallets or a couple of boards instead of right on the concrete, so air can move underneath. These apples still need ventilation!
Where You Should Keep the Boxes
Since I mentioned that these boxes need ventilation, I want to talk a little about what the best place is to store the sawdust apple crates.
Apples hold best at 30 to 32 degrees. They freeze somewhere between 27.8 and 29.4 degrees, so the window is narrow, and I suggest you keep a cheap thermometer out there with them.
A root cellar is ideal, but you don’t need one. An unheated garage, a mudroom, a shed, or the north corner of a basement away from the furnace will all do the job.
Also, an old refrigerator out in the garage works well too, since it holds a steady temperature on its own.
Then a good practice is to check the box every month and see if there are any soft apples. If you find any, take them out of the box, and you are good to go.
Now, not everyone has a garage that stays cold enough, and buying another refrigerator just to store your harvest isn’t exactly cheap.
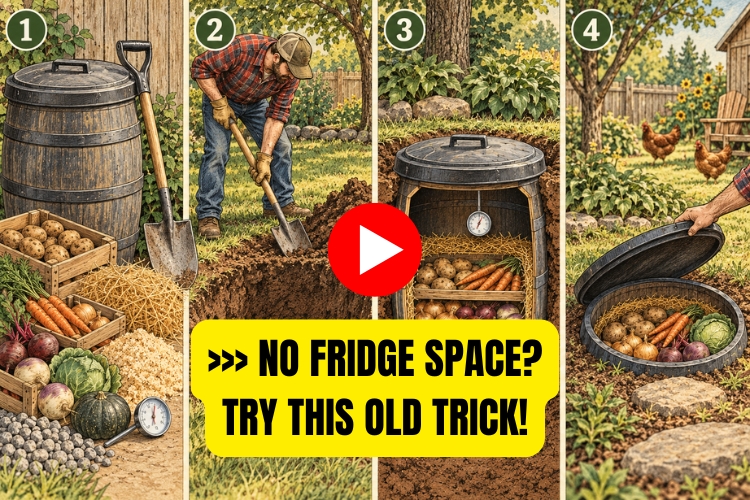
But there’s an old-fashioned trick I think is worth looking at. It involves turning an ordinary barrel, or even a trash can, into a small backyard root cellar. No need to dig out an entire underground room.
You can find the instructions for this in The Amish Ways, where they show you how to build it yourself, including the materials you’ll need.
See how to turn an old barrel into a backyard root cellar →
What Apples Work Best?
Before you start putting all of the apples you have in boxes, I want to warn you about one thing. Some apples keep better than others.
For example, early varieties ripen early and quit early. Yellow Transparent and Lodi give you about two weeks, and Gala and McIntosh a couple of months at best. These are not the apples you want.
What you’re looking for are late varieties. Northern Spy, Winesap, Stayman, Rome, Granny Smith, Idared, and Fuji are the ones built to sit in storage. And if you can get your hands on Arkansas Black or Baldwin, those old keepers are worth the trouble.
But no matter what apples you choose, there are a couple of rules I always respect and I advise you to do the same:
Pick them mature but not ripe – A storage apple should be full-sized and firm, with a greenish yellow undercolor. If one comes off with barely a tug and already feels soft, eat that one this week.
Keep the stem on – A pulled stem leaves an open wound, and that’s exactly where the rot gets in.
Skip the drops – Windfall apples carry bruises whether you can see them or not. Sauce those.
Don’t wash them – Water sitting on the skin invites mold. Wash them later, when you bring them up to the kitchen.
Grow the Right Apples, Even With a Small Yard
Ok, I presented you with a lot of varieties here; some preserve better than others. Now, if you’re lucky, you might have the right variety in your yard, but let’s say you would like to grow apples, but you feel like you don’t have the right space.
Most of us live in crowded neighborhoods, and you might have a small backyard… This might sound disappointing, but you can do so much with a small backyard as long as you have the right approach.
Growing apple trees in a small space is possible and the thing is that you don’t need a lot of trees to have a ton of apples! For some people, just one tree is more than enough. You don’t need more if you don’t plan on selling them.
Now, you might say that it takes a lot of time until the tree grows and produces fruit. So much time that you don’t even need to bother with it.
But is this true?
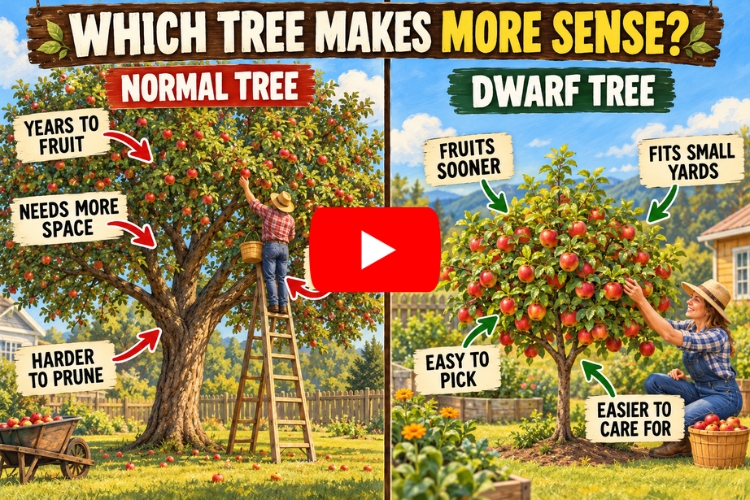
Well, not if you plant dwarf trees!
There’s an interesting illustrated project in The Lost Skills of Independence that shows how to grow dwarf fruit trees in surprisingly small spaces. It’s something I’d look at before deciding my backyard was too small for fruit trees.
Never Store Your Apples With Root Vegetables!
Remember that ethylene gas I mentioned earlier? That’s the same gas commercial packers use on purpose to ripen fruit.
Now imagine a closed cellar or any closed space. This gas will be eliminated every day, and in time it builds up.
This gas is so bad for root vegetables because it spoils them. Carrots turn bitter. Potatoes sprout long white shoots months before they should
Apples and potatoes stored together break down faster than either one does on its own.
And it runs the other way too. If you keep your apples near onions all winter, you’ll have onion-tasting apples.
So if you buried your carrots in sand this fall like we talked about, keep that box at the far end of the cellar from your apples, or better yet in another room. I keep my apples out in the garage and leave the cellar to the roots and the jar.
Final Thoughts
This is another method nobody talks about despite it being an incredible storage solution for apples. What I love about it is that it shows you that you don’t need to have a root cellar if you want to store your harvest.
Yes, a root cellar is amazing to have on a homestead, but it’s not something anyone can have. Maybe you have a small backyard, or you live in an urban or suburban area.
This is why I want to show you all of these lesser-known methods. Because almost anyone can be a little bit more self-sufficient as long as they have the right information.
You may also like: 
Why Burying Carrots in Sand Is the Best Thing You Can Do This Fall
This Is How A DIY Solar Generator Can Make You Energy Self-Sufficient (Video)
This Unusual Trick Preserves Soup for 6+ Months
10 Things You Should Never (Ever!) Store in Plastic Containers
The Right Way to Preserve Vegetables in Oil