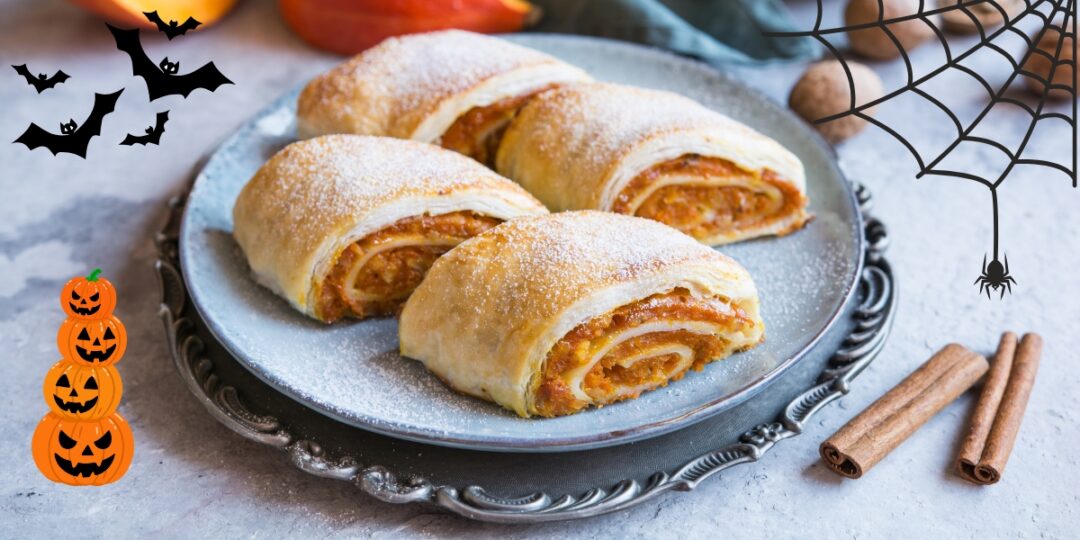
The Pie I Make Every Halloween and Thanksgiving!
There are two days a year when my kitchen smells like baked pumpkin, and those two days are Halloween and Thanksgiving. Both of them are just around the corner now, so I figured this was the right time to finally write this one down for you.
This recipe came from my grandmother. She gave it to my mother, my mother gave it to me, and I’ve been making it the same way ever since.
The fun fact about this recipe is that nobody in my family ever wrote it down. Somebody just stood next to you at the counter and simply guided you. So, this is the first time. Writing it down here.
Also, this is not the pumpkin pie you’re picturing. There’s no custard and no can of evaporated milk in it. This is a European-inspired recipe that probably came to America with my family.
And this whole thing got me thinking about how many other useful things our grandparents knew that nobody ever bothered to write down.
I recently came across a collection of 200 old-fashioned skills, with illustrated instructions for everything from making bread without yeast to rendering your own cooking fat. It’s the kind of knowledge I think is worth keeping around, especially these days.
See the 200 old-fashioned skills our grandparents knew, now illustrated step by step.
Why This Pumpkin Pie Is So Special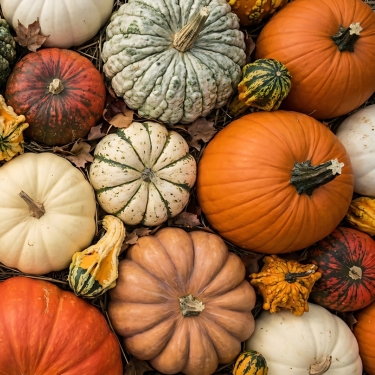
So what makes it taste so different from a regular pumpkin pie? Three things, and none of them are complicated.
Lard in the dough – Lard gives you a flaky, tender crust that butter can’t quite match. It browns beautifully too, and it leaves a slightly savory edge underneath the sweetness. If you render your own after butchering, even better. You already know how good that fat tastes.
Roasted, caramelized pumpkin – Instead of boiling the pumpkin or turning it into puree, you brown it in a dry pan, and that gives you a deeper and almost nutty flavor that canned pumpkin never gets anywhere near. The texture stays a little shredded too, so you can tell you’re eating real pumpkin.
Walnuts and honey – These two are the secret, and I’m handing them over. You get a little crunch in every bite from the walnuts, and the honey brings a floral sweetness that sugar alone just doesn’t give you. The two of them together keep the pie from tasting flat and sugary the way the store ones do.
What You’ll Need
For the dough:
- 4 cups all-purpose flour
- 1 teaspoon salt
- 1/2 cup lard, softened, plus about 1/2 cup more melted for brushing
- 1 1/4 cups warm water
- 1 tablespoon white vinegar
For the filling:
- About 3 pounds of pie pumpkin, which gives you roughly 6 cups grated
- 2 teaspoons ground cinnamon
- 1/3 cup sugar
- 1/2 cup honey
- 1 1/2 cups walnuts, toasted and chopped
- A pinch of salt
- Powdered sugar for the top
This fills a 9×13 pan, perfect for a whole family.
Pick the Right Pumpkin
Not every pumpkin makes a good pie, and the kind you use really does make a difference.
Look for a pie pumpkin, sometimes called a sugar pumpkin. They’re smaller, usually around four to eight pounds, and the flesh is sweeter and not nearly as watery.
Those big pumpkins people carve for Halloween have a lot more water and less sugar, so the filling won’t have nearly as much flavor.
If you’re growing your own, Baby Pam and Winter Luxury are two good varieties to plant next year. And if you can’t find a pie pumpkin, don’t worry about it. Butternut squash works just as well in this recipe, and I doubt anyone at the table will notice the difference.
Make the Dough First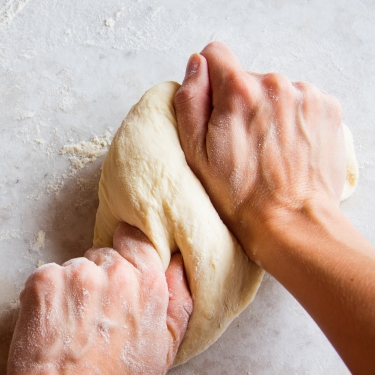
Pay attention to this part as it’s one of the most important steps. This is also why I choose to explain things in more detail.
Start with the dough because it needs at least 45 minutes to rest. You can get the pumpkin filling ready while you’re waiting.
Mix the flour and salt in a large bowl, then add the softened lard. Use your fingers to work it into the flour until you have something that looks like coarse crumbs. Add the warm water and vinegar, and mix everything together until you have a dough.
I know the vinegar might seem a little strange, but this is the secret if you want your dough to roll out nice and thin later.
Turn the dough onto your counter and knead it for about five minutes. It should feel smooth and springy by the time you’re done. Cover it with a towel and leave it alone for at least 45 minutes. A little longer won’t hurt anything.
Don’t skip the resting part. Warm, rested dough is much easier to stretch. Try rolling it out cold, without giving it time to rest, and you’ll have a much harder time with it.
While you’re waiting, melt the remaining lard in a small pan and keep it somewhere warm.
Why I Prefer Homemade Lard Over Store-Bought
It’s funny how we’ve gotten used to buying almost everything from the grocery store, even things our grandparents used to make themselves. And I think lard is one of those things we should really consider making at home again.
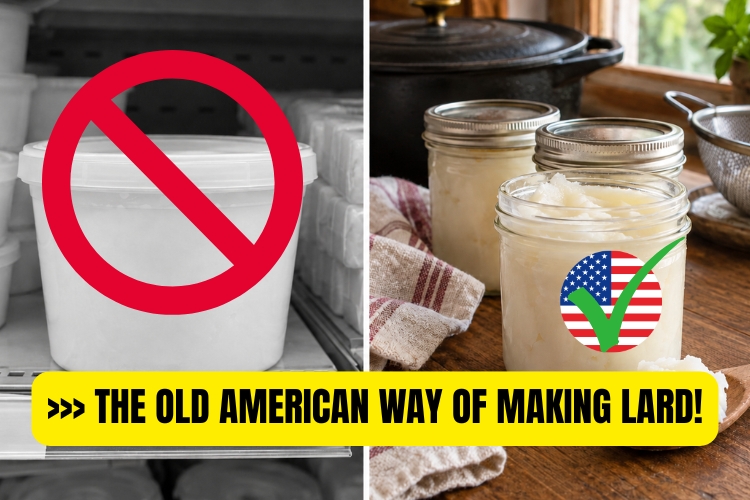
Have you ever looked at the ingredients on a tub of store-bought lard? Some brands contain hydrogenated fat and preservatives like BHA and BHT. Now, not every brand is like that, but I personally prefer knowing exactly what’s going into my food.
And when you make lard yourself, all you really need is good pork fat.
My grandmother, the same one who passed down this pumpkin pie recipe, used to make her own lard too. That’s another habit I picked up from her, and I still do it whenever I can.
I use lard for all sorts of things, from biscuits and pie crusts to frying potatoes. And if you can get pork fat cheaply from a local butcher, making your own can save you some money too.
The nice thing is that the process is actually pretty simple. Plus, you get those crispy little pieces called greaves, which you can use in other recipes.
I came across a really simple old-fashioned method that shows you how to make lard at home, with pictures of every step. It also includes five more recipes for using the lard and greaves afterward. There’s even one for savory scones!
Here’s where you can find the homemade lard instructions and all five recipes.
Cook Down the Pumpkin Filling
- Prepare the pumpkin. Peel it, remove the seeds and stringy insides, then grate the flesh using the large holes of a box grater.
- Start cooking. Put the grated pumpkin in a wide skillet over medium heat. Add the sugar, cinnamon, and a pinch of salt. Don’t add water or oil. The pumpkin will release plenty of liquid on its own.
- Cook for 15–20 minutes, stirring occasionally, until most of the liquid is gone and the pumpkin starts to brown a little on the bottom. Drag a spoon through the middle. If you can see the bottom of the pan for a second, it’s ready.
- Add the honey and walnuts. Take the skillet off the heat and let the pumpkin cool until just warm. Then stir in the honey and toasted walnuts. I add the honey last because too much heat takes away some of its flavor.
- Let it cool completely. Don’t put warm filling on the thin dough, or you risk tearing it.
Fill and Roll the Dough
You’re almost there!
Now it’s time to assemble the pie and give it that specific shape that makes it so special.
Preheat your oven to 375°F and grease a 9×13-inch baking pan with a little lard.
Divide the dough into six pieces. Take the first piece and roll it out on a floured counter into a thin rectangle, roughly 12 by 16 inches.
Don’t worry too much about getting those measurements exactly right. What matters is getting the dough thin enough that you can almost see the counter through it. If you tear a hole somewhere, just pinch the dough back together. I still manage to tear mine almost every time, and it turns out fine.
Once you’ve rolled it out, brush the entire sheet with melted lard. This is what helps give the pastry those nice, flaky layers when it bakes.
Now take about a cup of the cooled pumpkin filling and spread it in a line along one of the long edges. Leave about an inch of dough empty at both ends. Fold those ends in, then start rolling the dough over the filling until you have one long roll. Keep it fairly snug, but don’t squeeze it too tightly.
Place it in your greased pan with the seam facing down.
Do the same with the other five pieces of dough, placing the rolls next to each other until you’ve filled the pan.
Sometimes, especially when I have company coming, I make one long roll and coil it into a spiral in a round pan instead. Both ways work.
Bake Until Deep Golden
Ok, finally! This is the easiest part, but you need to be careful and pay attention to your oven. Let the pie bake a little longer and you’ll burn it…
Before getting the tray into the oven, brush the tops of your fresh rolls with melted lard and prick each one a few times with a fork. Why? This lets steam escape and will give the pai that amazing texture you want.
Bake for 40 to 45 minutes, until the tops are deep golden brown and the edges are crispy. If they’re still pale, give them a few more minutes.
Let the rolls cool in the pan for at least 30 minutes before cutting!
I know it’s tempting with that cinnamon smell filling the kitchen, but the filling needs time to set, or it’ll run out.
Once cooled, dust with powdered sugar.
Don’t add it while the pastry is hot because it’ll just melt and look like a mess afterward.
The Old Ways of Making Good Food Last
This recipe also reminds me of something else about the way our grandparents cooked. They didn’t just know how to make good food. They knew how to make it last.
And that’s something I’ve always admired about the Amish, too. They still practice many of those old-fashioned food-preservation methods.
I’m not just talking about pickles and jam. They preserve meat, vegetables, and all sorts of homemade foods. And what I find interesting is that they don’t just care about how long something lasts. They care about how it tastes when they finally open that jar, too.
Because what’s the point of putting food away for winter if nobody wants to eat it?
There are some interesting old Amish recipes, including Poor Man’s Steak and traditional ways of preserving meat, that show just how much you can do without depending entirely on your freezer.
See how the Amish preserve food without losing flavor here.
Final Thoughts
I know this isn’t the pumpkin pie most people are used to, but it’s a special recipe to me. It’s something that’s been passed down in my family, and I still love making it every year.
Every time I make it, it reminds me of my grandmother and all the little things she taught me in the kitchen.
I’m really glad I got to share this family tradition with you, and I hope you’ll give it a try. Who knows, maybe it’ll become a tradition in your family too.
You might also like: 
How to Make Old-Fashioned Hardtack That Stores for Years (Video)
This 200-Year-Old Trick Keeps Meat Fresh Without Salt, Smoke, or Refrigeration
These Crops Will Make You Rich!