
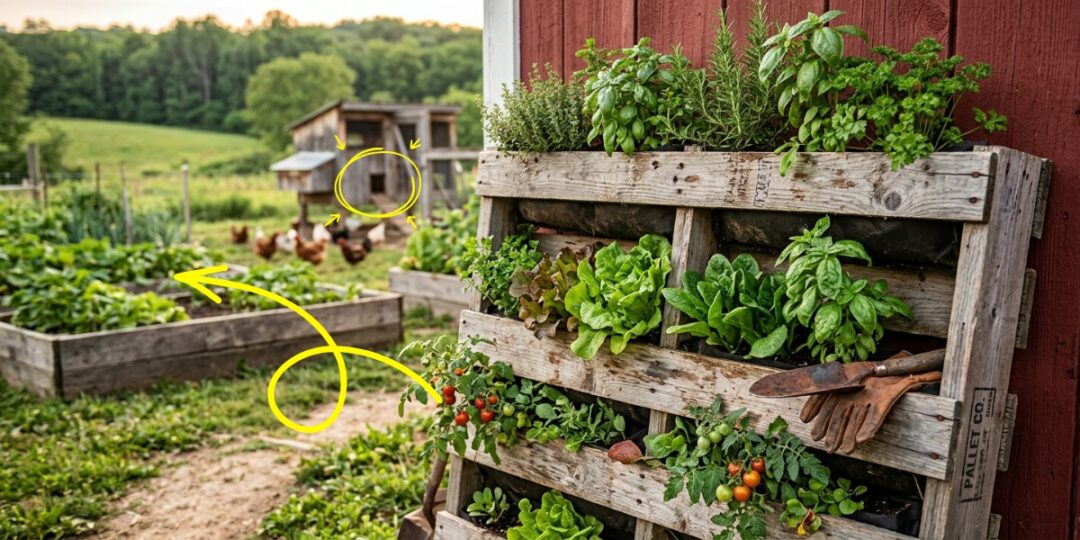
Spend enough time around a homestead and sooner or later you end up with a stack of wooden pallets. Sounds familiar?
They turn up behind feed stores, beside hardware stores, near loading docks, and anywhere else that gets regular deliveries. A lot of the time, businesses are happy to let you haul them away for free. People give them for free on a bunch of homesteading-related and gardening Facebook groups.
That alone makes them useful. Free lumber is a huge win if you’re looking to be more self-sufficient.
Pallets are worth bringing home because they can solve a surprising number of little problems around the property. You can grow food in them, turn them into simple structures, use them around the coop, or make storage that’s almost free.
If you’ve got a few sitting around, here are 25 ways to put them to work.
Planters and Growing Beds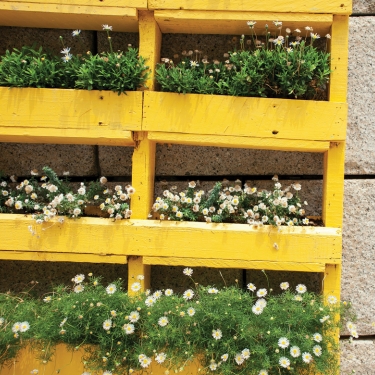
A pallet already has a basic frame and evenly spaced boards, which makes it an easy starting point for many, many garden projects.
Vertical pallet planter – Stand a pallet against a sunny wall, line the back and sides with landscape fabric, then fill it with soil. Plant herbs, lettuce, or strawberries in the open spaces between the slats. It gives you extra growing room without taking up ground space.
I’ve actually tried this project myself and now this is how I take advantage of a lot of vertical space my garden is offering me. And the thing with it is that it’s highly customizable. You have the pallets and you can do so much with them.
This is an amazing resource that tought me how to build my vertical garden depending on what I want to grow in it. Planting lettuce is different from planting berries and your vertical garden should be adapted for whatever plants you want to grow.
This is what guarantees you a good harvest. You can have the best seeds on the market; if you don’t plant them properly, they will give you nothing. This means you lose not just the harvest but also money and time…
Click here to see how to fully optimize this project for your homestead
Strawberry tower – Lean a pallet back at a slight angle and tuck strawberry crowns into the openings. As the berries ripen, they hang forward instead of resting on wet soil, which also puts them out of reach of some slugs. One pallet can hold a couple dozen plants in about the space of a doormat.
Waist-high salad table – Build a shallow growing box on four legs so you can tend it while standing. A few inches of soil is enough for lettuce, spinach, radishes, and other shallow-rooted greens. It’s especially handy if kneeling in the garden isn’t as easy as it used to be.
Herb wall by the kitchen door – Mount a small pallet flat against the wall outside the kitchen and fill the pockets with herbs you use all the time: basil, parsley, thyme, chives. When they’re right outside the door, you’re much more likely to snip them for dinner before they go to seed in the garden.
Cold frame – Use a pallet as the base, build up the sides, then add an old storm window or clear plastic for the lid. That bit of protection can buy you weeks on both ends of the growing season. It gives seedlings a place to harden off earlier and helps keep greens growing later into cold weather.
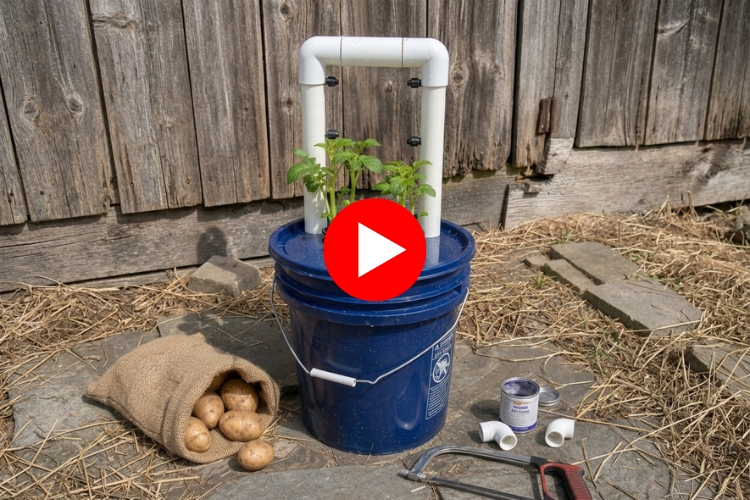
Stackable potato box – Make a bottomless box from pallet boards, plant your seed potatoes, then add more boards and soil as the plants grow. At harvest time, remove the boards instead of digging through the bed. The potatoes are much easier to get to, and the whole setup takes up very little space.
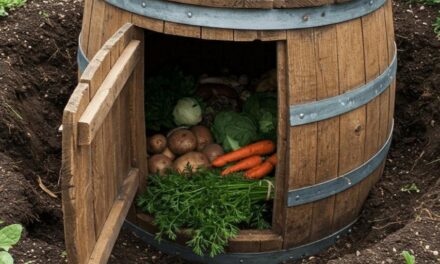
The pallet box works. But if I’m being honest, it still asks quite a bit from you: some yard space, a pile of soil hauled in one board at a time, and someone who remembers to keep watering it all summer.
The Amish grow the same potatoes without any of that.
Their method feeds and waters itself using nothing but gravity. It’s completely off-grid, and the whole setup fits in about the space of a porch step.
Once you see how simple it is, the pallet box starts to feel like the harder way to do it:
Living green wall – Think of this as the decorative version of the vertical planter. Fill an upright pallet with trailing greens, leaf lettuce, or succulents and use it to cover a plain shed wall or bare fence. It softens the space while still giving you something useful to grow.
Trailing crop planter – Those same upright pockets also work for plants that spill over the edge. Cherry tomatoes, trailing nasturtiums, and small cucumbers can grow down the face of the pallet, keeping fruit off the dirt and making it easier to pick.
Raised garden beds – Pull apart a couple of pallets and use the slats to frame a basic raised bed. Raised beds give you better drainage, warmer soil in spring, and less bending while you work. If you don’t feel like dismantling pallets, pallet collars can save you most of the cutting and sawing.
When I built my own garden beds, I also upgraded them. What makes my garden beds so special? They water themselves! All I need to do is provide them with water and they can take care of themselves. See how to upgrade your garden beds here.
Trellises and Simple Structures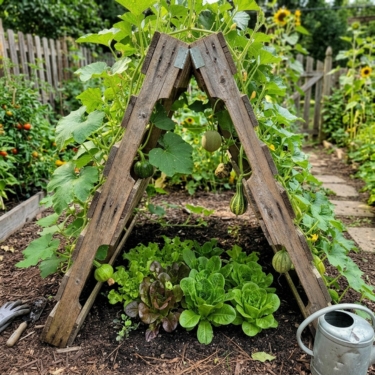
Pallets are already built like sturdy frames, so they work well anywhere you need support, fencing, or a quick garden structure.
Compost bin – Stand four pallets on edge and wire the corners together. In about twenty minutes, you’ve got a basic compost bin with plenty of airflow through the slats. Add a second or third bin beside it if you want room to turn one pile while another finishes.
The way you make your compost also matters. See what to never (ever!) add to your compost bin!
Climbing trellis – Prop a pallet upright and let peas, pole beans, or cucumbers climb it. The spacing between the boards gives tendrils plenty to grab. Once the season ends, pull off the old vines and use the same pallet again next year.
A-frame trellis – Hinge two pallets together at the top so they open like a tent. The frame is sturdy enough for heavier climbers such as melons, squash, and gourds. The shaded ground underneath also gives you a place for lettuce that might bolt in full summer sun.
Bean teepee – Stand several pallet boards in a cone and tie them together at the top. Pole beans can climb the boards, and once the vines fill in, kids can duck underneath and use the middle as a shady little hideout.
Garden border fence – Set pallets on their sides around a garden or bed you want to protect. A determined deer can still get past it, but it can slow down chickens, rabbits, and the dog. It also gives the garden a clear edge without much building.
Simple garden gate – Wire one pallet to a pair of steel posts and you have a basic gate for almost nothing. Compared with buying a metal farm gate, the cost is hard to beat. All you really need is the pallet, a length of wire, and about ten minutes.
Raised bed with a built-in trellis – Stand a pallet at the back of a raised bed and use it as the climbing frame. Tomatoes or beans can grow right at the base and work their way up the slats. You get the bed and the support in one compact setup.
Hoop house frame – Build the base and end walls from pallets, then bend PVC or metal hoops over the top and cover everything with greenhouse plastic. It’s a low-cost way to make a covered growing area without buying a full greenhouse kit.
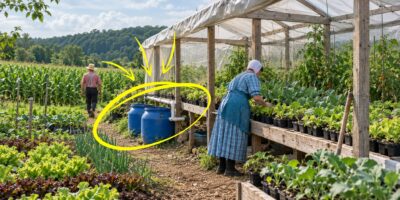
A hoop house is one of the smartest things the Amish use to help their plants have a good start and to make their harvest last even after the cold sets in.
They also use the materials listed above, but one interesting thing is that they also use paint to their advantage.
Click here to see how they do it…
Around the Coop and Barn
A few pallets can also earn their keep around your animals, especially when you need something sturdy and simple.
Chicken nesting boxes – Cut a pallet down into a row of cubbies, add straw, and you’ve got basic nesting boxes. Build them solid, though. A wobbly nest box makes hens nervous and can mean fewer eggs.
Chicken run frame – Use whole pallets to form the run, then staple hardware cloth across the openings to keep predators out. The frame goes together quickly, and it’s easy to extend later if your flock gets bigger.
Do you want to start raising chickens? Don’t know where to start?
See how to start your backyard flock the right way here.
Rabbit hutch frame – Pallets can form the basic skeleton of a raised rabbit hutch. Lift it off the ground, add wire, and include a sheltered section so the rabbits stay dry and protected. Keep exposed wood out of reach where you can, because rabbits will chew whatever they can get their teeth on.
Off-the-ground feed rack – Lean a pallet against a wall and use it to hold hay, straw, or bags of feed off the floor. Keeping feed dry helps prevent waste, and getting bags off the ground gives mice less opportunity to get into them.
Storage and Curing
Once the garden is growing and the animals are taken care of, pallets are still useful for keeping tools, firewood, seedlings, and harvested crops in better shape.
Garden tool rack – Hang a pallet on the shed wall and slide rakes, hoes, and shovels between the slats. Each tool gets its own spot instead of ending up in a pile in the corner. It also saves you from pulling one shovel out and having three other tools fall over with it.
Firewood rack – Lay a pallet flat and stack your firewood on top. Lifting the wood off bare soil lets air move underneath, so it seasons faster and doesn’t rot from the bottom. Two upright pallets can also serve as side walls for the stack.
Seedling and pot shelf – Turn a pallet into a stepped shelf for seed trays, pots, and flats. It keeps spring seed-starting supplies organized and off the ground, while the gaps between the boards let water drain away. When planting time comes, everything is together in one place.
A seedling shelf keeps everything organized, but it doesn’t solve the problem that usually gets you in early spring: where do you put all those plants when it’s still too cold outside?
There’s a simple project I found that gives seedlings a much better place to grow indoors, even when the weather outside isn’t ready for them yet. And it doesn’t require giving up an entire room.
Curing and drying rack – Build a slatted rack for onions, garlic, and winter squash after harvest. The open gaps let air move around the produce while it dries for storage. Keep the rack somewhere shaded and breezy, and check it every few days so nothing sits too long.
You may also like: 
NEVER Throw Away These Items! (Do This Instead)
The Ultimate Survival Tree That Grows On Every Street In The U.S. (Video)
7 DIY Projects Using Cinder Blocks
Maintenance for Tractors, Chainsaws, Lawn Mowers and More
DIY Heavy-Duty Hand Salve for Homesteaders


















Don’t pallets contain chemicals that are toxic to plants and animals?
Some do, which is why it’s important to check the stamp. I avoid pallets marked MB because they were treated with methyl bromide. HT means heat-treated and is the safe option.