If you heat with wood, you know how much wood goes into keeping the stove fed. You’re paying for every log, and in the end you might end up with no firewood until spring.
Not ideal…
Of course you want your woodpile to last. So, turning the stove down low seems like the obvious way to save it. The fire lasts longer, and you add wood less often.
But that doesn’t always save wood. You could be getting less warmth out of each load without realizing it. How you run the stove matters the most.
The #1 Rule: Don’t Choke the Fire
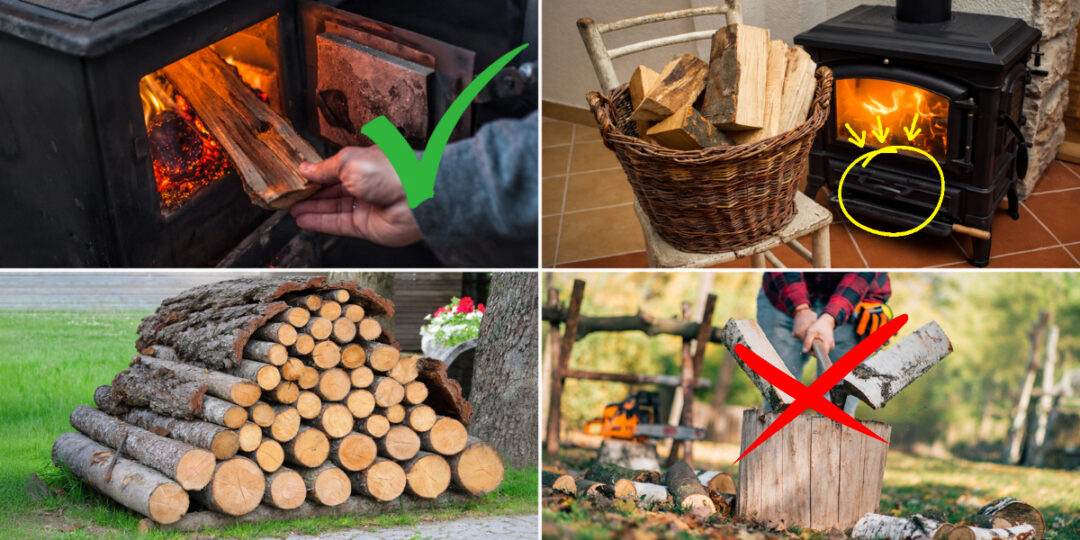
If you get a good fire going, shut the air control almost completely and leave it for hours, this is easily what you’re not supposed to do.
It’s true, the logs may last longer. But without enough air, some of the gases from the wood go up the chimney as smoke instead of heating your house. In the end, you still have to burn more wood later to get the room warm.
Your goal is to get a clean, steady burn. Follow your stove’s manual when adjusting the air, especially after adding logs.
Newer stoves can burn cleanly on low settings. Learn what works for yours.
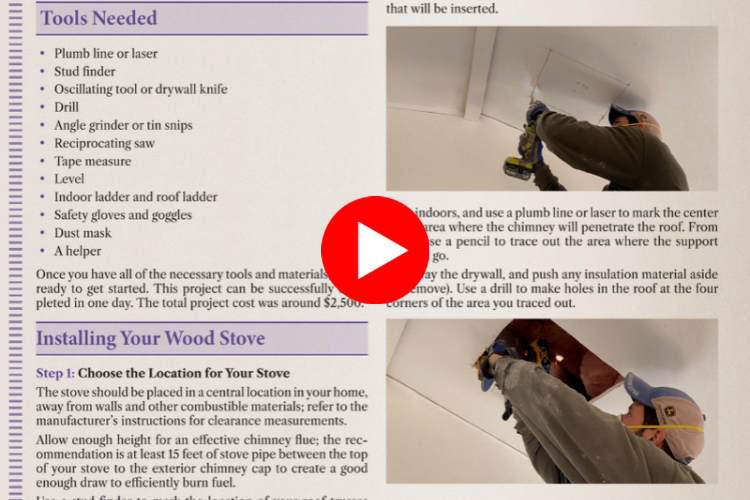
Also, did you know that thousands of Americans install their stoves wrong every year?
Since many people prefer to install their stoves alone to save money, wrong installations are a pretty common thing. The problem is that a poorly installed stove can cause lots of problems, some worse than others.
But what can you do when you want to do a good job and not pay for an expert?
Well, you need to compromise. And the most reasonable one is to get a guide that shows you how to install your woodstove properly. This is the most affordable approach because once installed, you can call an expert just to check if everything is all right.
Click here to get the installation guide.
Check Whether Your Wood Is Actually Dry
A log can feel dry and have cracks at the ends but still be wet inside.
Wet wood hisses, struggles to catch fire, and makes more smoke. The fire uses heat to dry it instead of warming the house.
The EPA recommends wood with 20% moisture or less. You can check yours with an inexpensive moisture meter.
Split a log and test the fresh inside face, following the meter’s directions. Don’t test only the sun-dried outside. Check a few different logs, especially if you’re buying wood from someone new.
If your wood is still too wet, give it more time. I’d rather burn a smaller load of dry wood than fight with a full stove of damp logs. In this way I consume less wood.
Let Your Woodpile Breathe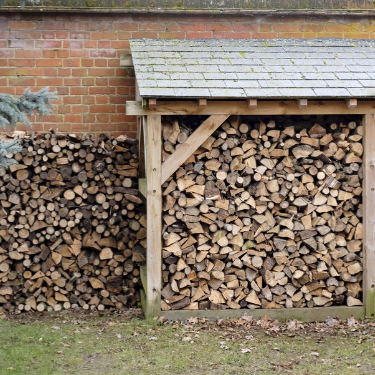
And since we were talking about moisture, I need to mention this. A tarp makes sense, but wrapping the whole woodpile also traps moisture.
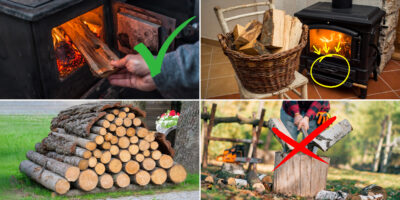
What I like to do is stack my wood off the ground, preferably on pallets or rails. I cover the top to keep rain and snow off, and leave the sides open to the air. I always leave some room for air to reach the back of the stack.
And if I have bigger wood pieces, I always split them before I stack them. This lets air circulate better, and if the wood is still wet, smaller pieces dry faster.
Some wood dries in several months. Dense hardwood may take a year or longer, depending on the weather. Check the moisture rather than guessing.
Since I mostly heat my home using wood, I decided to upgrade my wood storage space and now I have a mini-shed with a pallet floor. I like this setup more because it protects the wood from rain, wind, and snow while also letting the air flow freely.
I found the instructions for this build here.
This is a pack of various blueprints for shed-like structures. With over 12,000 shed plans, this is the most complete resource of this kind. And it is very versatile because it includes everything you might need on a homestead, from chicken coops to barns, classic sheds, mini-sheds, and even this wood storage idea.
Build ANY shed in one weekend with this.
Take a Look at the Chimney
About 20 minutes after starting a fire or adding logs, go outside and look at the chimney.
A little white vapor on a cold day can be normal. But if there’s a steady stream of gray smoke after the fire has settled in, be careful. You may have damp wood, too little air, or a problem with the stove or chimney.
Check your wood and air setting according to the manual. If the smoke continues, call a qualified chimney professional. Don’t keep burning smoky fires night after night.
If smoke comes into your house, stop using the stove until you’ve found the problem. Using it in this state is really dangerous.
You Don’t Need a Full Load Every Time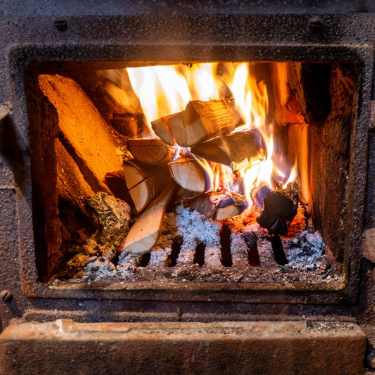
On a mild day, you don’t need the same fire you’d build on a freezing night.
A full load can overheat the room, so you turn the air too far down. Start with less wood.
Try smaller loads on warmer days. Keeping some smaller split pieces ready makes this easier. Follow your stove’s loading instructions and keep its air openings clear.
The kind of wood you use matters, too. Dense hardwoods like oak generally provide more heat per cord than lighter woods like soft maple, if both are dry. But lighter wood can be useful when you only need a shorter fire to take the chill off.
Don’t Clean Out All the Ash
In stoves designed for an ash bed, about an inch of ash helps insulate the coals and makes the next fire easier to start.
Too much ash can block the air coming into the fire, though. And some stoves have grates or ash pans that work differently, so check the manual before deciding how much to leave.
When you clean out the stove, put the ashes in a covered metal container outside, at least 10 feet from anything that can burn. Don’t put them in a plastic bucket or leave them on the porch. Embers can stay hot long after the ash looks cold. Keep the lid on and set the container on a surface that won’t burn.
Another thing I want to mention is that you SHOULD NEVER throw that ash away.
Wood ash is one of the mosst useful things you can have on your homestead.
For example, people have been making lye from wood ash for homemade soap for generations. You can also add some clean ash to your chickens’ dust bath to help them deal with mites and lice. Some gardeners even use it to keep slugs away from their plants.
But there’s another use I came across recently that I’ve never heard of before.
And out of all the things you can do with wood ash, this might be the one worth saving it for.
Take a look at the video below and you’ll see what I mean.

Try the Dollar Bill Test
When the rope-like seal around your stove door wears out, extra air can leak in. The fire may burn faster even with the control turned down. A good idea is to see if this happens.
This is how you do the test.
Wait until the stove is completely cold. Put a dollar bill between the door and the seal, close the latch, and gently pull. You should feel some resistance.
Try a few places around the door. A worn seal may look fine until you test it.
If the bill slips out easily in one spot, the gasket or latch may need attention.
Use the Heat You’ve Already Made
If the room with the stove feels too warm while the next room stays cold, more firewood might not help much.
Try moving some warm air around with a small fan in a safe spot, away from the stove’s required clearance area. Even a fan in a doorway can help move air between rooms.
And check for cold drafts around doors and windows. A bit of weatherstripping may help the rooms hold their heat longer.
If you want a clearer example of this practice, we have the Amish. They only heat their homes using wood, so they need to be incredibly efficient.
This is how they created special fans that are designed to move the heat around. Hot air rises and generally stays close to the ceiling of the room.
That’s why they created a pneumatic fan system that heats the whole home.
See what device the Amish use and how to build your own homestead pneumatic tools.
Final Thoughts
One of the worst things that can happen during winter is your woodpile going down too quickly.
This is why you should always check the simple things. The things I listed above.
Taking care of these could save you more money than any other trick.
You may also like: 
7 DIY Projects Using Cinder Blocks
Where To Harvest Food For Free In The U.S. (Video)
NEVER Throw Away These Items! (Do This Instead)
Leftover Firewood? Here’s What to Do With It
Recycling Gold and Copper from Electronics