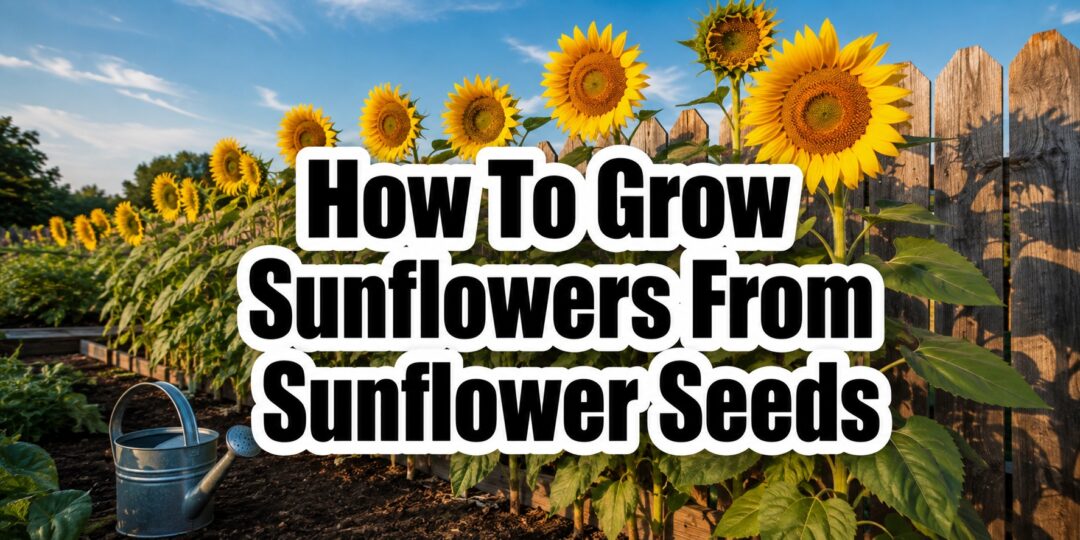
Every summer I plant a row of sunflowers along the south fence of my garden, mostly because nothing else gives me this much payoff for this little effort. Drop a seed in the ground, water it, and a few months later you have a plant taller than you are, buzzing with bees and eventually loaded with seeds.
Sunflowers are one of the most forgiving plants you can grow, which makes them a perfect project whether you are gardening for the first time or you have been at this for years and just want something reliable in the mix.
This guide covers everything I have learned growing sunflowers from seed, from choosing a variety and getting the timing right, through harvest and saving your own seed for next season.
Choosing the Right Sunflower Variety
Not all sunflowers are grown for the same reason, and picking a variety that matches your actual goal will save you a season of disappointment.
- Mammoth and Giant varieties: bred for height and enormous seed heads, often reaching 10 to 12 feet, ideal if you want big, dramatic seed production
- Single-stem cutting varieties: like ProCut or Sunrich, bred to produce one large bloom per plant with no side branching, popular for bouquets
- Branching varieties: produce multiple smaller blooms per plant over a longer window, giving you a steady supply rather than one big flush
- Dwarf varieties: stay under 3 feet tall and work well in containers or small garden beds where a 10-foot giant is not practical
If your goal is a big harvest of seeds for snacking, roasting, or feeding chickens, a Mammoth-type variety with large single heads is generally your best bet.
When to Plant Sunflower Seeds
Sunflowers are frost-sensitive, so timing matters more than almost anything else in this whole process. Wait until all danger of frost has passed and soil temperature has reached at least 50 degrees Fahrenheit, though germination is fastest and most reliable between 65 and 75 degrees, according to West Virginia University Extension.
A cheap soil thermometer pushed two inches into the ground first thing in the morning gives you a far more reliable reading than guessing based on the air temperature, since soil warms up several weeks behind the air in spring.
If you want continuous blooms right through summer rather than one big flush, stagger your plantings every two to three weeks from your last frost date through early summer.
Choosing and Preparing Your Planting Site
Sunflowers need full sun to perform well, generally six to eight hours of direct light a day at minimum, according to Scotts Miracle-Gro’s growing guide. Pick the sunniest open spot in your yard, ideally sheltered from strong wind, since tall varieties can snap or lean badly in a stiff gust once the heads get heavy.
Sunflowers are not fussy about soil, but they do best in loose, well-draining ground rich in organic matter. Work a couple inches of compost into the bed before planting if your soil is heavy clay or particularly poor.
A neutral to slightly acidic soil pH, roughly 6.0 to 7.5, suits sunflowers well. If a home soil test shows you well outside that range, garden lime raises pH and elemental sulfur lowers it.
Do not plant sunflowers directly into an established lawn area without first removing the grass. Grass will out-compete young sunflower seedlings for water and nutrients before they ever get established.
How to Plant Sunflower Seeds Step by Step
- Loosen the soil to about 6 to 8 inches deep and mix in compost if needed
- Push each seed about 1 to 2 inches deep into the soil, pointed end down if you can tell which end is which
- Plant 2 to 3 seeds per spot as insurance against poor germination or seed-eating birds
- Space seeds according to variety: roughly 6 inches for small or single-stem types, 12 to 24 inches for standard branching types, and up to 36 inches for giant Mammoth varieties
- Water thoroughly right after planting and keep the soil consistently moist, not soggy, until seedlings emerge
Once seedlings are a few inches tall, thin each cluster down to the single strongest seedling. This feels wasteful the first time you do it, but crowded sunflowers compete for root space and produce noticeably smaller, weaker plants.
Protecting Seeds and Seedlings
Birds and squirrels love a freshly planted bed of sunflower seeds almost as much as they love the mature seed heads later in the season, and losing a bed of new plantings overnight is a common first-timer’s heartbreak.
A light floating row cover or garden netting laid over the bed until seedlings emerge solves most of this problem without much extra effort. Remove the cover once seedlings are up and growing, since sunflowers need full sun exposure from that point on.
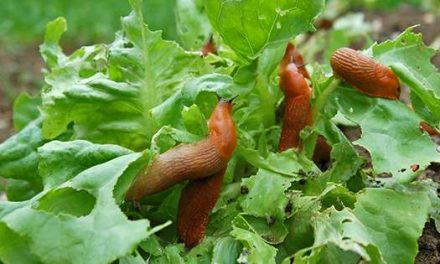
Slugs and snails can decimate young seedlings in a single overnight visit, particularly in damp climates. Check your bed in the early morning for a week or two after emergence and hand-pick any you find, or use a shallow dish of beer as a simple trap.
Caring for Sunflowers as They Grow
Once established, sunflowers are genuinely low-maintenance. Water deeply once or twice a week rather than a little every day, encouraging roots to grow down rather than staying shallow near the surface.
A single application of balanced, slow-release fertilizer at planting time is usually enough for the whole season. Too much nitrogen pushes lush leafy growth at the expense of flowering, which is the opposite of what you actually want.
Taller varieties over 6 feet may need staking, particularly in a windy spot, since a heavy, seed-laden head at the top of a tall stalk creates real leverage in a strong gust.
You will notice young sunflowers actually tracking the sun across the sky through the day, a behavior called heliotropism. Once the heads mature and fill with seed, they stop tracking and settle facing generally east.
Common Pests and Diseases
Sunflowers are generally trouble-free, but a few problems show up often enough to be worth knowing about in advance. According to The Old Farmer’s Almanac, the most common issues are birds, squirrels, deer, and sunflower moth larvae feeding inside the developing heads, alongside occasional fungal problems like downy mildew, powdery mildew, and rust.
Good air circulation from proper spacing, full sun, and well-drained soil prevents most of the fungal issues before they start. If you do spot powdery white or rust-colored patches on leaves, remove the affected foliage promptly and avoid overhead watering, which spreads fungal spores.
Aphids occasionally show up on stems and the undersides of leaves, visible as sticky residue and curled leaves. A strong spray of water or a light insecticidal soap usually clears a minor infestation without needing anything stronger.
When and How to Harvest Sunflower Seeds
Seed heads are ready to harvest once the back of the head turns brown and papery, the petals have died back, and the seeds themselves look plump and sit loosely in their shells rather than tightly packed.
Cut the head off the stalk with sharp pruners, leaving 6 to 12 inches of stem attached to give yourself something to hold or hang the head by.
If birds have been stripping your heads before they finish ripening, cover developing heads with breathable cheesecloth or mesh about a week or two before you expect harvest. This single step, recommended by Grow Organic’s seed harvesting guide, saves an enormous share of most home harvests.
Drying and Curing Your Seeds
Hang cut heads upside down in a warm, dry, well-ventilated space such as a garage or covered porch, ideally with a paper bag loosely tied around the head to catch any seeds that fall as they finish drying.
Curing typically takes two to three weeks. The seeds are ready once they feel hard and dry rather than soft or slightly rubbery, since residual moisture is the single biggest cause of mold in stored sunflower seeds.
Once fully dry, rub or scrape the seeds loose from the head with your fingers or a stiff-bristled brush, working over a large bowl or bucket to catch everything.
Storing Seeds for Eating or Replanting
Whether you are storing seeds to eat later or to plant again next year, the storage rules are the same: cool, dark, dry, and sealed against pests.
Store fully dried seeds in an airtight container, glass jars work well, in a cool, dark location such as a pantry shelf or a closet. A small silica gel packet added to the container helps absorb any residual moisture.
Label containers with the variety and the harvest date, since it becomes surprisingly easy to lose track of which jar is which once you have grown more than one type.
Properly dried and stored sunflower seeds remain viable for planting for several years, though germination rates gradually decline the longer they are stored, so use older seed first and expect a slightly lower germination rate from seed more than two or three years old.
Saving Seeds for Next Year
Save seed only from your healthiest, most vigorous plants, and skip saving seed from anything that showed disease during the season, since fungal issues can carry over into the next generation of seed.
If you grew more than one variety close together, be aware that sunflowers cross-pollinate readily via bees, so seed saved from mixed plantings may not grow true to the parent variety the following year.
For most home gardeners this cross-pollination is not a real problem, since a slightly different sunflower next year is rarely a disappointment, but if you are trying to preserve a specific variety, keep different types well separated or grow only one variety per season.
Growing Sunflowers in Containers
Dwarf varieties are the right choice for container growing, since standard and giant types develop a large taproot that needs far more root space than a pot can reasonably provide.
Sow seeds directly into the final container rather than starting them elsewhere and transplanting, since sunflowers dislike having their roots disturbed and rarely need the head start indoor sowing gives other plants.
Water container-grown sunflowers more frequently than ones in the ground, since pots dry out considerably faster, and check moisture daily during hot summer stretches.
Common Mistakes to Avoid
- Planting before the soil has warmed enough, leading to patchy, slow germination
- Skipping the thinning step, which leaves seedlings competing and produces weak, undersized plants
- Over-fertilizing with high-nitrogen feed, which grows leaves at the expense of flowers and seed
- Harvesting seed heads too early, before the backs have turned brown and the seeds have fully filled out
- Storing seeds before they are completely dry, inviting mold that can ruin an entire harvest
Rediscover the Skills That Made Families Self-Reliant
Growing sunflowers is just one of the many practical skills our grandparents took for granted. They knew how to save seeds, preserve harvests, raise food, repair tools, and make the most of every season—without relying on stores or modern conveniences.
The Lost Skills of Independence brings those forgotten homesteading and self-reliance techniques back to life with easy-to-follow instructions anyone can learn. Whether you’re just starting your preparedness journey or looking to become more self-sufficient, this guide is packed with timeless knowledge that still works today.
Inside you’ll discover:
- 🌱 Traditional gardening and seed-saving techniques
- 🥕 Food preservation methods that reduce waste
- 🛠️ Practical DIY homestead projects
- 🏡 Forgotten pioneer and off-grid skills
- 🔥 Old-fashioned survival techniques for modern times
- 🐔 Sustainable ways to produce more from your land
- 📚 Step-by-step guides designed for beginners and experienced homesteaders alike
Every new skill you learn makes you a little less dependent on the outside world. From growing your own food to preserving harvests and living more sustainably, these are abilities that can benefit your family for years to come.
Final Thoughts
Sunflowers reward very little effort with an enormous amount of payoff, whether your goal is cut flowers, pollinator support, homegrown snacking seeds, or feed for your chickens through winter.
Get the timing, spacing, and drying right, and a single packet of seed can turn into a harvest that feeds your family, your flock, and every bee and finch in the neighborhood for an entire season.
You may also like:
 Join Our Self-Sufficiency Facebook Group For Unseen Tips And Tricks!
What Every Survivalist Should Grow in His Backyard (Video)
How to Grow Bell Peppers – The Complete Guide From Seed to Harvest
What to Grow in a Greenhouse – A Complete Homesteader’s Guide to Year-Round Production
Organic Gardening: The Complete Guide to Growing Food Without Chemicals
How to Grow Carrots: From Seed to Root Cellar
Raised Bed Gardening: The Complete Guide to Building, Filling, and Growing