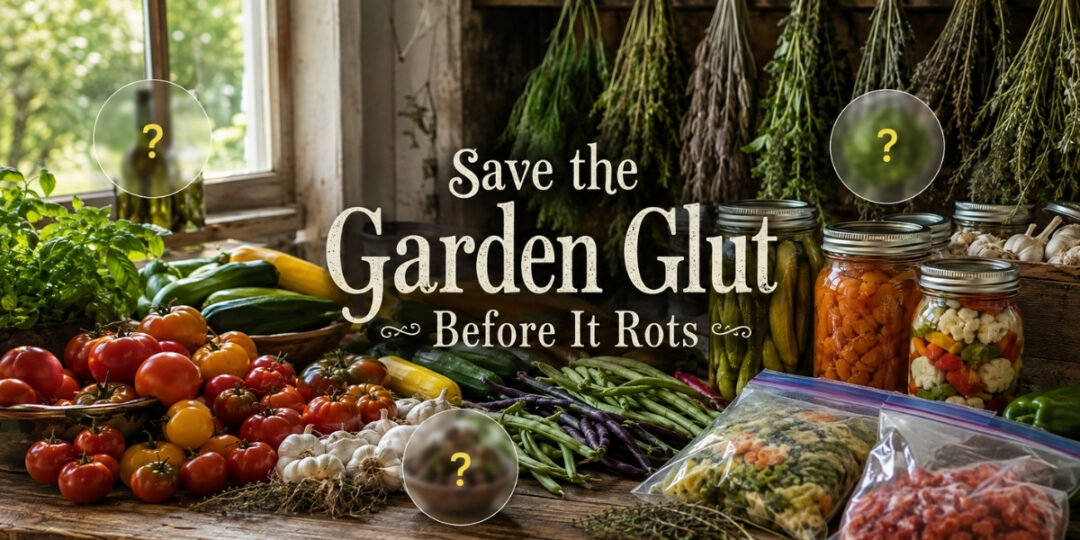
You know the drill… One week you’re waiting for the garden to finally do something, and the next you’ve got more zucchini, tomatoes, beans, and cucumbers than you know what to do with.
At first, it’s great. You eat what you can, give some away, and feel pretty good about the harvest. Then the baskets keep coming inside, the counter fills up, and you come to the realization that some of that food is going to spoil if you don’t do something with it quickly.
Hopefully there are a lot of options out there that can save you. Some are old methods that have been used for generations, some take almost no work, and a few might be completely new to you. I’ve tried a good handful of them myself.
So if the garden is getting ahead of you, here are 25 ways to save that harvest before it goes to waste.
Store It Just As It Is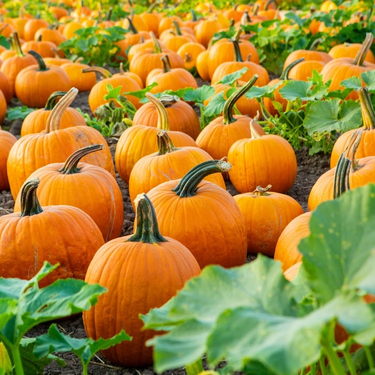
Some of the easiest ways to save your harvest take almost no work at all. Give the vegetable the conditions it likes, then leave it alone.
- Cure Your Squash and Pumpkins First
Winter squash and pumpkins can keep for months, but they need to be cured first. Curing simply means leaving them somewhere warm and dry, around 80 to 85 degrees, for roughly ten days. This helps harden the skin so it’s better able to resist rot. A cured butternut can last two to three months, while a Hubbard can go half a year.
- Sweat Your Sweet Potatoes
If you dug up sweet potatoes, you’ll see they aren’t actually very sweet. Leave them somewhere warm and humid for a week to ten days, and the starch inside starts turning into sugar. That’s where that sweet flavor comes from. The resting period also toughens the skin, which means properly cured sweet potatoes can sit in a cool closet through the winter.
- Pack Carrots and Beets in Damp Sand
This is one I do every fall. Grab a bucket and add a layer of slightly damp sand. Lay your carrots or beets on top without letting them touch each other, then cover them with another layer of sand, and repeat. Just like a lasagna!
Then put the bucket somewhere cool. The sand keeps just enough moisture around the roots to stop them from drying out, and they can stay crisp for months. It’s an old European habit, and it works incredibly well on any homestead.
- Build a Root Clamp in the Yard
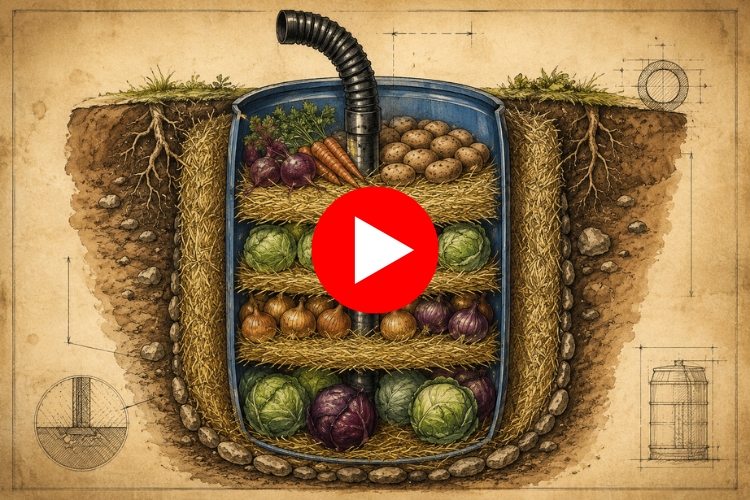
This method comes from British gardeners, and you can think of it as an outdoor refrigerator made from dirt. Put potatoes or other root vegetables on a bed of straw in a well-drained spot. Cover them with more straw, then add a shell of soil over the top. Leave a small tuft of straw sticking out so excess heat can escape. The earth protects everything from frost. This one’s still on my list to try when the harvest gets too big for my basement.
If you want to see how this method works in real time and how you can build a root clamp yourself, I suggest you watch the video below.
- Leave the Hardy Roots in the Ground
Sometimes the easiest storage method is not storing anything at all. Carrots, parsnips, beets, and turnips can stay right where they grew if you cover them with about a foot of straw or leaves before the ground freezes. When you need some, pull back the mulch and dig them up. The cold can even make parsnips taste sweeter, so I see this as a bonus.
- Braid Your Onions and Garlic
Once your onions and garlic have dried down, braid the tops together and hang them somewhere cool with good airflow. Besides looking pretty nice, braiding keeps air moving around the individual bulbs, which helps prevent rot. A well-stored braid can keep feeding you right into spring. You can hang them in the basement or a shed.
- Ripen Green Tomatoes Indoors
If frost is on the way and your vines are still covered in green tomatoes, don’t give up on them. You can pull the entire plant and hang it upside down in the garage, or wrap the individual tomatoes in newspaper and place them in a box. They’ll slowly ripen over the next few weeks. If you want to speed things up, put an apple in the box with them.
Dry It Down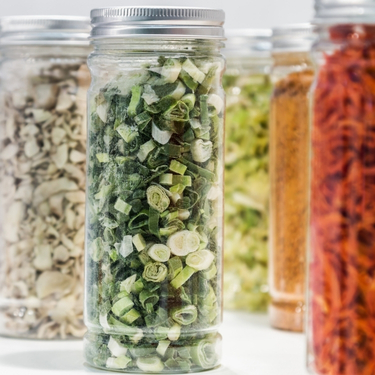
Drying removes the moisture that allows food to spoil, and once everything is dried, it takes up surprisingly little shelf space.
- Dehydrate the Overflow
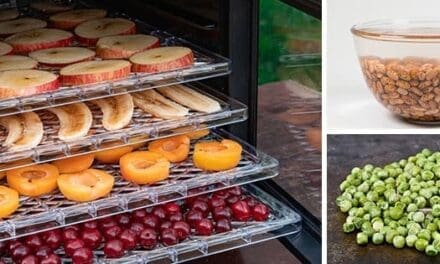
A dehydrator really earns its keep when the garden is overflowing. Tomatoes, peppers, zucchini, green beans, mushrooms, apples, and plenty of other foods can be dried down small and stored in jars for a year or longer. If you don’t own a dehydrator, you can also use your oven on its lowest setting.
- Grind It Into Vegetable Powder
This is one people don’t always think about. Take dried tomatoes or peppers and run them through a coffee grinder. Suddenly you’ve got tomato powder or pepper powder that you can stir into soups, sauces, or eggs all winter. Dried zucchini can even be ground into a powder and mixed into bread. It’s amazing how much of a harvest you can fit inside one small jar.
And maybe you’ve heard about people grinding vegetables and making instant vegetable stock. But did you know you can do the same with meat?
It’s called jerky powder and it’s one of the best ways to preserve meat long-term. It’s basically pulverized beef jerky, usually made from lean meat with minimal sugar in the marinade to ensure dryness for powder consistency.
I started doing this last winter and for me it was a game changer. Why? Because it takes almost no space! I love to add this powder to soups and stews and it gives them an incredible flavor and all the protein and nutrients that you need.
👉 Click here and see my full recipe
- Make Fruit and Vegetable Leather
Purée fruit or cooked vegetables, spread the mixture in a thin layer on a lined tray, then dry it until it becomes a flexible sheet. Everyone knows fruit leather, but tomato leather is surprisingly useful too. Tear off a piece, drop it into a pot of soup, and you’ve got an easy boost of tomato flavor.
- String Up Leather Britches
Here’s an old piece of American food history that deserves another look. In Appalachia, families used to dry whole green beans on strings and hang them near the stove for winter. They called them leather britches or shuck beans, and the tradition goes all the way back to the Cherokee.
Food writer Sheri Castle, who grew up eating them in North Carolina, describes their flavor as “of antiquity.” You simply thread fresh beans with a needle and string, hang them somewhere dry, then cook them low and slow months later.
- Sun-Dry Tomatoes the Italian Way
In southern Italy, families still slice tomatoes, salt them, and leave them in the sun until they shrink into small pieces packed with flavor. If your summers are hot and dry enough, you can do the same on screens. If the weather doesn’t cooperate, use the oven or dehydrator instead. Pack them in oil afterward, and you’ve got the same kind of sun-dried tomatoes that cost a fortune at the store.
If you want the most off-grid alternative, I want to tell you that you can easily build your own solar dehydrator. This DIY solar dehydrator costs around $25 to build and you can use it even in cold weather. As long as the sun shines up above, this homemade little helper will work and will dry for you almost any vegetable. Get the blueprints here.
Let It Ferment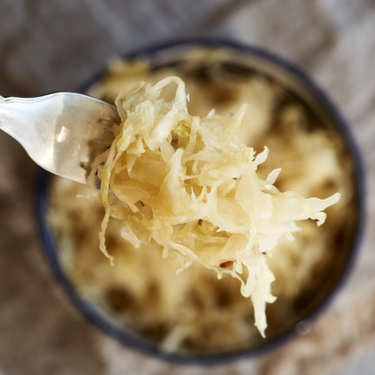
Fermenting can sound a little complicated, but it really comes down to letting salt and time turn fresh vegetables into something tangy that keeps for months. People have been doing it forever.
- Make a Crock of Sauerkraut
Cabbage, salt, and time. That’s really all you need. Shred your cabbage, salt it, and pack it down firmly enough that the brine covers everything. Then you wait.
Sandor Katz, the Tennessee fermenter people call “Sandorkraut,” actually got started because his garden produced all of its cabbages and radishes during the same week. If you’ve ever had a garden glut, that probably sounds familiar. Sauerkraut was his solution, and it can be yours too.
I make a batch every year and besides the classical method, I also love to make Amish Kraut.
The difference between your average sauerkraut and the Amish Kraut is that the Amish did their best to preserve the natural probiotics of this food. Sauerraut will always be a great source of good bacteria for your gut no matter what, but the salt you use and how you use it, the water you make the brine from and some other little tricks will make the difference.
I started making it after I stumbled upon a series of videos that explained in detail what you need to do.
See how to make the Amish Kraut yourself here.
- Salt-Brine Almost Any Vegetable
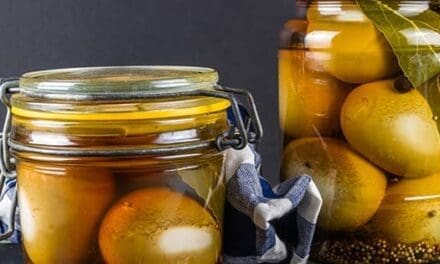
Sauerkraut is only the beginning. The same basic salt-and-water brine works with almost any firm vegetable you grow, including carrots, beans, cauliflower, peppers, and whole cucumbers. Cut them into spears or leave them whole, put them in a jar, and let them turn tangy on the counter for a few days. There’s no vinegar and no canning involved, and every batch comes out slightly different depending on what you use.
- Put It Up Like a Korean Fall
Every autumn in Korea, families and neighbors come together to prepare huge batches of kimchi for winter. The tradition is called kimjang, and it’s important enough to be included on the UN’s cultural heritage list.
There’s a simple idea here that’s worth borrowing. When your garden suddenly produces more than you can handle, you don’t have to deal with all of it by yourself. Get a few people around the table, make a big batch of spicy fermented cabbage, and divide it between everyone.
- Bury Vegetables in a Rice Bran Bed
This Japanese method surprised me when I first came across it. You make a damp bed from rice bran, called a nukadoko, and bury vegetables directly inside it. About a day later, you pull the vegetable out, brush away the bran, and eat it.
What’s especially interesting is that the bed stays alive and can be reused. You keep adding fresh vegetables to it, sometimes for years. It’s basically a small pickle factory sitting on your counter.
- Keep a Jar of Refrigerator Pickles
No crock and not much waiting either. Slice cucumbers or another firm vegetable, pour hot vinegar brine over them, and put the jar in the refrigerator. Within a few hours, you have pickles. They won’t last as long as properly canned pickles, but they’re an easy way to get through a sudden glut without much work.
Related: 15 Vegetables You Can Actually Pickle Overnight
Cook It Down and Stash It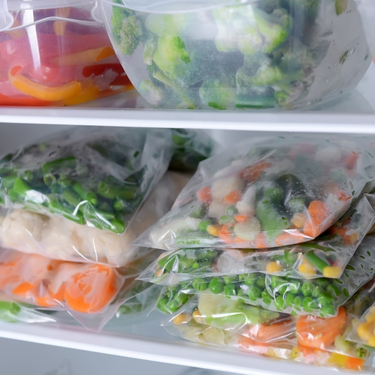
When there’s simply too much to eat fresh, cook your harvest into something you’ll actually want later, then freeze or can it for another day.
- Have a Tomato Sauce Day
Italian families call the sauce passata, and making it can turn into an all-day event. You take a mountain of ripe tomatoes, cook them down into sauce, and put everything up in one go. Set aside a Saturday, bring out your biggest pot, and start filling jars or freezer bags. One good sauce-making day can take care of pasta nights for most of the winter.
Some people say that Italian tomato sauce has something almost “magical” about it. Even after three years of sitting in a jar, their sauce tastes exactly like the day of canning. But this is not just luck and it’s not about the climate.
Anyone can make their tomato jars taste amazing if they respect 3 simple rules.
👉 See how Italians make the best pasta sauce and how they make it keep its flavor intact for years
- Freeze Your Herbs in an Ice Cube Tray
Herbs can bolt and turn bitter quickly, so try to catch them before they flower. Blend basil into pesto, or simply chop whatever herbs you have and pack them into an ice cube tray. Add a little water over the pesto and olive oil over the plain chopped herbs, then freeze everything. Once the cubes are solid, transfer them to a bag. Later, you can drop one straight into a hot pan or pot of sauce and get something close to fresh herbs in the middle of January. I keep a tray going throughout the summer.
- Freeze It Whole on a Tray
Some foods don’t need to be cooked or blanched before freezing. Spread whole cherry tomatoes, berries, or chopped peppers in a single layer on a sheet pan and freeze them until they’re hard. After that, pour them into a freezer bag. Freezing everything separately first keeps it from turning into one huge frozen block, so you can take out only what you need. Frozen tomatoes also lose their skins easily under warm water later, which makes them great for sauce.
- Batch-Cook for the Freezer
Sometimes the easiest answer really is a big pot of soup. Cook a large batch of vegetable soup, ratatouille, or curry using whatever is piling up in the kitchen, then freeze it in portions big enough for one meal. You save the vegetables now and save yourself from having to cook on a busy night later.
- Turn the Odds and Ends Into Chow-Chow
When the main harvest is over and you’re left with a little of this and a little of that, the South has an answer for it: chow-chow. It’s a chopped relish made with green tomatoes, cabbage, peppers, and onions cooked in a sweet, tangy brine. It uses those last stragglers from the garden and tastes especially good with beans and cornbread.
Put It Up for the Long Haul
There’s a reason these methods became classics. When they’re done properly, they let you sit down next year and still eat food from this summer’s garden.
- Can It the Right Way
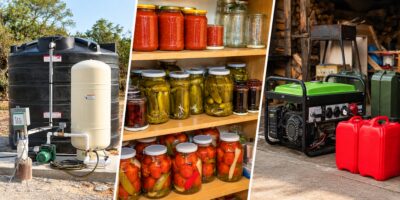
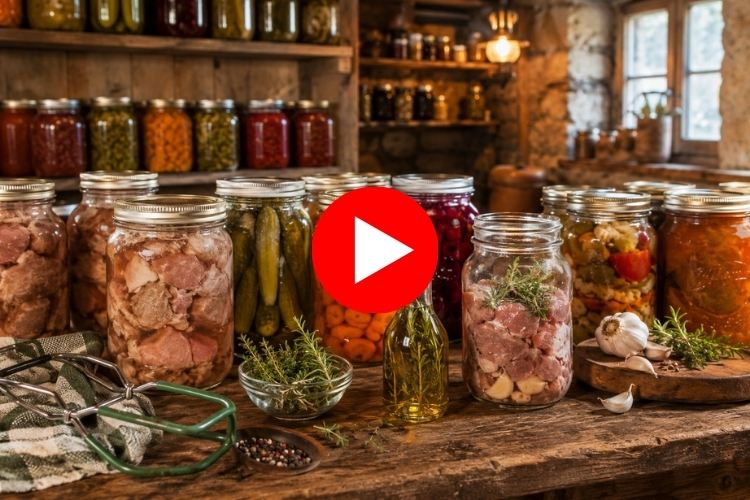
Canning is still the backbone of a well-stocked pantry. High-acid foods such as tomatoes, fruit, and pickles can be processed in a water bath canner. Low-acid foods such as green beans, corn, and most other vegetables need a pressure canner to be safe. The difference matters, so always use the proper method for the food you’re preserving and don’t take shortcuts.
The only problem with canning at home is that everyone teaches you how to keep things safe, but no one shows you how to make the flavors last.
Now, don’t get me wrong, safety is the most important thing when it comes to canning, but most of us already know how to do that. On the other hand, not so many know how to make delicious canned foods like the ones Amish farmers sell.
They mastered the art of canning for hundreds of years, and since it is their main means of preservation, they wanted their food to taste as good as possible even after years in the cellar on a shelf. So, they have numerous secret techniques they use ot acheve this.
For example, when they are canning meat, they use a special herb mix infused in oil that releases flavor constantly.
If you want to see more tricks like this one, you can find more here.
- Make Vinegar From Your Scraps
Those fruit peels and cores don’t necessarily have to go in the trash. Cover the scraps with water and a little sugar, leave the jar loosely covered, and after a few weeks you’ll have homemade vinegar that can be used for pickling and cleaning. It doesn’t cost you anything extra, and it turns scraps that would normally be thrown away into something useful.
- Share It, Swap It, Barter It
Maybe the oldest preservation method of all is simply having good neighbors. Give someone your extra zucchini and they might send you home with eggs or honey. Trade a jar of sauerkraut for somebody else’s jam. The food gets eaten instead of rotting, and at the same time, you’re building the kind of community that becomes especially valuable when times get lean.
Final Thoughts
A big harvest really is a good problem to have, even on the days when it doesn’t feel that way. You don’t need to try all twenty-five methods at once. Choose two or three that seem realistic for you and try them this year. When next season rolls around, you can add a couple more.
As for me, I’ll be down in the basement stacking jars and checking on my bucket of carrots packed in sand, happy that none of it ended up on the pile.
You may also like: 
7 Things You Never (Ever!) Need in Your Pantry
The Most Complete Self-Sufficient Gardeing Guide You’ll Ever Find! (Video)
Canning Myths Debunked By The Amish
Home Canning Sausages for Maximum Shelf Life
The Secret Trick That Cuts Fruit Canning Time in Half