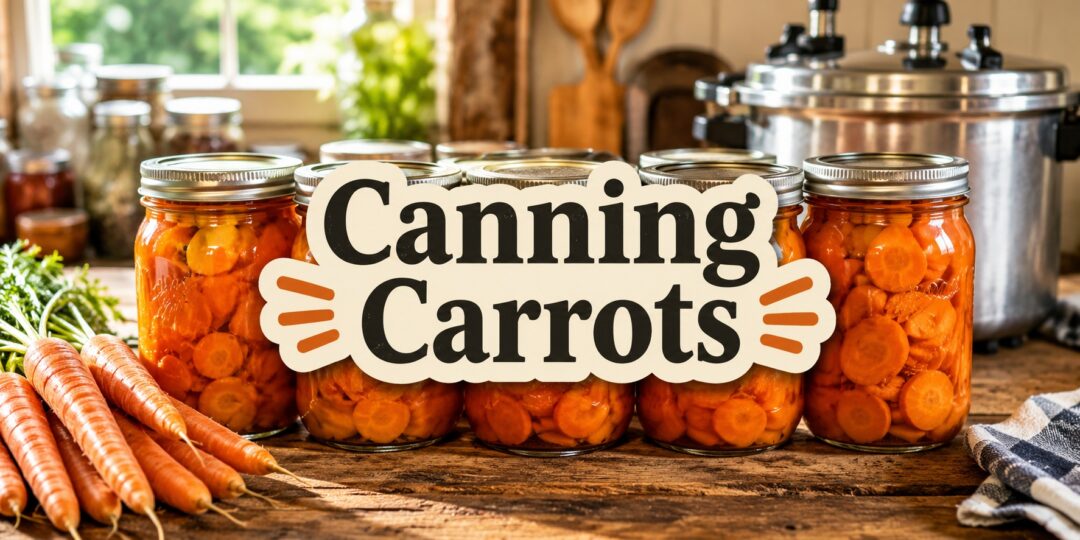
Carrots store well in a root cellar for months on their own, so why can them at all? Because canned carrots are ready to dump straight into a soup or side dish with zero prep, and a well-stocked shelf of them means one less thing standing between you and dinner on a busy night. This guide covers the exact tested method, both for straight canned carrots and a pickled variation, plus the mistakes that trip people up most often.
Why Carrots Must Be Pressure Canned
Carrots are a low-acid vegetable, which puts them in the same category as green beans, potatoes, and most other root vegetables when it comes to canning safety. A boiling water bath alone cannot reach a high enough temperature to destroy Clostridium botulinum spores, so pressure canning is not optional here. If you want the fuller explanation of why this rule exists and how pressure canners work, our pressure canning fundamentals guide covers that in more depth.
Selecting the Best Carrots for Canning
According to the National Center for Home Food Preservation, small carrots, preferably 1 to 1¼ inches in diameter, are the better choice for canning, since larger carrots tend to be too fibrous once processed. Skip any carrots that are woody, cracked, or showing significant blemishes.
What You’ll Need
- A pressure canner with a rack
- Pint or quart canning jars, new lids, and bands
- A jar lifter, canning funnel, and bubble remover
- Canning or pickling salt, optional, for flavor
For quantity planning, NCHFP notes that a canner load of 7 quarts needs about 17½ pounds of carrots without tops, and a canner load of 9 pints needs about 11 pounds. A full bushel weighs 50 pounds and yields 17 to 25 quarts, averaging about 2½ pounds of carrots per quart jar.
Hot Pack vs. Raw Pack
Both methods use identical processing times and pressures for carrots, so the choice comes down to preference.
- Raw pack: Raw carrot pieces go straight into the jar, then get covered with boiling water. Simpler and faster to prep
- Hot pack: Carrots are briefly boiled first, then packed into the jar with the same hot liquid. Some canners find this packs slightly more carrot per jar since a brief simmer shrinks the pieces a bit
Step-by-Step: Pressure Canning Carrots
- Wash, peel, and rewash the carrots
- Slice or dice into uniform pieces
- Hot pack: Cover with boiling water, bring to a boil, and simmer 5 minutes, then fill jars leaving 1-inch headspace
- Raw pack: Fill jars tightly with raw carrot pieces, leaving 1-inch headspace
- Add 1 teaspoon of salt per quart, if desired
- Add hot cooking liquid or boiling water, maintaining 1-inch headspace
- Remove air bubbles, wipe the rims clean, and apply lids and bands to fingertip tight
Processing Times and Pressures
These times and pressures apply equally to both hot pack and raw pack, straight from NCHFP’s tested tables.
Dial-Gauge Pressure Canner
- Pints: 25 minutes. 11 lb at 0-2,000 ft, 12 lb at 2,001-4,000 ft, 13 lb at 4,001-6,000 ft, 14 lb at 6,001-8,000 ft
- Quarts: 30 minutes, at the same pressures listed above for your altitude
Weighted-Gauge Pressure Canner
- Pints: 25 minutes. 10 lb at 0-1,000 ft, 15 lb above 1,000 ft
- Quarts: 30 minutes, at the same pressures listed above for your altitude
Vent the canner for 10 full minutes before pressurizing, and let it depressurize naturally once processing finishes rather than force-cooling it.
Pickled Carrots: A Water Bath Alternative
If you would rather skip the pressure canner entirely, pickling carrots in a vinegar brine brings them into the high-acid category, which makes a boiling water bath canner safe to use instead.
This tested recipe from NCHFP makes about 4 pint jars:
- 2¾ pounds peeled carrots, cut into ½-inch rounds
- 5½ cups white distilled vinegar (5%)
- 1 cup water
- 2 cups sugar
- 2 teaspoons canning salt
- 8 teaspoons mustard seed
- 4 teaspoons celery seed
Combine the vinegar, water, sugar, and salt in a large pot and boil gently for 3 minutes. Add the carrots, bring back to a boil, then simmer until half-cooked, about 10 minutes. Place 2 teaspoons mustard seed and 1 teaspoon celery seed in the bottom of each hot pint jar, fill with the hot carrots leaving 1-inch headspace, then cover with the hot pickling liquid leaving ½-inch headspace.
- Process pints in a boiling water canner for 15 minutes at 0-1,000 ft, 20 minutes at 1,001-6,000 ft, or 25 minutes above 6,000 ft
Let the sealed jars sit for 3 to 5 days before opening for the best flavor development.
Storage and Shelf Life
Once cooled and confirmed sealed, store jars in a cool, dark location. For best quality, plan to use canned carrots within about a year, though a properly sealed jar stored well will typically remain safe well beyond that window.
Common Mistakes
- Water bath canning plain carrots instead of pressure canning them, a mistake that can lead to real botulism risk
- Dry canning, meaning packing raw carrots into jars with no liquid and processing them as if they were a normal pack. This is not a USDA-recommended practice and does not reliably allow heat to penetrate the jar
- Using large, woody carrots that turn unpleasantly fibrous once processed
- Skipping the 10-minute vent step before pressurizing the canner
- Guessing at altitude adjustments instead of confirming your actual elevation
Canning Carrots Is One Skill. Imagine Reclaiming Hundreds More.
Knowing how to safely turn a harvest of fresh carrots into jars of ready-to-use food is exactly the kind of practical knowledge that once made households far more independent.
Previous generations didn’t have to wonder what they would do if grocery shelves were empty, food prices climbed, or a harvest produced more than they could immediately eat. They learned how to grow, preserve, store, repair, reuse, and make what their families needed with their own hands.
Today, many of those everyday skills are being forgotten.
The Lost Skills of Independence was created to bring that practical knowledge back.
It’s a collection of traditional skills and hands-on projects for people who want to become more self-reliant, resourceful, and prepared for situations where modern conveniences can’t be taken for granted.
Inside, you’ll discover old-fashioned know-how covering areas such as growing and preserving food, making useful household necessities, traditional plant knowledge, cooking from basic ingredients, storing what you produce, repairing and maintaining things around the home, and getting more value from the resources already available to you.
Because a pantry full of canned carrots is valuable—but knowing how to create that pantry yourself is even more valuable.
The same principle applies throughout a self-reliant household. Supplies eventually run out. Equipment eventually breaks. Stores may not always have what you need. Skills, however, can be used repeatedly for the rest of your life.
You don’t need to abandon modern life or become completely self-sufficient overnight. Start with one skill. Preserve one harvest. Learn one traditional technique. Complete one useful project. Then add another.
Over time, those individual skills can become something much bigger: a household that’s increasingly capable of taking care of itself.
If articles like this one make you want to learn more than a single preservation technique, The Lost Skills of Independence gives you an opportunity to go much further.
Don’t just stockpile what you might need. Learn how to produce, preserve, repair, and make it yourself.
Frequently Asked Questions
Can I can whole baby carrots instead of slicing them?
The standard tested recipe covers sliced or diced carrots. Whole small carrots can work using the same processing times, though slicing or dicing helps heat penetrate more evenly, especially in larger pieces.
Do I have to peel carrots before canning?
Yes. Peeling and rewashing is part of the tested procedure, both for cleanliness and to remove the tougher outer layer.
Can I add other vegetables to the jar with my carrots?
Stick to a tested mixed vegetable recipe if you want to combine carrots with other vegetables, rather than improvising your own combination, since processing times are calculated for specific ingredient combinations.
Why did my canned carrots turn out mushy?
This is usually from over-processing, using very fresh or very small carrots that break down more easily under heat, or letting the hot pack simmer too long before jarring. It doesn’t indicate a safety problem, just a texture one.
You may also like: 
The Secret Trick That Cuts Fruit Canning Time in Half
The Herb You Can Add To Your Coffee Or Tea To Empty Your Bowels Effortlessly Each Morning (Video)
Canning Potatoes: A Self-Reliant Staple for Your Pantry
10 Amish Canning Recipes You Should Know About
Join Our Homesteading Facebook Group For Daily Valuable Tips And Tricks