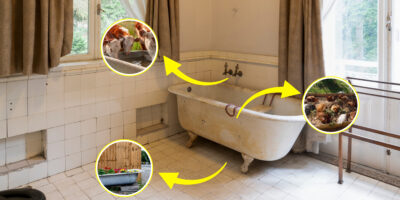
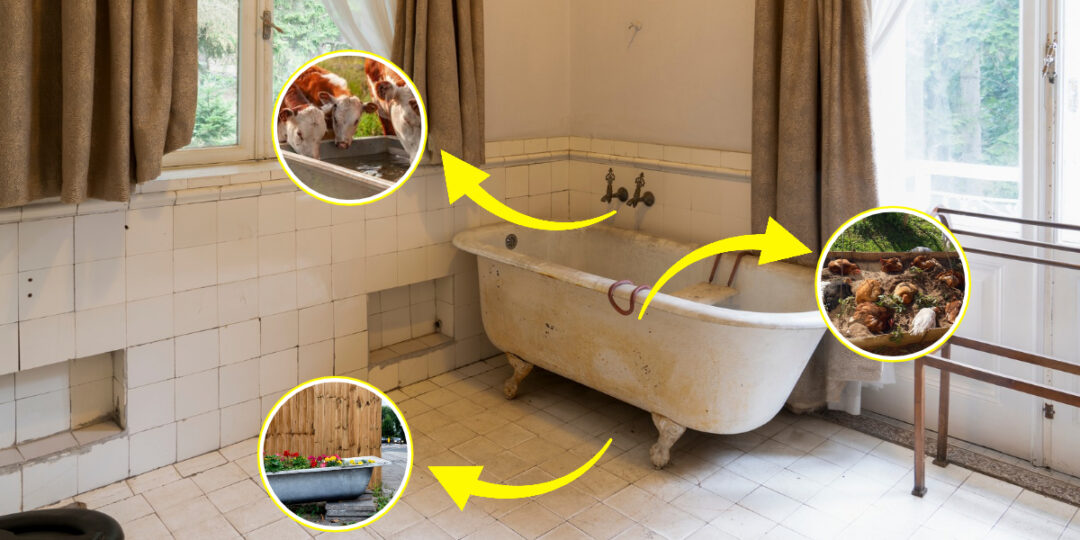
Every so often, we all have that one neighbor who tears out a bathroom, and there it is: an old bathtub sitting at the end of the driveway with a FREE sign stuck to it. Most folks drive right past. I used to wonder who’d want to haul one of those heavy things home.
Turns out, there’s a lot you can do with one.
That’s one of the things I like about trying to be more self-sufficient. You start seeing old junk a little differently. A bathtub already holds around 40 gallons of water, has a drain built right into the bottom, and if it’s cast iron, it’ll probably outlast you.
Try finding something like that at the farm store for free…I dare you!
So here are eight ways you can put an old tub to work on your homestead. I’m not going to give you a bunch of complicated building plans. These are simple ideas you can make yourself.
After all, this is the whole idea, right?
First, Figure Out What Kind of Tub You Have
First, check what your tub is made of. Knock on the side and listen to the sound it makes.
Cast iron – These are the really heavy old tubs. A five-foot one can weigh 250 to 300 pounds, so plan on getting a couple of people and a trailer. They last for decades outside. Just don’t leave one full of water through a hard freeze. Ice can crack cast iron.
Stamped steel with enamel – Much easier to move. If the enamel is chipped, those spots will rust, but that’s not a big deal. It depends on how you use it.
Fiberglass or acrylic – Light enough that one person may be able to drag it. It flexes, though, so support the full bottom. Sunlight also makes it brittle over time.
1. Set It Up as a Water Trough for Your Livestock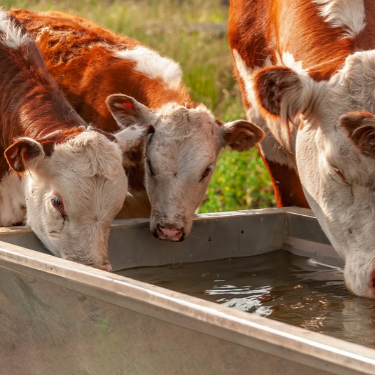
If you’ve ever lived around an old farm, you’ve probably seen a bathtub beside a fence. It’s an easy water trough for cattle, horses, goats, or pigs.
This is probably the most straightforward use, but also one that is very reliable.
The best part is the drain. Seal it with a rubber stopper and silicone, or add a hose fitting to the drain shoe so it’s easy to empty.
When the water goes green, just let it out, scrub the tub, and fill it again. Set the drain end about an inch lower so it empties easily.
I’d keep two things in mind. If horses use it, cover any sharp edges with scrap wood. And when freezing weather comes, use a stock tank deicer or keep the water low, especially in a cast-iron tub.
Got a barn gutter nearby? Put the tub under the downspout and let the rain help keep it filled.
This is probably one of the best DIY setups you can make on your homestead. Your livestock always have fresh water, and you have one less chore to worry about.
But this only covers the water needs. Taking care of your livestock means so much more. You’ve got feed too, shelter, and last but not least, health.
These are the pillars that will guarantee you’ll have healthy and productive livestock.
Now, most of the time when you start looking around for information, you’ll see that all you can find is scattered. One online course here, one book there, and so on.
Kind of unreliable and exhausting, right?
But wouldn’t it be nice to have all these methods in one place? Well, NOW you can.
And what’s even better is that they’re inspired by the old Amish ways of doing things. The Amish have been raising and caring for livestock using traditional methods for generations.
And now, thanks to Eddie Swartzentruber, a former Amish who grew up learning these skills firsthand, you have the chance to discover their time-tested livestock care methods and secrets for yourself.
Think about it. How do the Amish feed and care for their cows, pigs, chickens, and horses? What do they do when their animals get sick? And how do they manage all those daily chores without relying on so much modern equipment?
THIS is how the Amish raise and care for their livestock ➜

2. Use It to Grow Your Own Shiitake Mushrooms
Here’s something you might not have thought of. An old bathtub can be a great addition to your garden if you want to grow your own mushrooms on logs.
To do this, you need inoculated logs that are all set to produce mushrooms. You can easily find inoculation kits online.
Once you have the logs and they are ready to produce mushrooms, you need to soak them in cold water for about 24 hours to encourage a new crop.
And a bathtub is just about perfect for this.
Plug the drain, fill it with clean, cold water, and put the logs in. You may need something heavy to keep them underwater.
The next day, drain the tub and move the logs back to a shady spot.
Within several days, you should start seeing mushrooms appear. Just give the logs several weeks to recover before soaking them again.
3. Turn It Into a Microgreens Growing Station
Another interesting use for an old bathtub is transforming it into a little money machine.
How?
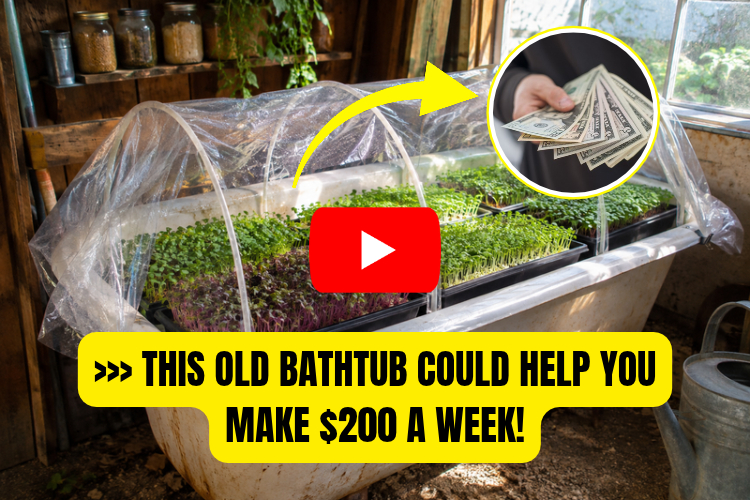
You can use it to grow fresh microgreens. These are some of the best things you can sell at this point. There’s a huge market for them. They are also very useful during the cold season when your garden is not producing much.
For this, you’ll need shallow trays.
Set the trays on a sturdy raised platform inside the tub so they get plenty of light. Try growing radish, broccoli, or pea shoots. Keep the soil moist, make sure the trays drain properly, and don’t let water collect in the bottom of the tub.
If you have a sunny greenhouse, this is a nice little setup. You can start a fresh tray every few days and have something green to harvest for the kitchen in as little as a week or two.
And if you get good at growing these little greens, there’s something else worth knowing.
People actually pay pretty good money for them.
Take Katie Staudt, for example. She grows microgreens in a spare bedroom in Chicago and sells them at farmers’ markets for $8 per two-ounce package.
Now, think about that for a second.
If you could sell just 25 packages a week at that price, that’s $200 a week, or $800 in four weeks.
And you don’t have to turn your homestead into a commercial farm to get started. You can begin with a few trays, learn what grows best, and see if there’s a market for them in your area.
The first thing I’d get is a good selection of seeds.
Here’s a Sprouts & Microgreens Seed Bank worth checking out.
It comes with six varieties, including broccoli, radish, and red kale, plus a glass jar for growing sprouts and instructions to help you get started.
Use the seeds in your microgreens trays, and the jar for growing fresh sprouts indoors.
Why not start growing some for your own kitchen and see where it takes you?
Take a look at the seed bank and see what you can grow.
4. Fill It With Soil for a Deep Raised Bed
If you look at it carefully, you’ll notice that a tub gives you 14 to 16 inches of soil depth. This is perfect for plenty of carrots, beets, potatoes, and other deep-rooted crops.
In case you’re thinking about trying this setup, I have one thing I want to advise you to do: Set it securely on cinder blocks. This will keep the tub from bedding in case you have one that is not made from cast iron.
For a regular planter, leave the drain open. Cover it with hardware cloth so the water drains without taking the soil along.
To water less often, turn it into a wicking bed. Plug the drain, set bricks or upside-down crates in the bottom, cover them with stiff mesh, and add an overflow hole at that level. Run a pipe into one corner to fill the reservoir. Moisture gets drawn up into the soil, and in summer you may only need to refill it once a week.
One thing to watch with very old tubs: some antique enamel contains lead. If the finish is badly chipped, line it with heavy plastic before growing food, or save that tub for flowers.
But you know what would make this DIY bathtub raised bed even better? If it could water itself.
Just imagine planting your crops and not having to worry about watering them until it’s time to harvest. How amazing would that be?
Well, you can make it happen with a simple DIY project that’s easy to set up and will keep saving you time and work for years to come.
The idea is pretty clever. You combine your bathtub raised bed with a system that uses rainwater to keep the soil moist. So not only does it water your crops, but it also collects the water it needs, all on its own!
Click here to see how you can build a garden that practically waters itself ➜
5. Put a Window on Top and Call It a Cold Frame
This one is easy and also one of the most useful things on this list.
Fill the tub with soil, lay an old storm window or some clear corrugated roofing over it, and you’ve got a little cold frame.
Or you can simply keep the cover down with rocks and slide it open on warm days.
That extra protection can make a difference of roughly one growing zone. In the right climate, you could still be picking spinach, kale, and other hardy greens in December or January.
6. Use a Smaller Tub as a Chick Brooder
If you happen to have a smaller tub, you don’t need to think it’s useless. You can use it for your chickens and make a DIY chick brooder.
A bathtub has smooth, high sides, no tight corners, and it’s easy to scrub between batches. Perfect for this job.
Add bedding and set a brooder plate or securely mounted heat lamp over one end, so chicks can move away from the heat. Cover the top with hardware cloth to keep curious animals out.
The sides help block drafts, too, and keep the barn cat from getting ideas.
When the chicks are grown, you can use the same tub for a hen that needs to be separated from the flock for a while.
7. Make It Your Outdoor Wash Station
Set the tub on a sturdy waist-high frame, run a hose to it, and you’ve got a harvest wash station.
Wash carrots, beets, potatoes, and greens outside, so all that grit stays out of your kitchen plumbing.
Attach an old hose to the tub drain and run the used water toward a tree or flower bed. That way it doesn’t go to waste.
You can also fill the tub with ice water to chill birds on butchering day. Just scrub it well with hot, soapy water and rinse thoroughly before and after using it for food.
8. Turn It Into a Worm Bin With Its Own Tea Tap
A tub makes a good worm bin, especially with its built-in drain. Set it on blocks with the drain end lower, and put a bucket underneath to catch the runoff.
A wooden frame covered in hardware cloth keeps the bedding above standing water. Screen the drain too, unless you want the worms making a break for it. Then add bedding, worms, and kitchen scraps. An old screen door works as a lid to keep rats and raccoons out.
Find a shady spot for it. Worms don’t like the heat, and a tub left baking in the sun won’t do them any favors.
Also, did you know that once you have the worm bit for your chicks, you’ve covered 40% of their feed needs?
And if you want to cover 30% more, here’s another thing you can do. There are some herbs chickens love. These are nutritious herbs that people have long used on their homesteads when raising free-range chicks.
The idea is that if you combine the worm bin with the herbs, you’re basically covering 70% of the feed needs. This means you’ll buy much less feed for your flock wich transates as more money that remain in your pocket. This is a big deal, especially now, in this economy.
So if you want to start doing this, take a look at this pack.
Here you can find all the herbs necessary for a nutritious meal for your chickens. Alfalfa sprouts, borage, basil mix, cilantro, dill, fennel, and many more.
And here’s the main advantage of these plants: If you don’t have outdoor space to grow them, you can also grow them inside.
So, if you want to lower dependency on commercial feeds and cut feed costs by providing chickens with healthy, organic treats from your garden, this is your best bet.
Get the ultimate chicken herbs pack from here.
You may also like: 
Here’s Something Every Family Should Know Before That Day Comes… (Vide0)
These 7 Homesteading Skills Pay for Themselves in Under a Year
What Happens if You Bury Tea Bags in Your Garden
Should You Paint Your Chicken Coop Blue? Here’s the Truth