Has this ever happened to you? You feel like you’ve done everything right, but something is still off with your garden.
You’ve followed everything by the book. You built up your soil with compost, started seeds on time, planted the best varieties for your climate, and stayed on top of the weeds. It was hard work, and you were expecting to see the results, but the payoff was not there.
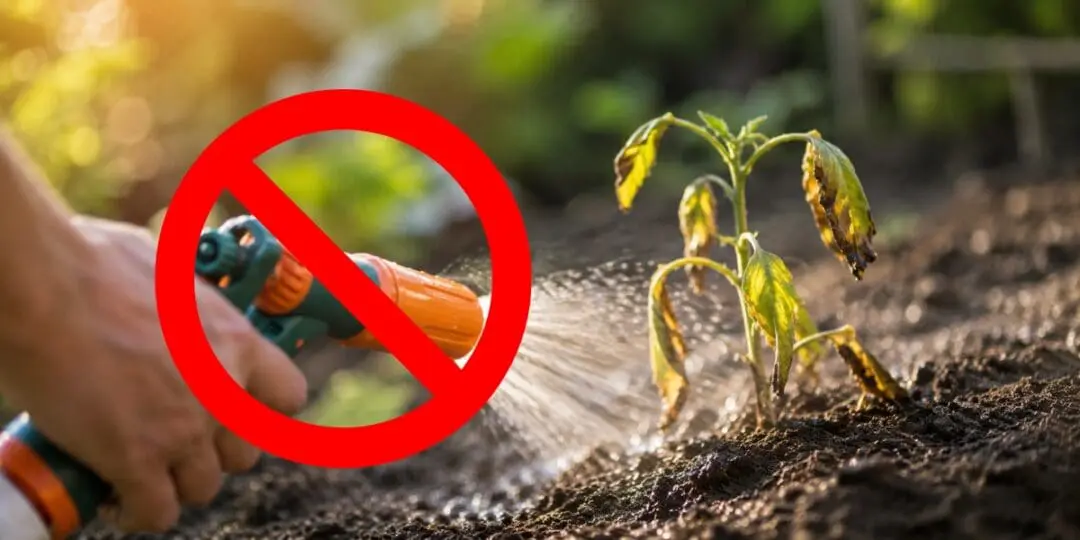
Then it’s already mid-summer, you can’t understand what’s going on. Your tomato leaves have crispy brown edges and the carrots came up patchy. There’s also a faint white crust on the soil that wasn’t there before. What is happening?
Naturally, you blame the weather or the seeds. But there’s a good chance the real culprit is the water coming out of your garden hose.
What’s Actually in Your Tap Water
Your tap water is safe to drink. I’m not arguing with that. But the stuff that makes it safe for humans is not always nice to soil and plants, and I learned this after years of wondering why my garden never quite flourished the way I wanted it to.
Here’s what’s usually wrong with your tap water.
Chlorine – Most city water has it. It kills harmful bacteria in the pipes, but it also kills microbes in your soil. The good ones. The ones that help your plants pull nutrients out of the dirt and fight off disease. The good news is chlorine dissipates pretty quickly once water is exposed to air, so it’s the easiest of the bunch to deal with.
Chloramine – This one is trickier and, honestly, the one I worry about most. Some water utilities switched from chlorine to chloramine because it lasts longer in the pipes. The problem is, it also lasts longer in your soil. For this one, you can’t just let it sit in a bucket and air out. It needs to be filtered or treated.
Fluoride – Added to most city water for dental health. The amount is tiny, but many common plants, including spider plants, dracaena, calathea, and Easter lilies, show damage at levels even lower than what comes out of your tap. I noticed this on my own houseplants before I ever read about it. Brown tips on the leaves, no matter how careful I was with watering.
Sodium from water softeners – If you have a softener on your house and you’re using that water in the garden, you’re slowly poisoning your soil. I know that sounds dramatic, but it’s true.
Softeners swap out calcium and magnesium for sodium. According to Penn State Extension, sodium breaks down soil structure, reduces drainage, and impairs root growth. Plants watered with softened water can wilt even when the soil is wet.
Hard water minerals – Calcium and magnesium. These are the same minerals that leave crusty white deposits on your showerhead and water spots on your dishes. Over time, they build up in your soil and slowly raise the pH. Once your soil gets too alkaline, your plants can’t absorb iron and other nutrients properly, even if those nutrients are sitting right there in the dirt.
Now, if you think about setting up a water filter, I want you to be aware of some things. The type of filter you choose matters a lot. The better the filter, the more expensive it is. For example, a reverse osmosis system for your home can cost thousands of dollars. But think about it, do you really need a filtering system for your whole house?
If you just want to protect your plants from damage, buying an expensive filter is not recommended. As long as the water you drink is safe, you don’t need to spend $3000.
What you can do instead is get a filter that will protect your garden only. The thing is that in this case, you don’t even need to spend money at all. You can build your own activated charcoal water filter in less than 3 hours. Here’s a guide that can help you with that.
If you are not in the mood for a DIY water filter project, you can also get one of the best activated charcoal garden hose filters on the market from here. It has great reviews and I consider it does an amazing job.
This filter screws onto your garden hose in seconds and it turns tap water into the clean water your plants have been begging for. Click here and get your own garden hose filter.
How the Damage Builds Up
The reason I missed this for so long is that plants don’t die overnight. Your plants don’t keel over after one watering. They just slowly start doing worse, and you might blame everything except the water.
But here’s what’s happening in the soil.
The chlorine is killing off the microbes near the soil surface. Healthy soil should be full of bacteria, fungi, and other tiny life that break down organic matter and feed your plants. I think of my soil as a living thing. Repeated chlorinated watering keeps those populations down and your plants unhappy.
The salts are accumulating. Every time you water, more salt comes in. Some of it gets used by the plant, but the rest remains in the soil. When water evaporates from the surface, it pulls those salts upward, which is why you eventually see that white crust I mentioned.
The pH is affected too. Slowly, week by week, your slightly acidic garden soil is turning alkaline. Most vegetables want an acidic pH between 6.0 and 7.0.
Once you push past 7, things start to go downhill. Leaves yellow. Growth slows. You add fertilizer and nothing seems to help.
On the surface, you see leaf tip burn, slow seedlings, poor germination, and a garden that just doesn’t perform the way you were expecting it to perform.
The Plants That Suffer the Most
Some plants tough it out. Established trees, lawn grasses, and most hardy shrubs have deep enough roots and high enough salt tolerance to shake off chlorinated water. I don’t worry about those at all.
But others struggle. Here’s the short list of the most sensitive ones I’ve grown myself.
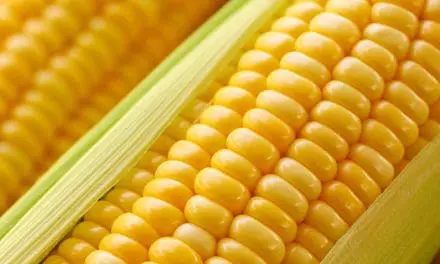
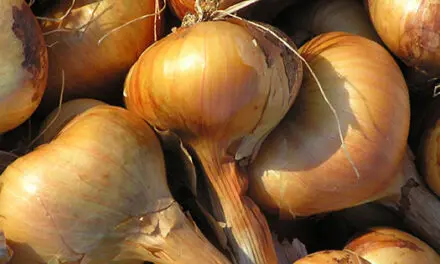
Beans, carrots, onions, peas, and radishes – These have very low salt tolerance. If you’ve ever planted carrots and had them come up patchy and stunted, salty water could be why. I lost a whole row of carrots one year and couldn’t figure out what went wrong. Now I know.
Strawberries and raspberries – Both struggle in salty soil. Strawberries especially. I had a strawberry bed once that I could not get to thrive no matter what I did. I composted, mulched, replanted with fresh runners, and still got nothing. The water was the problem.
Seedlings of just about anything – Young plants are far more sensitive than mature ones. A salt level that an established tomato shrugs off can kill a tomato seedling. This is why I start all my seedlings with rainwater now.
Indoor houseplants – Spider plants, dracaena, calathea, prayer plants, and peace lilies all show fluoride damage. If you’re watering houseplants with tap water and seeing brown tips, that’s why.
On the more resistant side, asparagus, Swiss chard, and most herbs can handle a fair amount of stress. Lawn grass usually does fine. Mature trees do fine. But your vegetable garden and your sensitive ornamentals are paying a price and the worst thing is that you are not able to see it right away.
Why Rainwater Beats Everything Else
Rainwater is the answer. It always has been. Before tap water existed, every farmer and gardener relied on rain, and there’s a reason plants respond to it the way they do.
Rainwater is soft. It has almost no dissolved minerals, no chlorine, no fluoride, and no sodium. It’s slightly acidic, around pH 5 in most parts of the country, and this is perfect for most vegetables.
And here’s the best part. When lightning strikes during a thunderstorm, it breaks apart the nitrogen molecules in the air and turns them into nitrogen compounds that dissolve into the rain.
By the time those raindrops hit your garden, they’re carrying free fertilizer. This is why my garden always looks noticeably greener the day after a good thunderstorm. I used to think I was imagining it, but it turns out I wasn’t.
I want you to know that you don’t need a fancy setup to collect rainwater. I started with two food-grade 55-gallon barrels under the downspouts on my barn. That alone gives me 110 gallons every time it rains hard.
If you want more capacity, an IBC tote (you can get a good quality one here) holds 275 gallons and you can usually find used ones for under $100. I have three of those now and I still wish I had more.
How to Set Up Rain Collection
There are a few things to keep in mind when you set up rain collection.
You need a screen over the inlet to keep mosquitoes, leaves, and critters out. A dark or opaque container helps prevent algae growth, and I experienced this firsthand after a clear barrel turned green on me in about two weeks. So, always go with an opaque barrel.
If your roof has asphalt shingles, divert the first flush of water. That first wash carries the most contamination from the roof surface. After the initial rinse, the water that follows is clean enough for your garden.
Avoid collecting from roofs with treated wood shingles or copper gutters. Those materials are leaching chemicals you don’t want on your vegetables.
I will also post an article about how to build a DIY water collector somewhere later this month, so stay tuned.
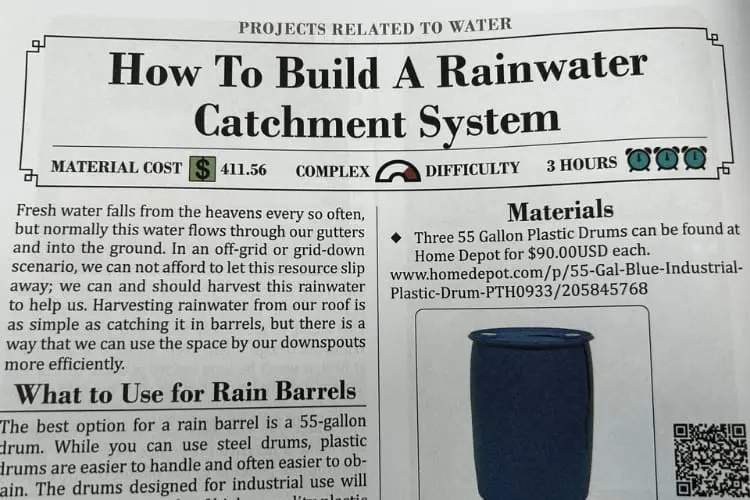
If you want to get the information now, here you can find a step-by-step guide for a simple and reliable rainwater catchment system. In the guide, you’ll find the full instructions and also what materials and tools you need, where to get them from, and the full price for each one of them. You probably already have the tools, and in this case, the price of the project is really low.
Also, you will get many more water projects that will help your homestead during the summer. Click here to get the guide.
Backup Water Sources for Dry Spells
Even with good rain collection, you’ll hit dry stretches. I’ve gone four or five weeks in summer without a meaningful rain, and the barrels run dry. When that happens, you need a backup plan.
Well water – This is usually a good option if you have a well. I test mine once a year for bacteria, nitrates, alkalinity, and hardness, and if you are lucky enough to have a well, you should too. Well water often runs high in dissolved minerals, so if you’re seeing soil pH issues, you may need to adjust with an acidifying fertilizer.
Pond or creek water – This works for irrigation, but comes with risks and the main one is that it can carry pathogens. I’d recommend testing surface water at least three times during the growing season if you’re using it on anything you’ll eat. Also, use drip irrigation when you’re pulling from a pond, because it keeps water off the leaves of anything you’ll eat raw.
Aquarium water – this is just a small bonus, not a main source. If you keep freshwater fish, the water you drain during tank changes is full of nitrates from fish waste. You can use it on your flower beds and ornamental shrubs. Don’t use water from a saltwater tank or any tank where you’ve added medications.
Tap water as a last resort – If tap water is all you’ve got, you can still make it work. You just have to treat it, and this is how you do it.
How to Treat Tap Water Before You Use It
Here’s how I take some of the bite out of tap water when I have to use it.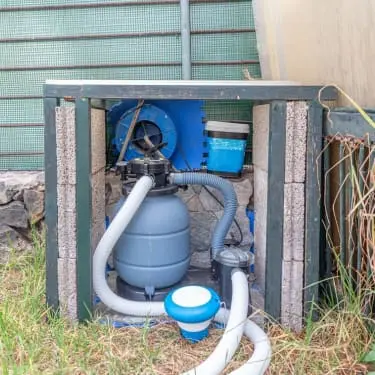
For chlorine, fill a bucket or barrel and let it sit uncovered for 24 hours. The chlorine off-gasses into the air and you’re left with much safer water. Sun helps speed up the process. This is the simplest fix and costs nothing, and it’s what I do when my rain barrels run dry mid-summer.
For chloramine, sitting won’t help. You need a carbon filter. Garden hose carbon filters are inexpensive and you can screw one right onto the end of your hose. They also help with chlorine, sediment, and some metals. Replace them according to the manufacturer’s instructions, usually every season or two, depending on use.
For fluoride, there’s no easy fix at the hose. The filters that remove it cost more than they’re worth for outdoor gardening. If you have sensitive houseplants, collect rainwater for those specifically and use tap water for the tougher outdoor plants.
For softened water, the answer is simple. Don’t use it on plants. Ever. Most softener systems have a bypass valve. Find out where your outdoor spigots tie in and make sure they’re on the unsoftened side. If they’re not, have a plumber add an outdoor tap before the softener.
How to Tell If Your Soil Is Already Affected
Sometimes the damage is already done and you simply don’t know it. If you want to do a quick check-up, walk out to your garden and look for these signs.
White crust on the soil surface – This appears especially in containers or raised beds. That’s salt buildup.
Brown tips and burned-looking edges on leaves – You’ll see this most on young plants, herbs, and houseplants.
Slow germination or patchy seedlings – Even with seeds you know are fresh.
Soil that gets hard and crusty when dry and turns into mud when wet – That’s a sign of broken-down soil structure, often from sodium.
If you want to be sure, you can pick up a basic soil test kit from here. It’ll tell you the pH and give you a rough idea of how much salt has built up.
I keep one in my garden shed and check my beds a few times a year. If the pH reads above 7, your soil is drifting alkaline. If the kit shows high salts, you’ve got buildup. Both are fixable, but you have to know what’s going on and what’s the cause of the problem.
A Simple Watering Routine You Can Follow
Here’s how I water on my homestead, and it works through dry summers and rainy ones.
I prioritize rainwater for everything sensitive. Seedlings, transplants, leafy greens, berries, and houseplants get rainwater whenever I have it.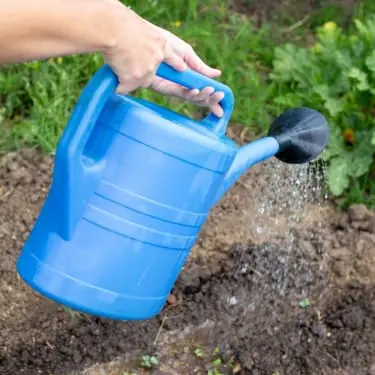
I use tap water on tougher plants like established trees, lawn, and hardy perennials. They can handle it.
Once a month during the growing season, I flush my raised beds and containers with a deep watering of rainwater. This pushes accumulated salts down through the soil and out of the root zone. If I’ve been forced to use a lot of tap water, I do this more often.
I water deeply and less often, not lightly every day. Deep watering pushes salts downward. Shallow daily watering concentrates them at the surface where roots live. I see folks watering for ten minutes a day every day, and they’re doing more harm than good.
I water early in the morning. Less evaporation means less salt left behind, and the plants have all day to use the moisture before night.
Final Thoughts
Water is one of those things you don’t notice is damaging unless it causes immediate problems. And as you have seen, this is not the case for water. The damage makes its presence felt in the long run.
So, you might turn the hose on, soak the garden, and move on. That’s what I did for years before I figured out what was going on. You can have the best soil and the best seeds, but if your water is working against you, your fight will be all in vain.
The fix doesn’t have to be expensive or complicated. A couple of rain barrels, a cheap hose filter, and a little awareness of what you’re putting on your plants will take you a long way. Your soil will thank you, your plants will thank you, and your harvest will thank you too.
You’ve seen what tap water does to your garden. The chlorine that wipes out good microbes. The salt that builds up in your beds.
And yes, rain barrels help, but only until the rain stops. One dry spell and your rainwater supply is gone in a couple of days. Filters help too, but only as long as you have water coming in. Both of them work, just not when you’re in a truly off-grid scenario.
Then you have this little setup folks are putting together in their garages right now that gives you clean water on demand. Pulled straight out of the air. No tap, no well, no rain.
It sits in the corner of the yard and fills a barrel a day. Enough to keep your tomatoes, your peppers, your seedlings drinking the kind of water they need.
Costs next to nothing to build and runs without you making any effort. Once it’s up, it’s yours for years to come. Click here and see how to build it.
Your garden shouldn’t have to depend on the weather, the water company, or the next dry summer. The Water Freedom System puts the choice back into your hands.
You may also like: 
Join Our Homesteading WhatsApp Community!
This Is How You Drought-Proof Your Home (Video)
9 Plants That Grow With No Water
What Happens if You “Water” Your Garden With Spoiled Milk
The Best Time to Water Plants: A Natural Grower’s Guide


Man, as much as I love this article, I HATE videos like the “this little setup” link in here, taking 20 minutes to repeat the same message over and over without actually providing any information.
Anyway, the rest of the post, though, might perfectly explain a lot of the stunted growth experience we’ve been having in our garden. So, I’ll be experimenting with the solutions suggested. I mean, all the _other_ solutions, since I never really was able to “Get the Blueprints Now!” from the link.