If your garden gets a little smaller every year because your back can’t take what it used to, keep reading.
You till in spring. You fight weeds all summer. And by August you’re moving like someone ten years older than you were in May.
So, what if you never had to turn that soil again? What if the garden got better every season while you did less work on it?
That’s what a no-dig garden does. You build soil on top of the ground instead of tearing into it, and after the first year, the hardest job out there is spreading compost while standing up.
I find this idea perfect for seniors and I am seriously thinking about making this a reality on my homestead.
I’m going to walk you through the whole thing, from start to finish, and I hope this will help you and your back.
What No-Dig Actually Means
The idea is simple. You stop turning your soil, and you feed it from the top instead, the way a forest floor feeds itself.
You smother the grass with cardboard, you put compost on top, and you plant into the compost. The worms and everything else living down there do the mixing for you.
Ruth Stout figured this out a long time ago. She and her husband moved to a farm in Redding, Connecticut in 1930, and she started gardening at 45. Every spring she waited on the man who was supposed to come plow the field, and every spring he showed up late.
One year she got tired of waiting and looked over at her asparagus. Nobody plowed for the asparagus. It came up fine on its own.
So she asked herself why she was plowing for everything else. She covered the whole garden in spoiled hay instead, and she never plowed again. She grew her own vegetables into her nineties.
She also wrote a book about all of this called How to Have a Green Thumb Without an Aching Back. It’s an amazing read and I learned a lot from it. This book is what sparked this idea in my mind, and I wholeheartedly recommend it to anyone interested in gardening and homesteading.
Why This Is Easier on Your Body
A sore back after a day in the garden usually comes from bending forward and holding that position, or twisting while you’re carrying something heavy, or getting down on your knees and back up again all afternoon. Tilling and double digging put you through all of it.
No-dig takes the digging out completely. This is the heart of the whole concept and this is why I find it so interesting. The big question is how you do that? What kind of garden is that where you don’t need to dig?
Well, this is all about planning, at least when you first start. How you lay the garden bed out matters and there are a few essential choices at the start that will save you all season.
Keep your beds 3 to 4 feet wide so you can reach the center from either side without leaning in. A 5-foot bed will have you stretching over the middle all summer, and that stretch is horrible for an aging back. Then make your paths at least 2 feet wide, enough for a garden cart to roll through. Hauling buckets by hand because the cart won’t fit is how you end up walking sideways for a week.
Want to cut the bending down further?
Build a vertical pallet garden. It’s all laid out here, in the Lost Skills of Independence.
See a preview of the book on lost-skills-of-independence.com. If you click now, you’ll automatically get a 76% early bird discount.
This book has some of the greatest illustrations I’ve seen in years. Take a look. You won’t regret it.
And the last thing I recommend is a rolling seat. Planting and thinning put you on your knees, and a cheap rolling stool lets you sit and scoot along the bed instead.
How I Keep My Back and Joints Healthy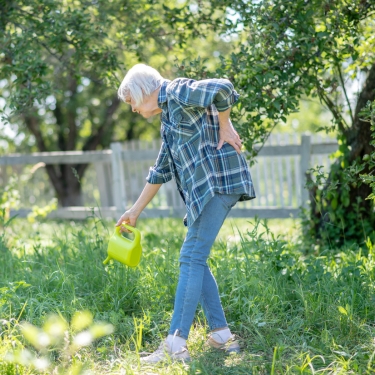
I already have a rolling stool and it helps a lot, but most of the time this is not enough. This is why I need a little extra help.
If you have a body tired from working for a whole life, all of the aiding tools are a saving grace, but you also need a little bit of help from the inside.
No matter how old you are, your body still has the ability to heal itself and the best thing you can do is boost that.
As you age, this self-healing superpower becomes rusty, but you can boost it and this is what I want to tell you more about now. Imagine this process like taking vitamin C when you have a cold. This makes your immune system more efficient and your body fights the cold more efficiently, and in the end you feel better faster.
The same principle applies to back pain and sore joints. Your body is trying to make things better, but if you give it some extra help, it will do the job much quicker. This means less pain and better mobility. Exactly what you need when you want to work in the garden.
What saved me is this 100% organic St. John’s Wort and Cayenne-based salve. It speeds up the healing process and makes your pain go away faster. I use it every day during the months when I am more active in the garden and it works amazingly for me.
Getting Your Materials Without Overspending
You only need two materials for this bed, and there’s a way to get most of it for nothing.
Cardboard – Plain brown corrugated only. Skip anything glossy, waxed, or covered in colored printing. Pull off every bit of tape and every staple, because that plastic will still be in your bed three years from now.
Appliance and furniture stores will hand you the big sheets for free, and bigger is better since fewer seams mean fewer places for weeds to sneak through.
Compost – This is the part that costs money, so let’s do the math. One cubic yard covers about 100 square feet at 3 inches deep. A 4×8 bed at 4 inches deep comes out to a little under half a yard, so order half and you’ll have a bit left over.
You always want a bit left over. That same amount would take five or six of those 2-cubic-foot bags from the garden center, and you’ll pay a lot more for the privilege. So, buy bulk and call two or three places to compare.
Now, if you don’t want to spend anything on your compost, this is great, because making it yourself is the self-sufficient approach and the one I recommend. I’ve done this every year and I’ll keep doing it as long as I’ll be able to take care of my homestead. 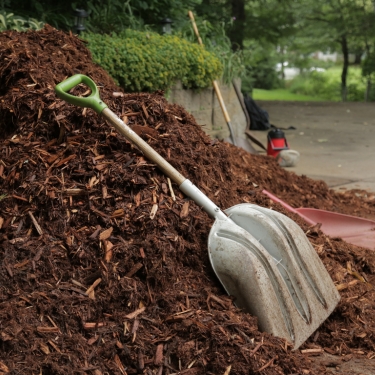
The free route – Municipal leaf collection in fall. Tree services looking to dump wood chips. Stables that want the manure pile gone. Coffee shops that will save you grounds if you ask. If you start collecting in autumn and build in spring, you can put a bed together for almost nothing.
And here’s the catch with free material, and I want you to pay attention now.
Some pasture herbicides, aminopyralid and clopyralid mostly, pass straight through a cow and survive composting. They stay active in hay, straw, manure, and finished compost for a couple of years.
Then they twist up your tomatoes and beans and peas and potatoes, and those plants produce nothing at all. Missouri Extension and the Oregon State Small Farms program have both documented the damage, so this happens plenty.
Before you start using something new in your garden, make sure you run a quick test.
Fill two small pots with the compost you’re questioning and two more with soil you already trust. Plant three bean or pea seeds in each pot. Water them, set them somewhere warm, and wait two to three weeks.
If the new growth in the compost pots comes up twisted, cupped, or fern-looking while your control pots look normal, don’t use that compost. Think about it this way: it’s a few weeks of waiting against a whole season of nothing.
Laying the Cardboard Down
Pick a spot that gets 6 to 8 hours of sun and where water doesn’t stand after a hard rain.
Mow the grass as low as you can – Leave the clippings right where they fall. They’re nitrogen, and they’re already there.
Dig out the tough perennial weeds first – Bindweed, quackgrass, Bermuda grass, and Japanese knotweed come right up through cardboard. Everything else, the cardboard handles it.
Overlap your edges by at least 8 inches – Weeds find every gap you leave them, no matter how small.
Use 4 to 6 layers and stop there – Piling it thicker keeps water and air from reaching the soil, and you want that cardboard soft in two or three months so roots can get through.
Soak it all the way through – Dry cardboard sheds water like a roof, and beds stay bone dry underneath all season because of it. Wet it going down, and wet it again once the compost is on.
Now, if you already have a garden and you just want to quit tilling it, skip the cardboard entirely. Pull your spent plants, leave the roots in the ground to rot, spread 2 inches of compost over the top, and park the tiller. That’s the whole conversion.
Also, if you want your new no-dig garden to survive winter, check out how to winter-proof your garden.
Moving the Compost Without Hurting Yourself
Now you have the cardboard down and there’s a compost pile sitting on your driveway. This is the hardest day of the whole project, and I get it, moving half a yard of compost is hard work. So, let’s make it as easy on you as we can.
Pay for the closest drop you can get – Every foot between the pile and the bed is a foot you’ll walk forty times. If the driver can back closer for another twenty dollars, that’s the best twenty dollars in this project.
Fill the wheelbarrow halfway – More trips, lighter loads. A full barrow tipping sideways on soft ground is exactly where you get hurt.
Use a manure fork instead of a shovel – Compost lifts easier on a fork, and a fork lets you flick material off instead of carrying it.
Dump and rake, don’t lift and place – Tip the barrow at the end of the bed and pull the compost down the length with a rake. Your arms do the work and your spine stays where it belongs.
Move your feet instead of twisting – Twisting while you hold weight does more damage than the weight itself. So, turn your whole body and take the extra half step.
Break it into 20-minute blocks – Three easy weekends beat one Saturday that puts you on the couch for a week.
Did you know you can boost your compost and make it x2 more effective?
All you need are banana peels and eggshells. See how to make your compost stronger.
Building the Layers That Turn Into Soil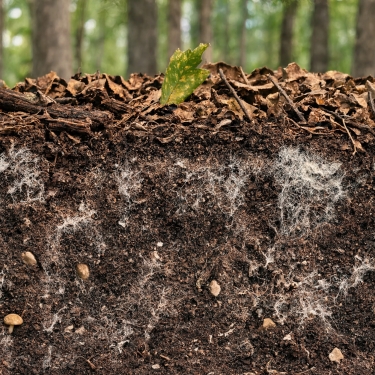
You’ve got two roads here, and which one you take depends on when you want to eat something.
If you’re building in fall for next spring, layer it deep. Cardboard is carbon-heavy, so your first layer on top of it should be nitrogen. Composted manure, coffee grounds, fresh grass clippings.
Then a carbon layer on top of that. Leaves, straw, shredded paper. Then nitrogen again, then carbon again, and keep alternating until you’re 18 inches high or more.
Water each layer lightly as you add it, and always finish with carbon on top so flies don’t move into your kitchen scraps.
A bed built this way needs about six months before it’s ready to plant. Oregon State University Extension has the full breakdown of the process.
If you want to plant this month, skip the layering. Put 4 to 6 inches of finished compost straight onto the wet cardboard, rake it level, and plant into it.
The compost is your growing medium for year one, and the cardboard softens underneath while your plants are already going.
What to Plant Your First Year
Some crops do better in a brand new no-dig bed than they ever did for you in tilled ground.
Potatoes – Lay them right on the compost surface and cover with more compost or straw as the shoots come up. You skip the hilling with a shovel entirely. And at harvest you pull the mulch back and pick them up off the ground with your hands.
Squash and zucchini – Heavy feeders, and a rich new bed suits them perfectly. They sprawl out and shade the surface, which holds weeds down for you.
Lettuce, kale, chard, and spinach – Shallow roots that love loose compost, and you harvest all of it standing up.
Beans, peas, and tomatoes – Stakes and cages push into compost without any trouble at all.
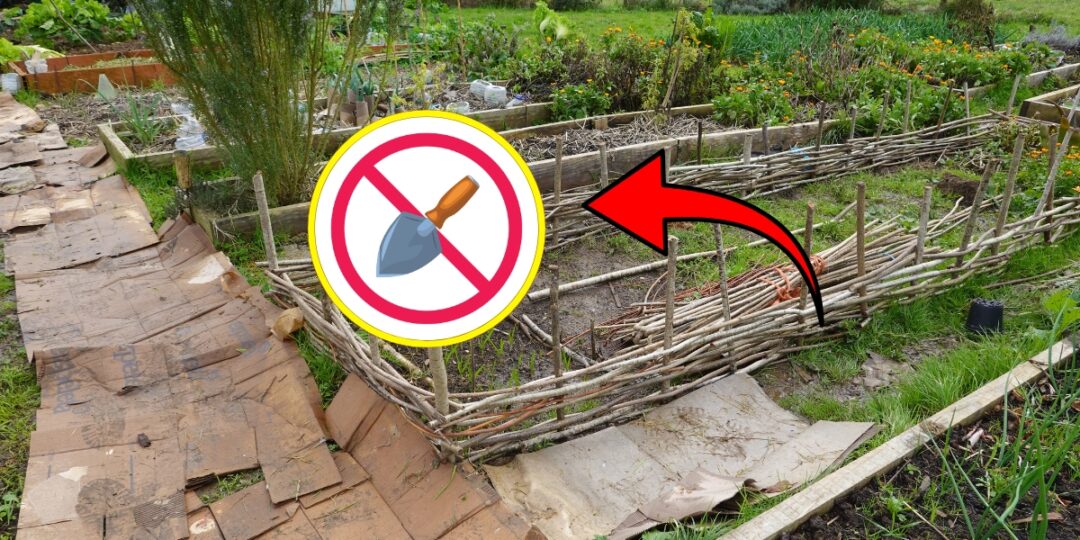
Garlic and onions – These go in with your thumb, so you can skip the trowel and stay off your knees.
If you don’t know where to start, using the Amish Crop Rotation Method is one of the easiest ways to get a big harvest since year one.
Now, hold off on long carrots and parsnips the first year. They’ll grow fine. The problem is that fresh compost dries out fast at seed depth, so your germination comes up patchy. Stick with shorter types like Chantenay, plus beets, radishes, and turnips.
By year two or three, the worms have drilled channels straight down through the soil under your compost, and carrot roots follow those channels. Which means no-dig carrots often come out straighter than carrots pulled from ground you broke up with a tiller. And that’s the opposite of what you’d expect.
One more thing. Start with transplants where you can instead of direct seeding. Slugs love a fresh mulched bed that first spring, and a seedling with some size on it survives what a sprouting seed won’t.
Where No-Dig Gives You Trouble
I’m not going to sell you something without telling you what goes wrong.
Voles and mice – Deep mulch is the favorite place for rodents. So, avoid thick organic mulch layers because they encourage vole tunneling. Keep a thin, bare buffer around your bed edges, mow the grass short nearby, don’t pile mulch against tree trunks.
Also, if you want to be 100% sure voles and mice won’t ruin your garden, the best way to take care of them is by using some traps.
This is a great resource where you can find how to make traps that are humane and don’t kill them and also traps that take care of them forever. Your choice.
Slugs – Loose hay and straw give them somewhere to live. Keep the chunky stuff on your paths and let finished compost be the surface of the bed itself. The method I use is “the Amish slug repellent wall.”
It’s a smart trick that uses things you already have on the homestead and since it has protected the crops of the Amish for hundreds of years, I can say that I fully trust it.
Too much compost, and yes, that happens – Oregon State surveyed home garden soils and found gardeners regularly overdo it. One bed tested at 30% organic matter from compost alone, and those pepper plants burned out and died before the season ended.
So, get a soil test every two or three years. If your organic matter sits in the 3 to 5% range, hold off on more, and switch your yearly top-up to something lean like leaf mold or wood chips. You want that ground covered. It doesn’t need feeding every single year.
Keeping It Alive Year After Year
After that first build, the work drops off a cliff.
Add 1 to 2 inches of compost a year – Fall is the best time to do it. Frost breaks up the lumps over winter and the worms pull it down, so you get a decent surface by spring without touching it.
Break your clumps down to golf ball size or smaller – Weather handles the rest.
Skip the cardboard from here on – You only needed it to kill the grass, and that grass is gone.
Never leave the surface bare – Either something’s growing in that bed, or something’s covering it. Bare compost grows weeds and crusts over.
Build a greenhouse – If you want your no-dig garden to survive every season and be as productive as possible, a greenhouse is the only thing that can help you with that. If you don’t want to spend money on a Temu greenhouse that breaks down in one season, you can build a DIY greenhouse by following 4-easy-steps.
And here’s something worth knowing. Weed seeds only sprout near the surface. Every time you ran that tiller, you were hauling up a fresh batch of dormant seed and handing it sunlight. Stop tilling and you stop reseeding your own weed problem, which is why the weeding drops off hard by year two.
Not deeper than that, and there’s a reason. 4 inches lets roots reach the native soil underneath pretty quickly, and that soil is where the real fertility lives.
Final Thoughts
Ruth Stout said something in 1955 that nobody wanted to hear, which is that the hardest work in a garden is usually the work that does the least.
You don’t owe that ground a tilling. It was building itself just fine before any of us showed up with machinery.
You can start this week with one garden bed and see if you like it.
If you decide to try this method or if you already have a no-dig garden, I want to hear more from you in the comments below.
You may also like: 
These 10 Watering Mistakes Waste 50% of Your Water
The Drought-Proof Water Generator Backpack (Video)
How to Get Rid of Poison Ivy for Good, Without Chemicals
7 Seeds You Should Never Buy From a Big Box Store
Easy Pruning Techniques for Flowering Shrubs