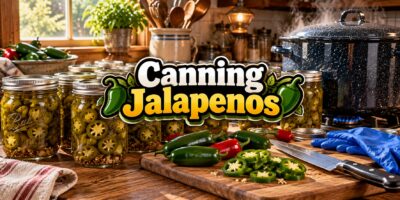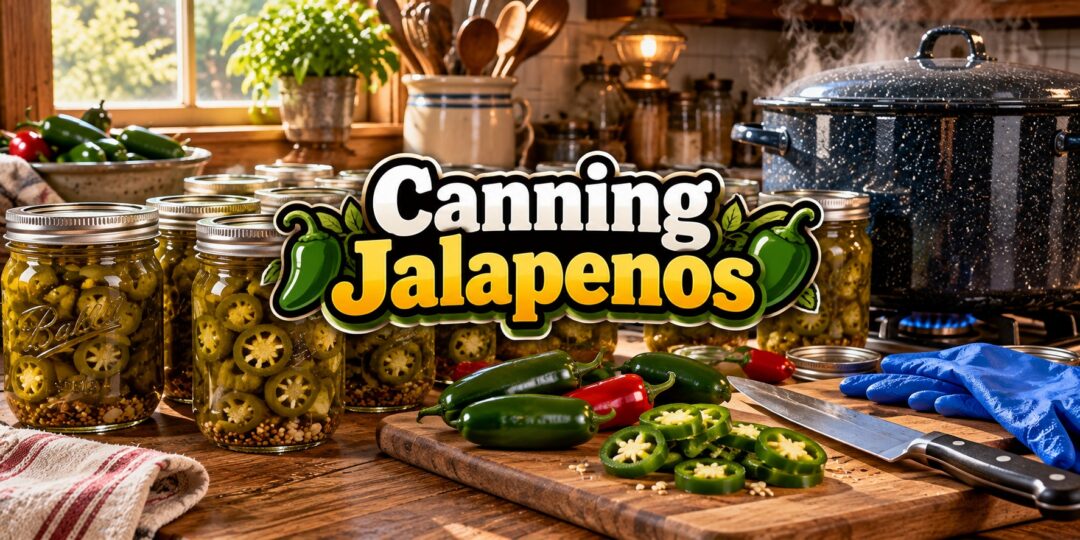
Every August, my jalapeño plants go from a handful of peppers a week to more than I can give away. The neighbors start avoiding eye contact when they see me coming up the driveway with another bag.
Canning is how I keep that harvest from going to waste. A shelf of jalapeños in the pantry means tacos, nachos, chili, and sandwiches with a kick all winter long.
But jalapeños come with an important catch that a lot of online recipes ignore. Here’s how I can mine safely, using tested methods, and what you need to know before you start.
Why You Can’t Just Can Plain Jalapeños in a Water Bath
Peppers are a low-acid food. That means plain jalapeños packed in water can’t be safely processed in a boiling water bath, because the temperature never gets high enough to destroy botulism spores.
There are two safe routes. You can add enough acid by pickling them in vinegar, which makes them safe for a boiling water canner, or you can can them plain in a pressure canner.
Clemson Cooperative Extension’s directions for plain peppers call for processing half-pints or pints for 35 minutes at 10 pounds in a weighted-gauge canner or 11 pounds in a dial-gauge canner. Most home canners, myself included, pickle jalapeños instead, since that’s how we like to eat them anyway.
Choosing and Prepping Your Jalapeños
Start with firm, glossy jalapeños with no soft spots, wrinkles, or signs of rot. Peppers picked the same day you can them give you the best texture.
Green jalapeños are the classic choice, but red ones work too and are a little sweeter. Mixing both colors makes jars that look beautiful on the shelf.
Wear Gloves, Seriously
I learned this the hard way. The National Center for Home Food Preservation warns to wear plastic or rubber gloves and avoid touching your face while cutting hot peppers, and if you skip gloves, wash your hands thoroughly with soap and water before you go anywhere near your eyes.
Work in a well-ventilated kitchen, too. Heating vinegar and slicing a few pounds of jalapeños can fill the air with enough capsaicin to make you cough.
Controlling the Heat
Most of a jalapeño’s heat lives in the white membranes and seeds. You can’t change a tested recipe’s vinegar or salt, but you can control heat by your choice of peppers.
Clemson notes that for marinated peppers, you can use all jalapeños for a hot style, half jalapeños and half sweet peppers for medium, or one part jalapeños to three parts sweet peppers for mild. Swapping peppers within the recipe’s total weight like that keeps the acid balance the same.
What You’ll Need
- Fresh jalapeños, washed and dried
- Vinegar labeled 5% acidity (cider or white, as the recipe calls for)
- Canning or pickling salt, not iodized table salt
- Pint or half-pint canning jars with new lids and bands
- A boiling water canner with a rack, or a deep stockpot with a rack
- A jar lifter, canning funnel, and headspace tool
- Plastic or rubber gloves
- A mandoline or sharp knife for slicing
Method 1: Pickled Jalapeño Rings
This is the tested recipe for classic sliced jalapeño rings, the kind you find on nachos. It uses pickling lime to keep the rings crisp, which adds a day to the process but makes a big difference in texture.
Ingredients (Makes About 6 Pints)
- 3 pounds jalapeño peppers
- 1½ cups pickling lime
- 1½ gallons water (for the lime soak)
- 7½ cups cider vinegar (5%)
- 1¾ cups water (for the brine)
- 2½ tablespoons canning salt
- 3 tablespoons celery seed
- 6 tablespoons mustard seed
Steps
Wearing gloves, wash the peppers and slice them into ¼-inch rings, discarding the stem ends. Mix the pickling lime with 1½ gallons of water in a stainless steel, glass, or food-grade plastic container, being careful not to breathe in the lime dust.
Soak the rings in the lime water in the refrigerator for about 18 hours, stirring now and then. The NCHFP allows 12 to 24 hours.
This next part matters for safety. Drain the lime water, rinse the rings well, cover them with fresh cold water, and soak them in the fridge for 1 hour, then repeat the rinsing, soaking, and draining two more times so that excess lime is removed.
Place 1 tablespoon of mustard seed and 1½ teaspoons of celery seed in each hot pint jar, then pack the drained rings, leaving ½-inch headspace. Bring the vinegar, 1¾ cups water, and salt to a boil and ladle it over the peppers, keeping ½-inch headspace and making sure the rings are covered.
Remove air bubbles, wipe the rims, apply lids, and process pints in a boiling water canner for 10 minutes at 0 to 1,000 feet, 15 minutes at 1,001 to 6,000 feet, or 20 minutes above 6,000 feet.
Method 2: Pickled Hot Peppers (Peeled)
This tested USDA recipe covers jalapeños along with Hungarian, banana, and chile peppers. It’s a good choice if you want whole or quartered peppers rather than rings.
Ingredients (Makes About 9 Pints)
- 4 pounds hot peppers, such as jalapeños
- 3 pounds sweet red and green peppers, mixed
- 5 cups vinegar (5%)
- 1 cup water
- 4 teaspoons canning or pickling salt
- 2 tablespoons sugar
- 2 cloves garlic
Steps
Wash the peppers, cut 2 to 4 slits in small ones you leave whole, and quarter large ones. The recipe calls for you to blanch the peppers or blister them so the skins can be peeled, either in a 400°F oven or broiler for 6 to 8 minutes or on a burner covered with heavy wire mesh.
Let the peppers cool, peel off the skins, and flatten small peppers. Pack them into jars, leaving ½-inch headspace.
Combine the vinegar, water, salt, sugar, and garlic, bring to a boil, and simmer for 10 minutes. Remove the garlic, pour the hot liquid over the peppers with ½-inch headspace, and process half-pints or pints for 10 minutes at 0 to 1,000 feet, 15 minutes at 1,001 to 6,000 feet, or 20 minutes above 6,000 feet.
Method 3: Marinated Jalapeños
Marinated peppers are packed in a tangy mix of vinegar, lemon juice, oil, oregano, and onion. They’re richer than straight pickles and wonderful on sandwiches or antipasto platters.
Clemson’s tested version uses 4 pounds of firm peppers, 1 cup bottled lemon juice, 2 cups white vinegar, 1 cup olive or salad oil, ½ cup chopped onion, and 1 tablespoon oregano, with optional garlic and horseradish. Like the pickled hot peppers, tough-skinned hot peppers are blanched or blistered and peeled first.
Clemson directs processing half-pints and pints for 15 minutes in a boiling water bath below 1,000 feet, or 20 minutes at 1,001 to 3,000 feet. If you live higher than that, find a tested source with times for your elevation before canning this one.
Method 4: Pressure Canning Plain Jalapeños
If you want jalapeños that aren’t pickled, for example to chop into salsa or chili later, pressure canning is the only safe option. Small peppers may be left whole and large ones quartered, with the cores and seeds removed.
Blister and peel the peppers, flatten whole ones, and add ½ teaspoon of salt to each pint if you like. Pack loosely, cover with fresh boiling water leaving 1-inch headspace, and process for 35 minutes at the pressure for your canner type and altitude.
Water Bath Canning Step by Step
If you’re new to canning, here’s how the water bath process works for any of the pickled recipes above. Start by filling your canner about halfway with water and heating it while you prepare the peppers.
Set the filled, lidded jars on the rack in the canner, and add more hot water until the jars are covered by at least 1 inch. Bring the water to a full rolling boil, then start your timer, and keep it boiling the whole time.
When time is up, turn off the heat, take the lid off, and let the jars sit for 5 minutes before lifting them out. Set them on a towel, leave them undisturbed for 12 to 24 hours, then check that each lid has sealed and doesn’t flex when pressed.
A Note on Stovetops and Burners
Not every stove handles a big canner well. If you have a smooth glass cooktop, the NCHFP’s guidance on canning on smooth cooktops is worth reading before you start, since some manufacturers advise against heavy canners on glass.
Many homesteaders move canning outside to keep the kitchen cool. Penn State Extension notes that wind can slow a canner coming to a boil and cause temperature to drop on a portable burner, so set up in a sheltered spot.
Why Altitude Matters
Water boils at a lower temperature the higher you live. That means jars at high elevations need more time in the canner to reach the same level of safety.
Look up your elevation before you start, and use the process time listed for your range in the tested recipe. Using the sea-level time at high altitude is one of the most common canning mistakes.
Troubleshooting Common Problems
Most pickle problems trace back to ingredients or technique. The NCHFP’s troubleshooting chart is a great reference, and it lists these common culprits.
- Soft or slippery peppers: Vinegar weaker than 5% acidity, too little brine, or jars that weren’t processed properly. If spoilage is evident, don’t eat them.
- Dark or discolored peppers: Hard water, ground spices, iodized salt, or brass, copper, iron, or zinc utensils.
- White sediment in the jar: Salt with anti-caking agents, which is why canning or pickling salt matters.
- Strong, bitter taste: Too many spices or spices boiled too long in the vinegar.
The NCHFP also warns that if brass, copper, or zinc utensils were used, the pickles should not be eaten. Stick to stainless steel, glass, or unchipped enamelware.
Don’t Improvise Your Recipe
It’s tempting to tweak a canning recipe, but the vinegar, salt, and process times in tested recipes are what make them safe. Never reduce the vinegar, dilute it with extra water, or use vinegar weaker than 5% acidity.
Adding extra low-acid ingredients, like more onions, garlic, or carrots than the recipe calls for, can also throw off the acid balance. If you want to add a spice like oregano or peppercorns, small amounts of dried spices are generally fine, but don’t change the produce or the liquid.
Be cautious with recipes you find online, too. Many popular jalapeño recipes skip the peeling or lime steps or change the brine, and those versions haven’t gone through the same testing as the NCHFP and USDA recipes.
What About Candied Jalapeños?
Candied jalapeños, often called cowboy candy, are hugely popular. However, they aren’t among the tested recipes published by the NCHFP or USDA, so I make small batches and store them in the refrigerator rather than canning them for the pantry.
Other Ways to Preserve Jalapeños
Canning isn’t the only option. Jalapeños freeze beautifully: just wash, stem, slice or leave whole, and freeze on a tray before bagging them.
Dried jalapeños can be ground into chili flakes or powder, and smoke-dried red jalapeños become chipotles. For a quick batch you’ll eat within a few weeks, refrigerator pickles are the easiest of all, and I share a simple method in my list of vegetables you can pickle overnight.
Storing and Using Your Canned Jalapeños
Remove the bands, wipe the jars, and label them with the contents and date. Store them in a cool, dark, dry place, and use them within about a year for the best quality.
Pickled jalapeños taste best after they’ve rested for a few weeks, so the flavors can mellow and blend. Once opened, keep the jar in the refrigerator.
Before using any jar, check that the lid is still sealed and look for bulging lids, leaks, cloudy or bubbling liquid, mold, or off smells. If anything looks wrong, throw the jar out without tasting.
Your Grandparents Knew How to Preserve a Harvest. How Many of Their Skills Have You Lost?
There’s something incredibly satisfying about lining your pantry shelves with jars of home-canned jalapeños. You grew the peppers, harvested them, preserved them, and turned a few weeks of abundance into food you can enjoy long after the growing season ends.
But canning is just one of the many practical skills that once made ordinary households remarkably self-sufficient.
Not so long ago, families knew how to preserve food without wasting a harvest, stretch limited supplies, repair everyday essentials, and make the most of what they had. These weren’t hobbies. They were necessary skills passed down from one generation to the next.
Today, much of that knowledge has nearly disappeared.
What would happen if you had to rely on your own skills instead of the supermarket, the power grid, or modern conveniences?
That’s exactly why Lost Skills of Independence deserves a place in every self-sufficient household.
This practical collection of traditional knowledge is designed to help you rediscover the forgotten skills that made previous generations more resourceful, capable, and independent.
Discover how to:
- Preserve more of what you grow: Explore traditional food preservation skills that help you make the most of seasonal harvests and reduce waste.
- Build a more resilient pantry: Learn the principles of storing and managing food supplies so your household is better prepared for shortages and disruptions.
- Rediscover old-fashioned household skills: Reconnect with practical techniques that helped families accomplish everyday tasks with fewer modern conveniences.
- Make better use of available resources: Develop a more resourceful mindset, reduce unnecessary waste, and learn to get more value from what you already have.
- Become less dependent on modern systems: Explore traditional approaches to everyday self-reliance that remain useful when electricity, supplies, or services are interrupted.
- Pass valuable knowledge to the next generation: Help preserve the practical skills that once moved naturally from grandparents to parents to children.
Imagine having a pantry filled with food you’ve preserved yourself, knowing how to put seasonal abundance to good use, and feeling more confident in your ability to handle unexpected challenges.
That’s what real independence looks like. Not owning more things, but knowing how to do more with what you have.
Every jar of jalapeños you preserve is a small step toward that goal. But there’s an entire world of forgotten practical knowledge waiting beyond your canning equipment.
And the sooner you start learning, the more prepared you’ll be when those skills truly matter.
Don’t let generations of hard-earned knowledge disappear.
Final Thoughts
Canning jalapeños is one of the most satisfying ways to stretch a summer harvest into the rest of the year. With tested recipes, good vinegar, the right salt, and careful processing, you can fill your pantry safely.
Remember the key rule: pickle them for a water bath, or use a pressure canner for plain peppers. Get that right, follow the recipe, and you’ll have jars of spicy goodness ready for every taco night.
You may also like: 
Canning Spaghetti Sauce the Safe Way: A Complete Guide
The Herb You Can Add To Your Coffee Or Tea To Empty Your Bowels Effortlessly Each Morning (Video)
Canning Carrots – The Complete Guide
The Secret Trick That Cuts Fruit Canning Time in Half
Canning Potatoes: A Self-Reliant Staple for Your Pantry
Deadly Canning Mistakes You Probably Make