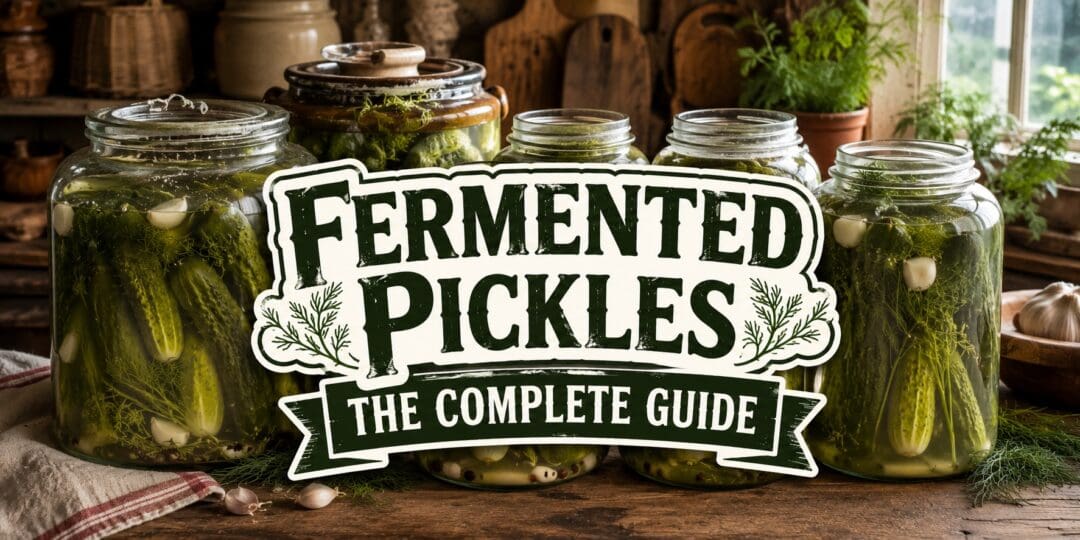
There are pickles, and then there are fermented pickles, and once you have made a real batch of the second kind, the jarred stuff from the grocery store shelf starts to taste like something else entirely. A true fermented pickle is not soaked in vinegar. It is transformed by salt, water, and time, with lactic acid bacteria doing all the actual work. No stove, no canner, no store-bought acid required. For a self-sufficient household, that makes fermented pickles one of the most valuable things you can put up from a cucumber harvest, because the process needs almost nothing beyond what you probably already have on hand.
Why Fermented Pickles Belong on Your Homestead
Vinegar pickles are quick and reliable, but they depend on a bottled ingredient you have to buy. Fermented pickles depend on cucumbers, salt, and water, plus whatever bacteria are already living on the surface of your produce. That is a meaningful difference if you are trying to build a food system that leans less on the grocery store and more on your own garden and pantry.
There is also a nutritional case for going this route. The fermentation process encourages the growth of lactic acid bacteria that were never there in a vinegar pickle, and it makes some nutrients more available than they were in the raw cucumber. It is not a health cure, but it is a genuine upgrade over a jar that got its sourness from a vinegar bottle instead of a living culture.
The Short Version of the Science
Lactic acid bacteria, mainly species of Lactobacillus, live naturally on the surface of fresh vegetables. When you submerge cucumbers in a salt brine and keep air out, you create conditions those bacteria thrive in while most spoilage organisms cannot compete. The bacteria consume sugars in the cucumber and produce lactic acid as a byproduct, which is what gives fermented pickles their sour bite and, just as importantly, is what keeps the batch safe to eat as the pH drops.
Salt is doing more than seasoning here. It is selecting which organisms get to grow. Too little salt and you invite the wrong bacteria and molds to take over. This is why Oregon State University Extension is explicit that salt cannot safely be reduced in a fermented pickle recipe, and that reduced-sodium salt substitutes are not recommended for this reason. If you need to cut sodium for health reasons, fermented pickles are not the preservation method to experiment on.
Choosing and Prepping Your Cucumbers
Pickling cucumbers, not slicing cucumbers, are what you want here. Look for smaller varieties bred for pickling, ideally picked the same day or the day before you plan to ferment, since freshness affects both crunch and fermentation success. Wash them well and trim off a thin slice from the blossom end of each cucumber before brining.
That last step is not just habit. The National Center for Home Food Preservation notes that cucumber blossoms may contain an enzyme that causes excessive softening during fermentation, so removing a 1/16-inch slice from the blossom end helps your pickles hold their crunch. Skip it and you risk a jar of soft, mushy pickles after weeks of waiting.
Building Your Brine
A basic fermentation brine is just water and salt, though most cooks add fresh dill, garlic, and a few whole spices for flavor. Use canning or pickling salt rather than iodized table salt, since the additives in table salt can cloud the brine. A commonly used starting ratio is about 3 to 5 percent salt by weight of your water, which lands most home fermenters in a reliable zone for both safety and texture. Weighing your salt on a kitchen scale gives far more consistent results than measuring by volume, since salt crystal size varies between brands.
- Pickling cucumbers, washed and blossom-end trimmed
- Filtered or dechlorinated water, since heavy chlorine can slow fermentation
- Canning or pickling salt, weighed rather than scooped
- Fresh dill heads or dried dill seed
- Whole garlic cloves, peeled
- Optional add-ins: mustard seed, black peppercorns, a bay leaf, or a small piece of grape or horseradish leaf, which some homesteaders swear by for extra crunch
Step by Step: Basic Fermented Dill Pickles
Pack your trimmed cucumbers into a clean crock or wide-mouth jar along with the dill, garlic, and any spices you are using. Pack them fairly tightly, since a full container ferments more reliably than one with a lot of empty headspace. Pour your prepared brine over the cucumbers until they are fully submerged, leaving enough room at the top for a weight and some bubbling room.
Weigh the cucumbers down so they stay under the brine the entire fermentation. A fermentation weight, a small plate with a jar of water on top, or a zip-top bag filled with extra brine all work. Cover loosely, since gases need to escape, then set the container somewhere out of direct sunlight.
Temperature controls your timeline more than almost anything else. The National Center for Home Food Preservation recommends fermenting where the temperature stays between 70 and 75 degrees Fahrenheit for about 3 to 4 weeks, noting that 55 to 65 degrees is acceptable but stretches fermentation to 5 or 6 weeks, while anything above 80 degrees risks pickles turning too soft. A cool basement or an unheated pantry corner is often the best spot in a house without a dedicated fermentation setup.
What to Watch For While They Ferment
Fermenting pickles cure slowly, and checking on them a few times a week is part of the process, not a sign something is wrong. A thin white film or scum on the surface of the brine is common and should simply be skimmed off. Some cloudiness in the brine itself is also normal and is a sign the fermentation is active.
When to Discard a Batch: If your pickles become soft, slimy, or develop a disagreeable odor rather than a pleasant sour smell, the National Center for Home Food Preservation advises discarding the batch entirely rather than trying to salvage it. Mold that is fuzzy, colored, or that has spread below the surface is also a discard signal, not something to scoop off and continue. When in doubt, throw it out. This is the same standard the CDC applies to all home preserved foods, and it costs you nothing but a jar of cucumbers to follow it.
Storing and, If You Want, Canning Your Finished Pickles
Once your pickles taste sour and crisp the way you want them, the simplest path forward is refrigeration. Fully fermented pickles keep well for several months in the refrigerator as long as you keep removing any surface scum and mold that develops over time.
If you want shelf-stable jars that do not take up refrigerator space, you can can your fermented pickles afterward, but this is where the safety rules tighten considerably. Canning turns a living ferment into a sealed, low-acid preserved food, and the CDC identifies improperly canned or preserved home foods, particularly low-acid vegetables, as the leading cause of home botulism outbreaks in the United States. If you choose to can your fermented pickles, follow a tested recipe from the National Center for Home Food Preservation exactly, including the boiling water bath time, and do not shortcut the process based on a family recipe passed down without those safety margins built in. Fermentation itself is a genuinely low-risk process. Canning afterward is where corners cannot be cut.
Troubleshooting Common Problems
- Pickles turned soft: usually a skipped blossom-end trim, a fermentation temperature that ran too warm, or cucumbers that sat too long before brining.
- Brine turned cloudy and smells off, not sour: this can indicate the salt ratio was too low. Start the next batch with a properly weighed brine rather than eyeballing it.
- Pickles float above the brine: add more weight or top off with additional brine so everything stays submerged, since exposed vegetables are far more likely to mold.
- Fermentation seems stalled in a cold room: this is often just a slower timeline rather than a failure. Give it another week before assuming something went wrong.
Flavor Variations Worth Trying
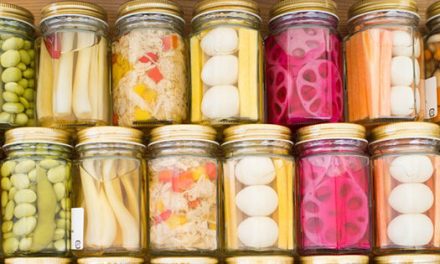
Once you have the basic method down, fermented pickles are an easy place to experiment. A few spicy chili flakes or a sliced jalapeno turns a batch fiery. Swapping dill for tarragon or adding a cinnamon stick and a few cloves gives you something closer to a fermented bread-and-butter style pickle. The same brine and process work on green beans, carrot sticks, cauliflower florets, and sliced radishes, which makes this a technique worth mastering well beyond cucumber season.
🏡 Bring Back the Lost Wisdom of Self-Sufficient Living
Making fermented pickles is about more than preserving cucumbers—it’s about preserving knowledge. For generations, families relied on simple techniques like fermentation, root cellaring, smoking, drying, and canning to feed themselves year-round without modern conveniences.
If you’re inspired by these old-fashioned skills, you’ll love the Amish Ways Book.
Inside, you’ll discover the practical methods the Amish have used for generations to live simply, waste less, and become more self-reliant, including:
- 🥒 Traditional food preservation methods that don’t depend on expensive equipment
- 🌾 Time-tested gardening techniques that produce abundant harvests
- 🍞 Homemade pantry staples and from-scratch recipes passed down through generations
- 🐔 Practical homesteading skills for raising food and reducing dependence on the grocery store
- 🧺 Frugal household tips that save money while making better use of what you already have
- 🛠️ Simple, sustainable ways to live comfortably with fewer modern conveniences
- 🌻 The timeless mindset of self-sufficiency that helped families thrive long before refrigeration and supermarkets existed
Whether you have a large homestead or just a small backyard garden, these traditional skills can help you waste less, save more, and become more resilient with every passing season.
The Amish haven’t held onto these methods out of nostalgia—they’ve kept using them because they work. And now you can learn the same practical skills that have helped their communities remain remarkably self-sufficient for generations.
Final Thoughts
Fermented pickles reward patience more than skill. The bacteria are doing the real work, and your job is mostly to set up the right conditions, use enough salt, keep everything submerged, and check in a few times a week until the flavor is where you want it. Once you have made one successful batch, the process stops feeling like a gamble and starts feeling like one more reliable tool in a self-sufficient kitchen, the same way it has been for households that put up their harvest this way for generations before refrigeration ever existed.
You may also like:
 Join The Self-Sufficient Projects Facebook Group For Extra Free Homesteading Tips
The Only Food That Grows Almost Faster Than You Can Eat It (Video)
Bulk Fermentation: The Complete Homesteader’s Guide to Getting It Right Every Time
Fermented Vegetables – A Complete Homesteader’s Guide to Lacto-Fermentation
Fermented Fish: A Self-Sufficient Food Tradition Worth Reviving