
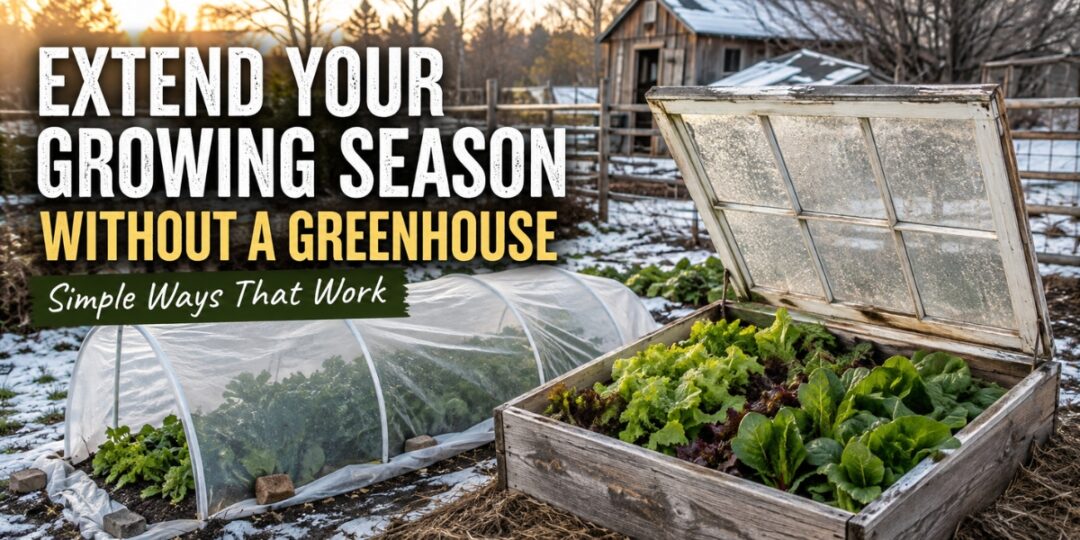
Every year around this time, I see the same thing happen. Someone wants to stretch their growing season, so they start looking at greenhouses.
At first it sounds like the obvious answer. Then they start pricing out a decent glass or polycarbonate greenhouse, realize it can easily run into the thousands, and that’s usually where the idea ends. And that doesn’t even include heating it through winter.
The funny thing is, I’ve been harvesting greens later in fall and getting a head start in spring for years, before I even owned a proper greenhouse.
The thing is that you don’t necessarily need “the building.” What you really need are the few things that the greenhouse does for your plants, and there are much cheaper ways to get them.
What a Greenhouse Really Does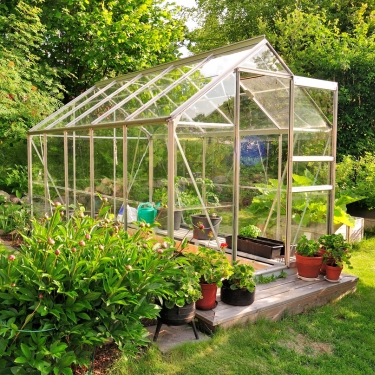
Strip a greenhouse down to its basic job and it’s actually pretty simple. It traps warmer air around your plants and helps hold onto some of the heat collected during the day so temperatures don’t drop quite as quickly once it gets dark and there is no more sunlight.
So, the trick is to learn how to efficiently trap warm air around your plants.
And that opens up a lot more options.
Eliot Coleman, who has grown vegetables through Maine winters at Four Season Farm for decades, built much of his season-extension system around layers of protection. His experience showed that each layer of cover can shift the conditions around plants by roughly a zone and a half, almost as if you’d moved the garden several hundred miles south.
So instead of relying entirely on a heated glass structure, you can create a protected space and then add another layer directly over the plants inside it.
Start With a Cold Frame
If you want to try this without spending much, I’d start with a cold frame. This is actually how I started myself and it’s one of the best solutions, especially on a smaller homestead.
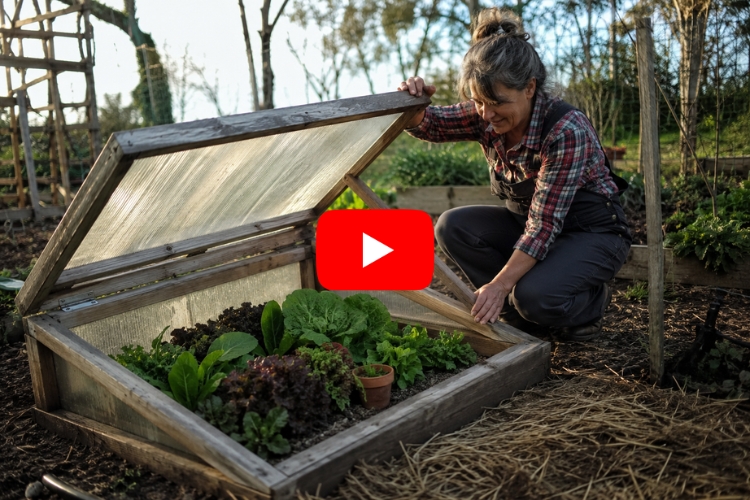
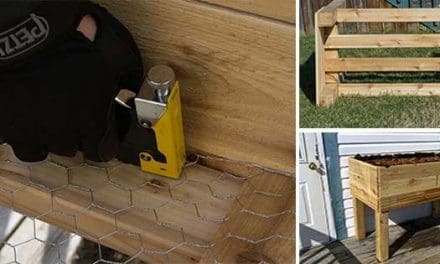
A cold frame is basically a short box with a clear lid. You can make the sides from scrap lumber, old boards, or even straw bales, then put an old window or storm door on top. Sunlight comes through the glass, warms the soil and air inside, and the box holds onto some of that warmth.
I’ve used cold frames for lettuce, spinach, and carrots well past the first hard frost. They’re just as useful in spring, when you want to start seedlings a few weeks before you’d trust the weather enough to put them straight into the garden.
You can also build one for very little money if you’re willing to use what you can find. Old windows turn up constantly in curb piles, yard sales, renovation leftovers, and local buy-nothing groups.
If you’re a practical person and you prefer a step-by-step guide, you can find it here. It’s actually the guide I followed and I can easily say that the info is straightforward and it also has lots of pictures for every step.
Also, one thing I liked about this guide is that it also tells you where to get the most frugal materials, with links and everything you need. So, you won’t spend time researching materials.
I’ve used this resource to build most of my homestead, and this is why I’m wholeheartedly recommending it to you.
👉 Click here and see how to extend the growing season
Cover a Whole Bed With a Low Tunnel
A cold frame works well for a small patch, but if you want to protect a whole bed, a low tunnel makes more sense. Think of it as a small hoop tunnel that sits directly over the bed.
You bend hoops over the soil using wire, PVC, or metal conduit, spacing them every few feet. Then you stretch a lightweight row-cover fabric or greenhouse plastic across the top and secure the edges with rocks, soil, boards, or sandbags. Row cover is simply a breathable garden cloth made to protect plants from frost, wind, and cold.
This is where Coleman’s two-layer idea comes in handy. Put plastic over the hoops as your outer layer, then place the fabric row cover directly over the crop underneath. The plastic blocks wind and traps warmer air, while the fabric adds another bit of insulation close to the plants.
Row cover by itself can protect crops through good frosts, depending on its weight. Some can keep plants going into the upper 20s, while heavier covers offer more protection. Adding plastic over the top pushes that farther. Here you can find more info about this method and how to build your own low tunnel.
Low tunnels are also surprisingly tough in bad weather because they’re so close to the ground. Wind doesn’t catch them the way it catches a tall structure. The downside is that you have to uncover them every time you harvest. Still, for the price, that’s a trade I’ll take.
Protect Just the Plants That Need It
Sometimes you don’t need to cover an entire bed. Maybe you just want to put a few tomato or pepper seedlings outside earlier than usual.
In that case, protect the individual plant.
The cheapest version is a milk jug or large plastic bottle. Cut the bottom off and place it over the seedling like a clear dome. Leave the cap off during warm days so heat can escape, then put it back on when a cold night is coming. These little plant covers are called cloches, but they’re really just mini greenhouses for one plant.
If you want something more substantial, there’s a reusable product called Wall O’ Water. It works on the same basic idea, but uses a ring of water-filled plastic tubes around the plant. The water absorbs warmth from the sun during the day and slowly gives it back overnight.
According to the manufacturer, it can protect plants down to around 16°F and allow tomatoes to be planted six to eight weeks earlier. They’re also reusable for several seasons.
Either method can buy you a few extra weeks, and when your growing season is short, a few weeks can make a big difference.
Water Is Pretty Good At Storing Heat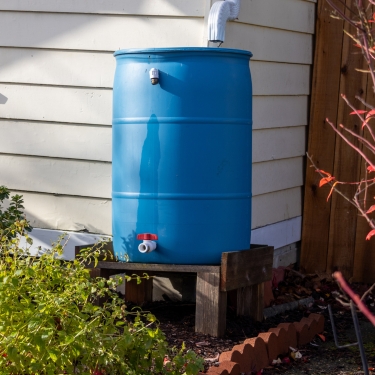
As I mentioned above, water holds onto heat extremely well. If you leave a container of water in the sun, it warms slowly during the day and then releases that warmth slowly as the temperature around it falls. In simple terms, the water acts like a little heat battery. Gardeners call this thermal mass.
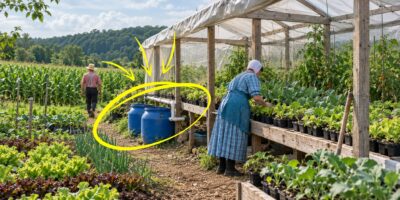
You don’t need special equipment. Old jugs, buckets, or barrels work fine. Paint them black, fill them with water, and place them where they’ll get good sunlight without shading your plants.
Mary Lou Shaw, who gardens in Ohio, lined black-painted water jugs along the back of her lean-to. On sunny winter days, the space warms dramatically, and the water helps hold onto some of that heat after sunset.
A few jugs won’t work miracles, but they can soften the temperature swing between day and night. Sometimes those few degrees are all a bed of spinach or lettuce needs to make it through.
And you can use this method for the whole garden. The only thing you need to know is how to create the perfect layout for this.
Click here to find out more about how to winter-proof your garden →
Use a Wall You Already Have
If you want a greenhouse you can actually walk into, one of the cheaper options is to build a lean-to greenhouse against a wall you already have.
Instead of building a separate structure with four walls, the side of your house, barn, garage, or shed becomes the back wall of the greenhouse. You then build a simple frame out from that wall and cover the front and roof with glass, greenhouse plastic, or clear panels.
A south-facing wall is usually the best choice because it gets more winter sun in the Northern Hemisphere. The wall itself can also absorb some heat during the day and slowly release it again after sunset.
Using an existing wall saves materials right away, and you can cut costs even more by reusing old windows, storm doors, or sliding glass doors for the clear sections.
You still need to make sure the structure has ventilation, good drainage, and a roof strong enough to handle heavy snow in your area. But if you want a small walk-in greenhouse without building an entirely separate structure, a lean-to can be a much simpler way to do it.
The Truth About Underground Greenhouses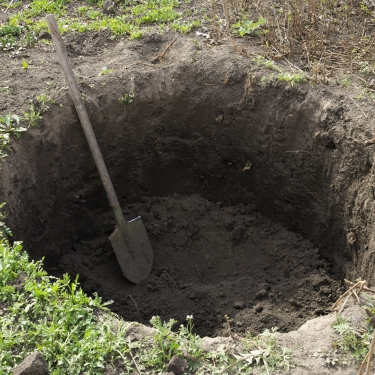
If you’ve looked into inexpensive greenhouses online, you’ve probably seen an underground greenhouse, often called a walipini.
The idea is pretty simple. You excavate a pit, add an angled transparent roof, and use the surrounding soil to help keep the temperature steady.
The basic idea sounds amazing.
The problem is the famous claim that you can build one for “$300.”
That number comes from an underground greenhouse project in Bolivia, where the conditions are very different from much of the United States. Labor and materials were different, and the winter sun sits much higher in the sky.
Farther north, winter sunlight comes in at a lower angle. A badly designed pit can actually shade the plants right when they need sunlight the most.
Digging six or eight feet down is also a pretty hard project. You need drainage, ventilation, and enough structural support to keep everything safe.
A well-designed walipini can work, but I wouldn’t rely on this idea just because somebody online promised a $300 winter greenhouse.
If you’re curious, test the principle first. Dig a much smaller pit, cover it with an old window, and try growing greens through one winter. Watch where the December sun actually reaches. See what happens after heavy rain. You’ll learn more from that little experiment than from a diagram designed for someone else’s climate.
Something That Works All the Time
The Amish don’t usually wait until winter arrives to start thinking about the garden. By then, most of the important work has already been done.
Beds are mulched heavily, cold-hardy vegetables are left where they can keep growing, and crops that won’t tolerate a hard freeze are moved somewhere protected. Carrots, cabbage, kale, beets, and a few other vegetables can handle more cold than most people realize, especially when they’re shielded from wind and sudden temperature swings.
What I like about their approach is that there usually isn’t much equipment involved. It comes down to timing, knowing which crops can take the cold, and using a few simple tricks that have been around for a long time.
Some of those tricks are easy to copy at home and I actually use a lot of them in my garden. To be honest, these are the tricks that always worked for me. Maybe the fact that they have been tested for hundreds of years is what makes them almost foolproof.
See how Amish families keep their gardens producing through winter →
One Minnesota Idea Worth Borrowing
One of the smartest season-extension ideas I’ve seen comes from the University of Minnesota, which has spent years developing what it calls a deep winter greenhouse.
The design uses a steep south-facing transparent wall to capture the low winter sun. During the day, the air inside warms up. Fans then push some of that warm air into a bed of rock or soil below the growing area, where the heat is stored and released more slowly.
According to the University of Minnesota Extension, growers use these structures for cold-hardy crops such as lettuce, kale, and herbs through Minnesota winters while keeping added heat relatively low.
Building the full version isn’t cheap, but the principle is worth borrowing: catch as much winter sun as you can, then give that heat somewhere to go instead of letting it disappear immediately.
Do You Actually Need a Greenhouse?
Sometimes, yes.
If you’re growing commercially, starting hundreds of seedlings, or need a large protected workspace, a greenhouse may absolutely be worth the investment.
But if your goal is simply to harvest spinach later into fall, put tomatoes out a little earlier, or keep a few beds productive during colder weather, a simpler setup like the ones I presented above may do exactly what you need.
You may also like:
How to Keep a Greenhouse Cool in Summer Without Electricity
This is How You Make The Forever Sausage (Video)
How to Ripen Greenhouse Tomatoes (Without Guesswork)
How Big a Greenhouse Do I Need?
















Sounds sort of interesting, but I’d like to be able to grow more than just rabbit food.