The day you put up a shed feels great. All of a sudden you have a place for the stuff that’s been living in your kitchen corner, the hallway, the back of the truck.
So, what do you do?
You carry it all out in the shed, you shut the door, and the house feels twice as big.
But if you think about it, what is a shed? It’s really just a box with a roof on it.
Why is this important?
Because your shed is not as good a storage place as you might think. Some of what you’re keeping out there is probably getting ruined right now, and some of those items might also pose a great danger.
Here’s what needs to come out immediately!
Gas Cans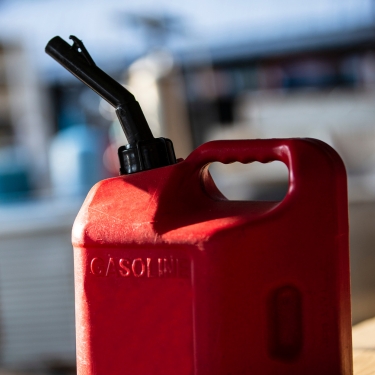
One gas can for your mower is fine. The problem starts when you have more of them along the back wall and nobody remembers which ones are full. 6 cans placed like this can be a real hazard.
Most fire codes cap you at 25 gallons of gasoline at home, in approved containers no bigger than 5 gallons each. And here’s the part nobody mentions: empty cans count as full when you add it up, because the vapor is what burns.
There’s a money side to this too. If you ever have a fire, even one that started somewhere else, an adjuster who finds unapproved bulk fuel in your shed has a reason to fight your claim. Keep what you actually use in a season and no more. This is at least the rule I follow.
Also, keeping gas containers the proper way is not a game. You need to follow a set of strict rules and, surprisingly enough, not even experienced preppers and homesteaders know all of them.
Click here and let a professional tell you all about that.
The guy who appears in the video worked as a plane engineer at Boeing before he turned to the off-grid life and he’s more than happy to share his knowledge with you.
He has a whole guide on how to store gas properly and how to make a safe gasoline reserve that will last you for years without going bad or setting your property on fire.
After all, it’s always better to be safe than sorry.
Oily Rags
Maybe you’re repairing things in your shed. But this means one thing: There’s a chance you have some oily rags in there.
And the interesting part is that nobody expects a pile of rags to catch fire on its own, but that’s exactly what happens.
Oil doesn’t dry the way water dries. It hardens by reacting with the air, and that reaction gives off heat. One rag lying flat sheds the heat as fast as it makes it, so nothing comes of it.
Wad three or four into a bucket and the heat has nowhere to go. It keeps building until the pile is hot enough to light itself. Linseed oil, wood stain, and motor oil all do this. Water-based finishes don’t, so it’s the oil-based products you have to watch.
The NFPA counts roughly 900 house fires a year from oily rags alone!
So after you oil a tool handle or wipe down a chainsaw bar, spread those rags out flat outside until they’re stiff and dry, or drop them in a metal can with water and a lid. Just don’t leave them in a heap on the shed floor.
And considering how many things can set your shed on fire, the smartest thing you can do is have a fire extinguisher at hand.
But here’s something I didn’t expect to find. There’s an old way of making a homemade fire extinguisher using just a few things you probably already have around the house.
I found the original design, with pictures showing how it was put together. It’s an interesting little project, but the part I’d pay even more attention to is right beside it.
There’s a simple 3-step fire protocol showing what to do the moment you notice a fire, including when you should stop trying to put it out and get yourself to safety.
That’s the kind of information you want to know before something catches fire, not while you’re standing there wondering what to do.
See the homemade extinguisher design and the 3 steps to follow when a fire starts.
Garden Seed
I kept my seed box on a shelf in the shed for two seasons and could not figure out why my germination was so bad.
The thing is that your seeds are alive. Keeping them in the shed provides heat and humidity. These are the perfect conditions to wake up seeds.
But you want that to happen in your garden or your seedling tray, not in your shed…
Seed kept at 90 degrees won’t last anywhere near as long as the same seed kept at 70, and a shed that sits in the 90s all afternoon can age a packet several years in a single summer.
Put them in a jar with a lid and keep them in the coolest, driest spot in your house.
Pool Shock and Water Treatment Chemicals
You might keep a bag of pool shock around for treating water in an emergency. That’s a smart thing to have, but the shed is the wrong place for it.
Pool shock is an oxidizer, which means it doesn’t burn on its own. But this is not making it safe. Not even close!
If it sits above about 125 degrees for weeks on end, a reaction can start inside the bag. This reaction keeps itself going. If you have gas cans, chain oil, a bag of fertilizer around, well, I have bad news for you.
This is one of the sketchiest ways your shed can catch fire.
So, always store pool shock high, dry, sealed, and nowhere near anything with fuel in it. I have a couple of bags just in case and my husband placed them in the cellar on a high shelf in a special box just for them.
Propane Tanks
Grill tanks belong outside. Not in the shed, not in the garage, not under the porch steps. I know most of us keep them in the shed, but this is not ok.
If a valve leaks even a little, propane sinks and pools instead of floating away, and a closed-up shed holds it right there at floor level. Heat makes it worse, because the pressure inside the tank climbs right along with the temperature.
The propane industry says never to store a tank anywhere that goes above 120 degrees, and a closed shed in July is hotter than that at noon.
Set them upright on a flat spot outdoors, in the shade, a few feet away from any building. That’s it.
Home-Canned Jars
Your shed might look like a good place for your jars, but in reality, it can destroy your whole work.
Why?
Because your cans and jars need a place with a steady temperature. A shed is not even close. Now let me explain what happens when a jar stays in the shed.
When a jar freezes, the food expands and pushes the lid up, and once that seal breaks, the food is done. Heat is the other end of the problem. Above 95 degrees, you lose color, flavor, and nutrition fast, even in a jar that’s still sealed tight.
Oregon State Extension says to keep your storage area above 34 degrees, and that 50 to 70 degrees is where jars hold their quality.
The problem is, where are you supposed to put all those jars when your pantry is already full?
Spending weeks growing, picking, and canning your food is a huge effort homesteaders make every year. The last thing you want is to lose it because you have nowhere safe to store it. Right?
I had the same problem.
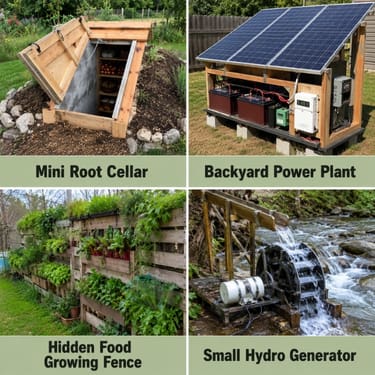
And that’s why I decided to build a small backyard root cellar.
You don’t need a big basement or an expensive cooling system, and you can use it for potatoes, carrots, apples, and other foods that need cool storage too.
I had no idea where to start, but my husband remembered that one time he came across an old-fashioned root cellar design with step-by-step instructions for building one yourself.
This was great! We could start working on it right away and so we did. Now we have a perfect root cellar that first performed perfectly in our backyard.
Also, this design is inspired by the way Amish build their root cellars, so you can know from the start that you’re in for a high-quality project.
If you ask me, this is a clever way to make more storage space without adding another electric bill.
See how to build this small backyard root cellar without spending a fortune.
Feed and Birdseed
Mice and rats can smell a bag of layer feed through a wall, and once they’re in your shed, they don’t just eat that feed.
These rodents wreak havoc everywhere they enter. They chew wiring, nest in your mower, and leave droppings on everything.
Besides mice, the feed itself might have some particular problems when stored in a shed. Opened feed stays fresh about four to six weeks, and less than that when it sits somewhere warm and humid. Damp feed grows mold, and some of that mold makes toxins that stay in the feed even after you scoop the fuzzy part out.
The solution? Metal cans with tight lids, up off the floor, and only buy what your flock will eat in a month.
Also, if you want to get rid of the mice without killing them, there’s a way!
This trap design might look simple, but it helps you basically collect all of them in a bucket without them suspecting anything. Then you can decide what to do with them. I usually drop them somewhere far away from my home. A couple of miles should be enough. Until now, it seems that they haven’t returned.
The Spare Freezer
If you’re not careful, this one can cost you a whole beef.
A standard freezer reads the air around it. When your shed drops below freezing, the thermostat figures the job is done and the compressor stops running. Then a warm spell rolls through, and everything inside slowly thaws while the freezer sits there looking perfectly normal.
If you need a freezer out there, buy one labeled garage-ready. Those are built to run anywhere from 0 to 110 degrees. And put a thermometer inside no matter what you buy, because you want to know exactly what temperature is in there at all time.
The Mower or Tractor Battery
What ruins a battery over the winter is sitting out there low on charge.
A fully charged lead-acid battery won’t freeze until around 80 below. Let it run down over the winter and it’ll freeze right around 20 degrees, which is a normal January night in most of the country. The liquid inside expands, cracks the case, and the battery is finished.
So, before you park the mower for the season, top the battery off and either bring it inside or put a maintainer on it.
Cordless Tool Batteries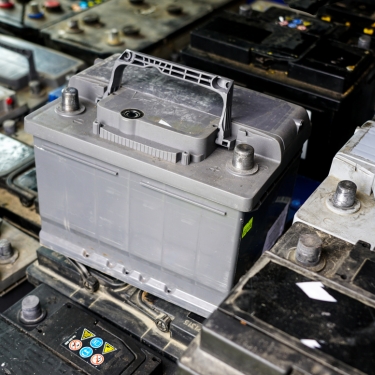
Lithium packs don’t like sitting in the cold, and they really don’t like getting charged while they’re cold.
Put a frozen battery on a charger and you do permanent damage to it on the spot. The makers want them stored somewhere between 50 and 85 degrees, and charged above 40.
So now the tools stay in the shed and the batteries come in the house with me.
And while we’re talking about batteries, there’s something else worth knowing.
You know how expensive it gets when your mower battery won’t hold a charge anymore, or your cordless drill starts dying after just a few minutes? Most of us just buy another battery and move on.
But some older batteries can actually be brought back into working condition instead of being replaced.
I came across a set of step-by-step instructions that show how to recondition different types of batteries, including those used in mowers, cars, and power tools. There are pictures showing what to do, so you’re not left trying to figure everything out yourself.
Before you spend another $100 on a replacement, it’s worth checking whether yours can be saved.
See which old batteries you may be able to bring back to life and how to do it.
Weed Killer and Garden Sprays
Liquid sprays separate when they freeze. The active ingredient comes out of the mix, and even after it thaws you’re spraying something that won’t work right.
Heat works the other direction. Some of these products turn to vapor in a hot shed, and that vapor settles on everything around them. That’s how you end up with weed killer on your hand tools, your potting soil, and the sack of feed in the corner.
Read the label. Nearly all of them ask for 40 to 100 degrees, and a shed gives you neither end of that.
Ammunition
Brass and humidity don’t mix. A damp shed will leave you with green, corroded casings on ammo you were counting on, and steady heat breaks down powder and primers over time.
There’s the obvious second reason too. A shed with a padlock on a hasp is the easiest building on your property to get into.
If I Built My Shed Again, I’d Do THIS Differently ⭐
Now that you’ve gone through this list, take another look at your own shed.
Can you get the mower out without moving half the stuff inside? Do you have enough shelves for your tools? Or have you already started wishing you’d built the whole thing a little bigger?
That’s the trouble with sheds. You think you’ve built plenty of room, and before long, you’re running out of it.
And with what lumber costs these days, you really don’t want to build another one and make the same mistakes.
But before you spend money putting up another one, take a good look at the space around the one you’ve already got.
You could add a small lean-to on the side for your mower, build a separate spot for your garden tools, or put up a covered area for your firewood. That alone could free up quite a bit of room inside.
And you wouldn’t have to start all over with a brand-new shed.
The only tricky part is figuring out how to build the addition without wasting money on lumber or getting the measurements wrong.
That’s why I’d look at these shed and lean-to plans first. You can browse different designs, see what might work beside your existing shed, and get the measurements, materials lists, and building instructions before you start.
See the simple lean-to plans that can give you more storage without building another shed.

Final Thoughts
None of this means your shed is useless. Mine is packed: Hand tools, hoses, fence posts, bagged soil, the lumber scraps I swear I’ll use someday. Anything that doesn’t care whether it’s hot, cold, or damp can live out there all year.
Now I am curious whether you have any of the things from this list in your shed.
Tell me more about them in the comments!
You may also like: 
7 Things You Never (Ever!) Need in Your Pantry
Check Out This Modular DIY Power System You Can Build for Your Home (Video)
10 Things You Should Never (Ever!) Store in Plastic Containers
The Most Overlooked Resource On Your Property
How to Keep Deer Out of Your Property Without Building a Fence