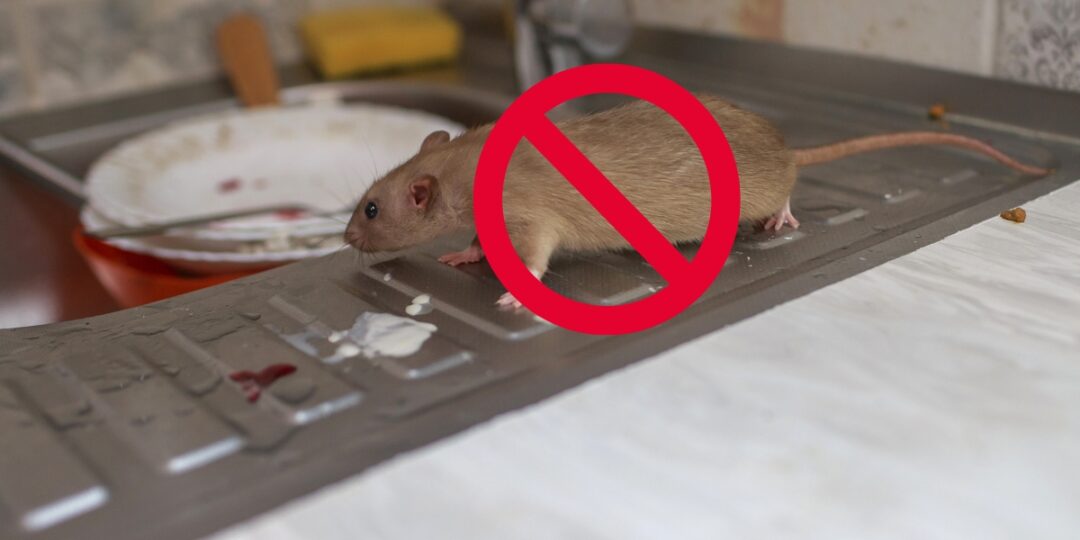
Maybe this already happened to you.
You walk into your pantry and you notice that there’s a bag with a hole in a corner. It looks chewed and the first thing that crosses your mind is mice.
You’re right. Mice are the main culprits in this case.
The easy answer here is poison or a row of snap traps. But I’d rather not go that route, and I’m guessing you feel the same, whether that’s because of the barn cats, or the dogs, or just because you don’t want a dead mouse rotting inside a wall.
The reality is that you don’t have to kill a single mouse to get them off your place. You only have to make your homestead a bad place to live.
So, here are 12 ways to make mice hate your place.
Start With the Quarter-Inch Rule
A mouse gets through any opening wider than a quarter-inch. That’s about the width of a pencil. If a pencil slides into a gap, a mouse walks through it without even chewing. Rats need about a half-inch, so when you seal for mice, you’ve handled rats too.
And here’s something worth knowing. Mice leave a scent trail behind them, and other mice follow that trail. So the hole in your feed room wall isn’t one mouse’s private door. It’s a marked path, and it keeps working until you close it.
Walk Your Buildings With a Pencil in Your Pocket
Pick a bright morning and walk the outside of every building you own. House, barn, coop, shed, well house. Go slow and look low, because almost every way in sits within two feet of the ground.
Check where the pipes and wires pass through the wall. Check the corners of metal siding, since the ribs leave little open channels at the bottom. Check where the siding meets the foundation.
Then use the pencil. If it fits, mark the spot with chalk and keep walking. You want the whole list before you patch anything, because sealing one hole while five others stay open gets you nowhere.
Pack the Gaps With Copper Mesh
Spray foam won’t hold. Neither will caulk. Mice chew through both, and they do it fast.
What holds is copper mesh packed tight into the gap. And I’d take copper over steel wool every time, because steel wool rusts out in a season and leaves brown stains running down your siding.
Anything bigger than about three inches across needs hardware cloth behind it first, then a patch over the top. Pay attention to the mesh size here. Half-inch hardware cloth will stop rats, but it will not stop mice. The Internet Center for Wildlife Damage Management calls for 24-gauge, quarter-inch woven mesh when you’re working against mice.
Buy a roll and keep it in the shop. You’ll use it for years.
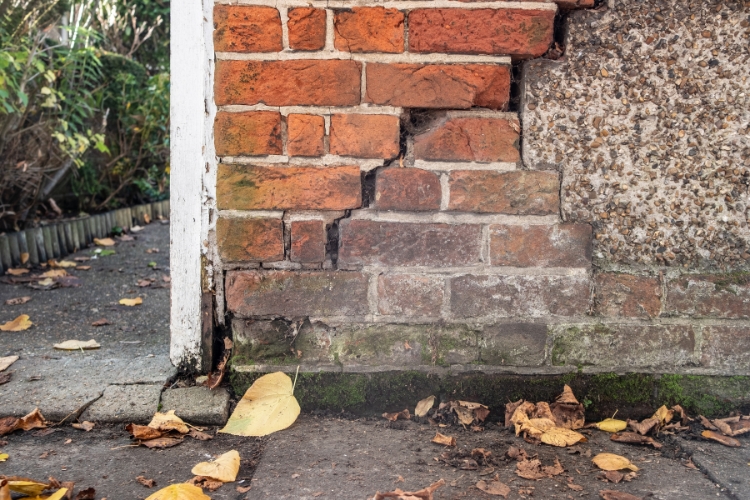
Or if you’re dealing with serious cracks in your walls and your foundation, you might want to try something even more efficient.
Copper mesh is a good method, but this one is much better, because it solves your problem forever and it also reinforces the walls of your house.
So, if you want to make sure the mice have no way of entering your home, the best strategy is to repair the gaps and holes in your walls. To do this, you can’t use any material. You need something strong such as mortar.
The problem is that your regular mortar won’t do much in this case. You need to match it with your house’s structure and materials.
This process is known as tuckpointing and it also defends your house against water infiltration. This is why I’ll always recommend doing this instead of using copper mesh. This is the most durable and reliable method.
If you want to know more about how to prepare your mortar, click here →
Close the Gap Under Your Doors and Screen the Vents
Your barn door is probably the biggest open invitation on the property, and you walk past it every day without a thought.
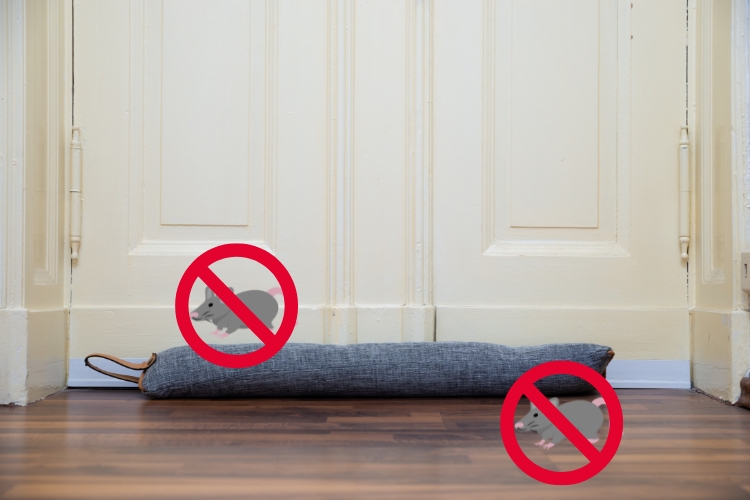
The gap between the door and the threshold needs to stay under a quarter inch. Go measure it, because old doors drift. You can add a door sweep with a metal edge, or you can build the threshold up with a metal strip fastened to the floor. And if the bottom of the door already has gnaw marks in it, screw a piece of sheet metal flashing across it. Mice can’t get a grip on flat metal.
Then do the vents. Foundation, crawl space, gable, soffit, dryer. Cover them with hardware cloth on the inside where nobody will see it, and put a quarter-inch grate over any floor drain.
Move Every Bag of Feed Into Metal
If you only do one thing off this whole list, do this one.
Chicken feed, goat pellets, dog food, birdseed, scratch grain. All of it goes into galvanized cans with tight lids. Skip the plastic totes, because mice chew straight through the corners.
Get the cans with the locking ring lids if you can find them. Otherwise, set a cinder block on top, since a determined mouse can nudge a loose lid right off.
And do the same with your saved seed. Canning jars with the rings on, packets tucked inside just the way they came.
Also, the same applies to your stockpile.
Many of us have a nice stockpile of flour, sugar, rice, dried fruit, and so on. Just imagine what this means for a mouse. This is for sure a buffet for them and the only one who’ll suffer from this is you.
First of all, these foods attract mice to your home and to your pantry. Second of all, if the mice have unrestricted access to your stockpile, there’s no reason for them to leave. Your home is also their home and they have it all: a warm place to sleep and good food.
So, I imagine you don’t want that to happen. Well, the same things you need to do for your livestock feed you also have to do for your stockpile: keep it safe. But for your food, the whole protocol is a little bit different.
Maybe you’re not concerned with the taste of the livestock feed, but I am sure you want your food to taste good. And here’s the problem: many defenses people use against mice will make their food less tasty.
Imagine taking everything out of the original package and putting it in a big jar. Many homesteaders and preppers do this, but the way you approach this technique will determine the taste of your food. Think of stale rice and oats. Terrible right?
The good news is this is completely avoidable if you follow a simple set of rules.
👉 Click here and see how to keep your rice and flour forever fresh
Switch to a Feeder Mice Can’t Get Into
If you free-feed your birds out of an open hanging feeder, you’re running a buffet.
A treadle feeder fixes this. The bird steps on the plate, the lid opens, and it drops shut when she steps off. Look for an all-metal one with a spring-loaded lid, and check that the treadle sits far enough out that a mouse standing on it still can’t reach the feed. Port style feeders work too, since nothing is sitting out in the open.
Whichever one you use, shut it down at night. That’s when the mice come out.
Clear a Bare Strip and Move the Woodpile
Clear a three-foot band around the foundation of every building and keep it clear. No weeds, no tall grass, no leaf piles, no lumber leaning up against the wall.
That strip does something else for you, too. You’ll spot droppings and fresh burrows early, instead of finding out about them six months later.
Where something keeps digging under a slab, lay gravel. Two feet wide, six inches deep, stone about an inch across or bigger. The pieces are too heavy to shove aside and too loose to tunnel through, and they give up on it.
And move the firewood. Twenty feet out from any building you care about, stacked up on a rack with air underneath.
Take Away the Nesting Material
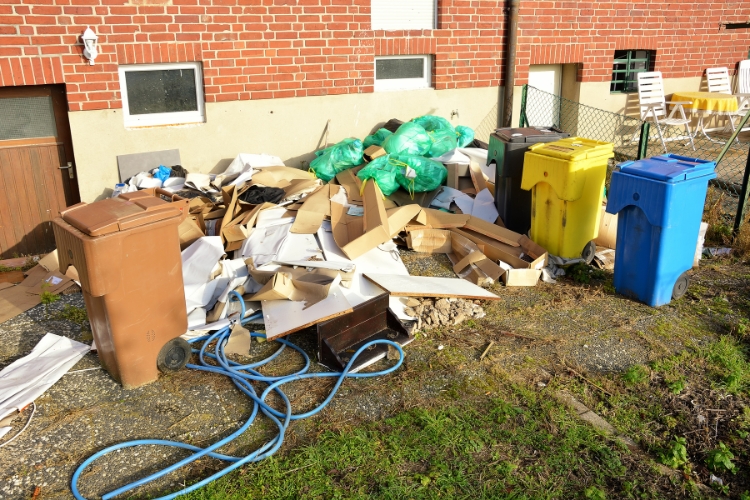
A cardboard box gives a mouse a house and a mattress in the same package. So do bags of old clothes, stacks of newspaper, and loose insulation they can shred up. Swap all of it for hard plastic totes with latching lids.
Hay stacked on bare ground will grow a colony in the bottom layer. So get it up on pallets and work through the stack front to back. Undisturbed is exactly what they’re after.
And if you park a truck or a tractor for the winter, they’ll nest in the engine bay and chew the wiring. My husband lost a wiring harness that way one year on the old farm truck. Now we park it on gravel instead of grass, leave the hood propped open, and pack hardware cloth into the air intake. Just leave yourself a note on the steering wheel so you remember to pull it back out in spring.
Get It Off the Floor and Sweep the Spill
Mice run along walls. They don’t like crossing open floor, so a stack of bags shoved into a corner is exactly where they’ll settle in and stay.
So keep your feed and supplies at least 18 inches up off the floor, and pull them a foot and a half or two feet out from the wall. That gap gives you room to sweep and to look, and it takes away the dark tunnel they want.
Then sweep. Every day. Mice nest within about 10 to 30 feet of their food, so a daily dusting of spilled grain on the coop floor is the whole reason they moved in next door.
I used to keep a broom hanging on a nail by the coop door and I used it before I walked out.
Now, if you’re asking why I don’t keep that broom anymore, well, I have to tell you that I discovered an “incredible” method to keep the coop clean. With a little upgrade, I managed to make my coop almost self-cleaning.
Now, I don’t want to claim that you’ll never have to take care of the coop ever again, but this technique of building a chicken coop makes the job so much easier.
If you want to start building it from scratch, it will take you a couple of hours and all the materials can be easily ordered online or bought from a local hardware store.
👉 Click here and see how you build the easy-cleaning chicken coop
Grow Mint Along the Foundation, in Pots
Mint is the strongest of the bunch. It’s also the one that will take over your whole garden if you turn your back on it, so keep it in containers.
Line the pots up where the mice travel. By the coop door, along the feed room wall, next to the shop.
Crush a handful of leaves and scatter them every few days to keep the smell up. And when you cut the mint back in fall, dry the leaves and save them for the sachets further down.
If you want something even stronger that you can also use inside your home or your shed, you can use mint essential oil. You can find how to prepare it at home here.
Plant Daffodils as a Border
Daffodil bulbs carry lycorine and a few other alkaloids that rodents find bitter. That’s why squirrels will dig up your tulips and leave the daffodils sitting right there.
Put them in a line along the foundations of your outbuildings, and around the beds where you keep losing bulbs and seed. They come back every year, ask almost nothing of you, and look awfully good in April when you need them.
One warning, though. Daffodils are toxic to livestock and to dogs if they get eaten. So keep them out of the pasture and out of the run.

Make Dried Sachets for Your Drawers and Bins
Lavender, rosemary, wormwood, catmint, dried mint. All of them work, and you can grow every one.
Dry the leaves, then stuff them into little cloth bags or the cut-off ends of old socks. Tuck them into your seed bins, your linen shelves, the glovebox of the tractor, the tote where you keep your canning rings. Anywhere small and closed up.
Squeeze them once a month to wake the oils back up, and swap them out every season. This is the one place where scent really earns its keep, because in a closed space it stays concentrated instead of blowing away.
This is one of my favorite methods on this list because these little sachets smell so good. Sometimes I feel like maybe I use too many of them, but what else can I do when they make the whole homestead smell like spring?
Maybe this is also because all the herbs I use to make them are 100% grown by me. Believe it or not, the potency of the herbs is influenced by this.
Ordering dried herbs online is one way to get all you need for these sachets, but if you grow and dry the herbs yourself, they will be more potent and the chances of them actually repelling mice will also be higher.
I grow most of my herbs using 100% organic, non-GMO seeds that are packed here in the US.
If you want to try them, I would order now since this is the perfect time for this. Why? Because in the spring everybody rushes to buy seeds and you end up getting none or waiting ages for your order. Many times you might end up getting the seeds when the planting season is already over…
👉 Get your own pack of herb seeds here and stop waiting for orders in the spring
Use a Live Trap, and Check It Often
If mice have already moved in, sealing the building shuts them in there with you. You need to get them out first.
Multi-catch live traps hold several at once. Or you can build a bucket trap with a ramp and a rolling bar across the top for about the cost of a paint can.
Now, two things here. Check the trap at least twice a day, and more than that when it’s cold out. Mice die quickly from stress and dehydration in a closed box, and a trap you forgot about stopped being a humane trap.
The other thing is the release. A house mouse dropped in an open field in January isn’t going to make it. So pick a spot with real cover, a brush line or a fence row a couple of miles out, and let it walk off on its own.
Then seal the building behind them, or you’ll be doing all of this again next fall.
Final Thoughts
Almost nothing on this list means buying a gadget. A roll of hardware cloth, a can of copper mesh, a few galvanized cans, a broom, and an afternoon walking the property with a pencil in your pocket.
And you don’t have to do it all in one weekend. Start with the feed storage, because that’s the thing pulling them in. Then walk the buildings and mark your holes. Work through the rest as the weather lets you.
The mice aren’t doing anything wrong, either. They want a warm dry place with food nearby, same as the rest of us. Take those away and they’ll go find them somewhere else, and nobody has to die over it.
I’ve got a coffee can of copper mesh on the shelf by the back door with a pair of tin snips laid across the top, and it’s been there long enough that the label has gone soft.
You may also like: 
How to Keep Deer Out of Your Property Without Building a Fence
The Truth About Hydrogen Peroxide And Old Teeth (Video)
20 Plants That Attract Birds to Your Garden
DIY Fruit Fly Trap: 7 Homemade Traps That Actually Work
Your Chicken Coop Could Be a Death Trap