If yard work and gardening are your thing, your hands usually take a beating. Mine sure did. Split knuckles from cold mornings, calluses from splitting wood, raw skin from washing buckets in freezing water, you know the drill.
Maybe you’ve tried commercial lotions, but nothing worked. The pain and roughness are back within an hour, and you feel like there’s nothing left to do, but accept your “rough hands.”
I’ve discovered that what I really needed was something built for hands that do real work. I wasn’t able to find this remedy in any store and that’s why I decided to make it myself.
This is the kind of heavy-duty salve people were using back in the day and here’s how to make it yourself with ingredients you might already have at home.
Why “Heavy-Duty” Matters 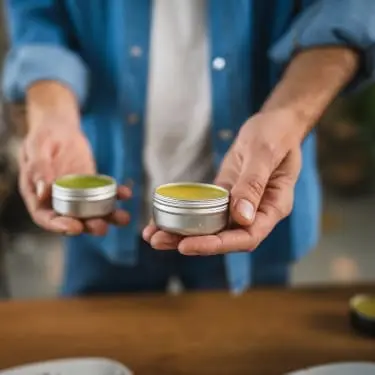
This hand salve creates a protective layer your skin can hide behind while it heals. This “hand cream” is meant to stay between your raw, cracked hands and whatever work needs doing next.
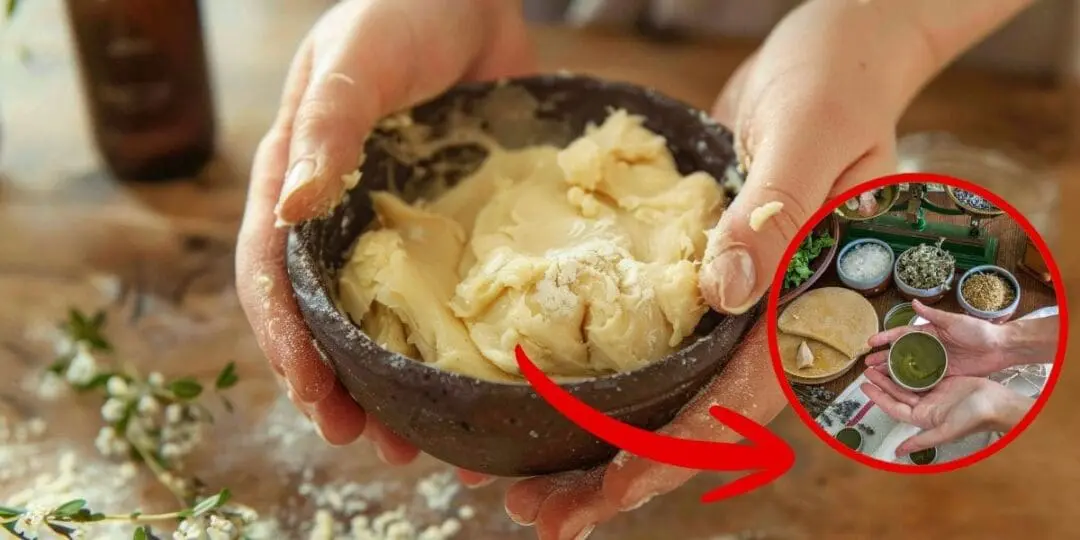
To prepare an effective heavy-duty hand salve, you need a solid base, and in this case, this will be good old beeswax. I prefer it, as beeswax forms a breathable seal that locks moisture in without suffocating your skin. More beeswax means a firmer salve that holds up during physical work. Less beeswax gives you something softer for everyday use.
You can usually find high-quality beeswax at your local farmers’ markets, from nearby beekeepers, or at natural food stores. Buying directly from a local beekeeper is often the best option, since you know exactly where it comes from and it’s usually less processed.
How to Make It Nourishing
You will also use carrier oils that do the nourishing work, like olive oil, because it penetrates deep, coconut oil, because it adds antimicrobial properties, or jojoba, since it mimics your skin’s natural oils. Pick one or combine them.
Butters add richness. Shea butter is the workhorse here, thick and conditioning. Cocoa butter makes things firmer and adds a subtle scent that some people love. Both create that buttery texture you feel when you scoop from the tin.
Optional additions include honey for antibacterial support, vitamin E to help preserve the batch and support healing, and essential oils if you want therapeutic benefits or just a better scent. But the core trio will always be wax, oil, and butter. That’s all you need for a salve that works.
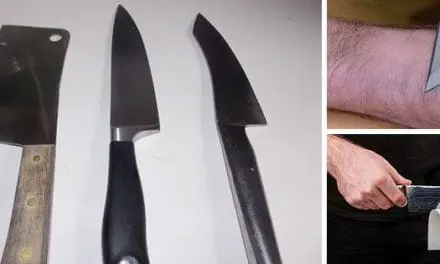
Getting back to the antibacterial properties, this is extremely important. Depending on the severity, your cracked hands can easily become infected, especially in seniors, whose immune systems may be weaker. The good thing is that you can protect yourself from infections at home. Click here and see how to prepare your own “amoxicillin” in less than 2 hours.

You Already Have the Tools
I want you to know that specialty equipment is not a requirement. A double boiler works best, but if you don’t have one, grab a pot and a heat-proof glass bowl. Then you fill the pot with a few inches of water, set the bowl on top, and you’ve got the perfect setup. The trick here is to be able to generate indirect heat because you don’t want to scorch everything.
For storage, you’ll need clean jars or metal tins. If you have any of these lying around your home from former creams or any other products, just clean them and reuse them. I reuse jelly jars, honey jars, anything with a good seal. Metal tins from the craft store work too and fit better in pockets if you’re keeping salve in the barn or toolshed.
After you have a place to prepare it and then options to store it, you will also need a stirring utensil for your hand salve. A wooden spoon works best, but you can use anything as long as it is heat-resistant. Avoid silicone spatulas because cheap ones might melt when exposed to high heat.
The Basic Recipe I Always Follow
This is your starting formula. You can tweak it later, but start here and you’ll get reliable results every time.
Ingredients:
- 1/4 cup beeswax (grated or pellets);
- 1/2 cup olive oil (or coconut oil);
- 1/4 cup shea butter;
- 1 teaspoon vitamin E oil;
- 10-15 drops essential oil (optional).
Set up your double boiler and bring water to a gentle simmer. Add beeswax to the bowl and let it melt completely. Add shea butter and stir until it’s liquid. Pour in your carrier oil and stir everything together until fully combined and smooth.
Remove from heat. This is an important step! Take the bowl off the pot before adding vitamin E or essential oils. High heat degrades their benefits. Stir in vitamin E. Add essential oils if you’re using them. Mix thoroughly.
Pour into your clean jars or tins while the mixture is still liquid. Work quickly because this stuff starts setting up as it cools. Don’t fill containers to the top. Make sure you leave a bit of space. Let them cool at room temperature, uncovered, for several hours. Once solid, put the lids on.
Making It More Soothing With Healing Herbs
I prepare a batch of heavy-duty hand salve just two times a year. This is enough for me. Since I make it so rarely, I don’t have time to experiment, and I want to make it as effective as possible. Herb-infused salve works better than a simple one, so naturally, I decided to always choose this option.
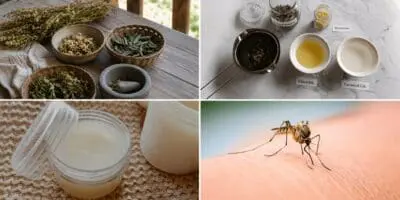
Calendula is the go-to for damaged skin and it’s been used for centuries to speed up healing and reduce inflammation. Yarrow handles bleeding and repairs broken skin. Comfrey (use externally only) is legendary for knitting damaged tissue back together.
I have all of these plants in my garden and some of them I also grow inside in my kitchen, where I have more light. When you’re a homesteader, having medicinal herbs always comes in handy and this is exactly why I prefer growing them myself. This is how I make sure they’re always available for me. You never know when you encounter a recipe that demands them.
Here I will give you the seed supplier I like the most, as they are reliable and I trust them wholeheartedly. In this Medicinal Garden Kit, you will find all the herbs I listed above that you can use for this hand salve recipe (calendula, comfrey, and yarrow). Click here and get your own Medicinal Garden Kit today!
Instructions
- You will start by infusing your oil before making the salve and you will use the slow method to get the most benefits;
- Fill a jar with dried herbs, cover completely with oil, seal it, and let it sit in a sunny window for 4-6 weeks;
- Strain out the herbs and use the infused oil in your recipe.
There is also a quick method, and I will share it with you, but I’m not a fan of it. For this one, you’ll gently heat oil and herbs in your double boiler on the lowest setting for 2-3 hours, then strain. Quick works fine when you need a salve now, but I prefer to take my time.
Honey adds antimicrobial power, but it changes the texture slightly and can make the salve stickier. Use it sparingly (a teaspoon per batch is plenty). It won’t mix perfectly into oil, so stir thoroughly and expect some separation.
Essential oils bring more benefits. Lavender promotes healing and smells pleasant. Tea tree is strongly antibacterial, but it can irritate sensitive skin, so use half as much. Peppermint creates a cooling sensation that some people find soothing on sore, overworked hands. Eucalyptus works similarly. I also tested this Yarrow Tincture from Nicole Apelian and I found it incredibly soothing, as the chemical compounds and vitamins from yarrow promote the repair of the skin. It also has strong antibacterial properties, so it’s 2 in 1, soothing and disinfectant.
One essential step with this tincture is that before you add it to your salve, you need to emulsify it properly. This means you will put half of it into a small pot and boil it a little until it becomes waxy. This is how you know the alcohol is gone and the remaining content is perfect to use in your salve. If you want this powerful antibacterial tincture to be part of your salve preparation kit and protect you from infections, you can find it here.
In case you also want to add essential oils, make sure you go light with them. More isn’t better. Ten drops per batch gives a noticeable scent and mild therapeutic benefit without overwhelming your skin or your nose.
Getting the Texture Right
As I just mentioned with honey, getting the right texture gets trickier the more ingredients you add. I follow a simple rule that goes just like this: Too soft? Add more beeswax. Too hard? Add more oil or butter. Standard ratio is roughly 1 part beeswax to 3-4 parts oils/butters, but you can adjust based on preference and season.
Winter salve should be firmer because cold air makes everything harder anyway. Use the 1:3 ratio. Summer salve can be softer since heat will soften it further. Go with 1:4 or even 1:5 if you’re in a hot climate.
Greasiness comes from too much oil and not enough wax. If your salve feels slippery and takes forever to absorb, you need more beeswax in the next batch. If it’s too hard, you can barely scoop it out, add oil.
Quick cooling creates a smoother texture. Slow cooling sometimes causes graininess, especially with shea butter. If you want glass-smooth salve, pour it into containers and put them in the refrigerator for 30 minutes after they’ve cooled slightly at room temperature.
Making It Last
Follow the simple rule of cool, dry and dark. This is how you keep most things fresh for longer and it works the same for heavy-duty hand salve. Heat melts it. Light degrades oils over time. Moisture can introduce mold if it gets under the lid. A pantry drawer, a bathroom cabinet, or a box in your workshop are all perfect places.
Properly made salve lasts a year, sometimes longer. Vitamin E acts as a natural preservative. If you used fresh herbs instead of dried, the shelf life drops to 6-8 months because of residual moisture. Always use dried herbs for the longest storage.
If you notice the salve has a rancid, sour, or simply unpleasant smell, don’t use it and throw it.
Graininess happens when butters cool unevenly or too quickly. It doesn’t hurt anything, just feels less smooth. If it bothers you, gently warm the salve until it melts, stir it thoroughly, and let it cool slowly at room temperature. This usually fixes the texture.
How to Use It
The reason why I prefer this heavy-duty salve recipe compared to others is that you can use it not just on your hands but also on your cracked heels, elbows, or knees. I’ve even tried it on my cracked lips in the winter and it was perfectly fine. A smart idea would be to make a different batch for your lips and not add essential oils, as they can irritate sensitive skin.
Minor scrapes and rough patches heal faster under a layer of protective salve. It’s not a substitute for actual first aid, but for surface abrasions and irritated skin, it provides the moisture and barrier needed for healing.
From my experience, nighttime application works best for healing. Our body does its repair work while you sleep, and heavy salve gives it the raw materials and protection it needs. Some people wear cotton gloves over the salve for deep overnight treatment. Works well for severely damaged hands.
Final Thoughts
The recipe is simple enough to memorize after the first batch. Melt, mix, pour, cool. Twenty minutes of work for months of reliable skin protection. Adjust ratios until you find what works for your climate and your chores. Add herbs that target your specific problems. Make it your own.
Try the basic recipe first. See how it performs during your regular routine. Then experiment. Different oils, various herbs, and better texture. Share what works. That’s how traditional knowledge stays alive.
You may also like: 
7 Medicinal Seeds You Need to Start Stockpiling
SEE How To Prepare Kidney Stone-Melting Juice (Video)
How to Make a Perfect Bee Pollen Smoothie
How To Start Your Own Apothecary in a Small Space


