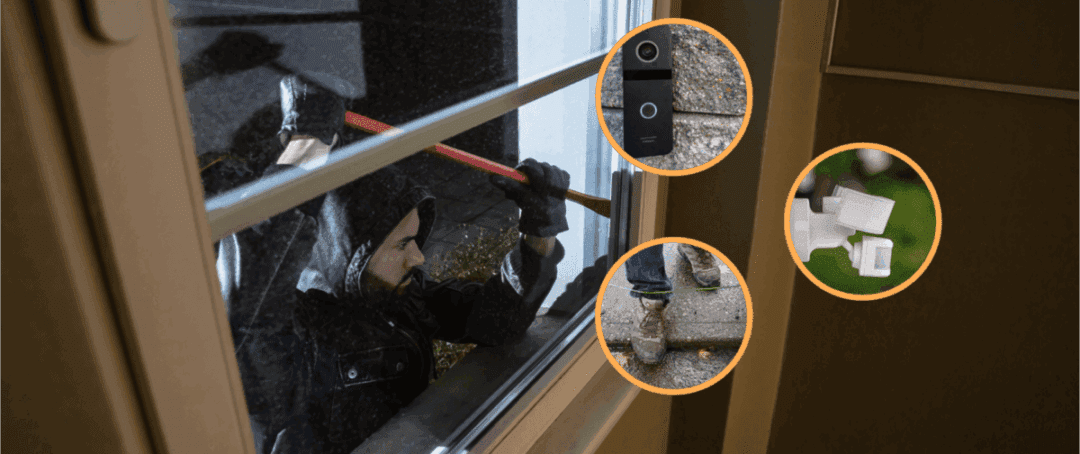
At 3 a.m. one night, I noticed someone outside, wandering around with a knife in hand. When he got near the backyard, the chickens went crazy, then fell silent.
I’d run through situations like this in my head before, but in the moment, my hands still shook. Then I remembered the kit under the porch.
I grabbed a mason jar of powdered cayenne and threw it. The wind did the rest. He took off fast, yelling the whole way.
Planning Your DIY Homestead Defense Kit
Start with a budget. My first kit cost under 50 bucks because I repurposed scrap lumber, old PVC pipes, and spare bike chains into alarm triggers and lock reinforcements. Hunt flea markets for deals: a 10-solar garden light becomes a perimeter marker, and a dented steel trash bin doubles as a fireproof supply cache.
For eco-friendly materials, raid your own homestead—discarded pallets make sturdy window barricades, and a vinegar-water mix (1:3 ratio) cleans rust off tools for reuse. 
Design your defense plan like a chessboard. Zone your homestead into “security tiers”. My core area—home, livestock barn, and water supply – gets the heaviest fortification: motion sensors, reinforced doors, and a central first-aid station.
Outer zones like gardens or tool sheds use simpler deterrents: thorny blackberry bushes planted near fences or DIY tripwires strung with fishing line and tin cans.
Customization is key. If your property has a blind spot (mine’s a wooded gully on the north side), cluster motion-activated alarms there.
Assign every tool two jobs. A machete clears brush and hangs by the door for emergencies. A 5-gallon bucket stores feed but flips upside down as a step stool to reach high alarms.
And always mock-test your layout. I once realized my “foolproof” coop lock was useless at 2 a.m. when a raccoon breached it in 30 seconds—turns out, I’d mounted the latch backward.
And I wanted to mention this raccoon because sometimes the intruders are not humans. Sometimes you have to deal with wildlife and the approach is completely different.
This is why I learned how to set up traps. These traps are the most efficient thing I’ve ever used on my homestead to protect my chickens from wild animals and that’s why I want to tell you more about them.
They are a mini DIY project that takes you 30 minutes. Then all you need to do is set them up outside the coop in the area where you think raccoons or other predators might use to enter your property.
What I like the most about these traps is that they don’t hurt the animal. So you can release it away from your property.
These traps are also used in the wild by Green Berets and they are meant to teach the predators a lesson and make them scared to ever approach your property.
👉 If you want to see how to build these simple traps yourself, you can find the full guide here
Try to Avoid the Basic Mistakes
If you don’t want to get in trouble as I did with the “foolproof” chicken coop, you should pay more attention to these kinds of security mistakes you might not even know you’re making.
You could be relying on a worn-out lock, thinking your alarm system is enough, or positioning lights in places that actually create shadows instead of eliminating them. Perfect cover for someone looking to slip past undetected.
These oversights add up quickly, and before you know it, you’re vulnerable in ways you never saw coming. 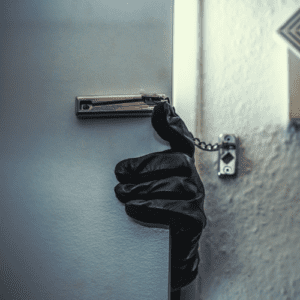
The worst part? You often don’t realize your security is flawed until it’s too late. By the time you discover your mistakes, it could be the moment an intruder is already on your property.
That’s exactly what happened to me. And it was completely terrifying. After that, I started looking into all the ways I could to make sure that my homestead’s defense stands tall and solid.
That’s how I came across a book that changed my whole perspective.
The book is written by Joel Lambert, a former Navy SEAL. What I liked the most about it is that it taught me everything I need to know about the mistakes I didn’t even know I was making until then.
I suddenly was aware of those little vulnerabilities I’d overlooked for so long.
The guide is also packed with practical, ingenious ways to protect your property, and it helped me fix everything I was doing wrong at that time. If you’re serious about protecting your homestead, this guide will definitely help a lot.
It helped me identify gaps I never even considered and gave me the tools to fix them before they turned into real threats.
Essential Components of Your DIY Homestead Defense Kit
Start with first aid. Your kit needs more than bandages – think arterial tourniquets, clotting agents, and antiseptic wipes. When I sliced my thigh open on a barbed wire fence, an Israeli bandage from my kit stopped the bleeding before I could stitch it. 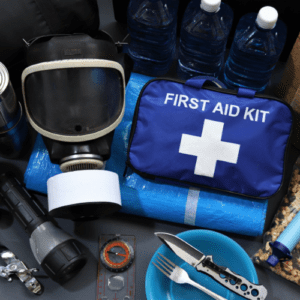
A blood clotting gauze would’ve been even better in that situation. It works fast to stop bleeding, and its antimicrobial properties help prevent infection. Something I could have really used at the time.
The problem was – I didn’t even think I’d ever need something like this before, so I never included it in my first aid kit. Learn from my mistakes. Having a reliable first aid kit is essential, but knowing exactly what to include in it is even more important.
I had no clue how to make a proper first aid and defense kit. I tought I had all the essentials included, but it turned out I was wrong.
When I first started to make my own first aid and defense kit, I used some of the best-rated guides on the internet, but unfortunately they are not as accurate as you would expect them to be.
That’s how I learned that the best info you can get is always the one delivered by an expert who has firsthand experience with this.
This is how I discovered the Home Defense Academy. This is a series of videos made by Terry Schappert, a United States Army Special Forces combat veteran, who explains in great detail how to keep your property safe. This includes everything from looter traps and Green Beret tricks to building a first aid kit like a Special Forces combat medic. You can see more about this here.
One useful thing I learned from Terry’s videos is that you should stock enough supplies to treat two people simultaneously; rural EMS response times average 17 minutes nationally, but on my homestead, it’s 45. Next, communication.
A hand-crank NOAA weather radio covers 97% of emergency alerts, but pair it with a CB radio for direct contact with neighbors during outages. Don’t overlook low-tech backups: signal mirrors or whistles with a 120-decibel punch can bridge gaps when tech falters.
Lighting is non-negotiable. Solar-powered LED flashlights like the LuminAID PackLite (2,500+ reviews on Amazon) last 24 hours on a full charge. Keep three flashlights minimum—two in fixed locations (workshop, barn), one mobile.
Lithium batteries outperform alkalines in freezing temps, but store extras in a coffee can with silica gel packs to thwart humidity.
For alarms, rig a tripwire system with paracord and empty shotgun shells. String the cord knee-high across trails or fence gaps, tie shells to a post, and let intruders trigger the clatter. I’ve deployed this along my pasture’s tree line—raccoons hate the noise, and humans freeze at the sound.
Core security tools? Pepper gel (not spray) beats wind interference and has a 20-foot range. Keep it accessible: mine clips to my belt loop. Add a solid oak baton—homesteader’s best friend. It pries doors, cracks ice on troughs, and, when gripped right, dissuades two-legged threats.
Ingenious Defense Additions
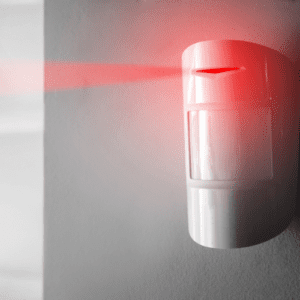 Homemade alarms don’t need circuit boards. Turn a $5 garage sale baby monitor into a motion sensor by rigging its microphone to pick up vibrations. Mount it near gates or windows, and keep the receiver on your nightstand. When a stray branch or curious critter rattles the perimeter, you’ll hear the static spike.
For noise-based alerts, hang wind chimes with mismatched keys or bolts—their discordant clang is unmistakable against natural sounds. I’ve strung these around my goat pens; predators bolt at the racket, and I’m alerted without leaving bed.
Concealment is an art. Hollow out a rotting log near your woodpile to stash a backup radio and spare batteries. Thieves rarely poke through decay. For indoor storage, modify a false-bottom feed bucket: layer grain on top, tools underneath.
One homesteader I know repurposed an old propane tank (vented!) into a lockbox buried under her compost heap—deterrence via stench. Repurpose aggressively. A pruning hook isn’t just for vines. Grind its blade to a razor edge, and mount it on a pole as a reach extender for fending off threats.
Solar-powered driveway lights ($1.50 each at Dollar Tree) can be hacked into perimeter markers by swapping their diffusers for red film. A silent signal to you, invisible to outsiders.
Sustainability meets defense when you plant firethorn hedges (Pyracantha) around vulnerable structures. Their 2-inch thorns shred skin, and the berries feed birds.
I’ve paired these with upcycled tire planters filled with gravel—roll them into choke points during emergencies for instant barriers.
DIY Assembly and Testing of Your Kit
Start assembly by staging components in zones. Lay out tools, alarms, and supplies in the areas they’ll serve—don’t build your entire kit in the workshop only to realize it’s too bulky for a loft rafter. 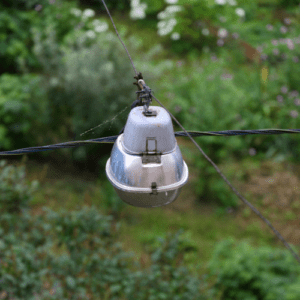
For tripwire alarms, cut paracord to span 15–20 feet between anchor points (trees, posts, or fence rails). Once everything’s laid out, you’re ready to get to work. Tie one end to a tension spring from a retractable dog leash; attach the other to a cluster of empty cans or shell casings.
Test the slack: too tight, and wind triggers false alarms; too loose, and a sneaky predator slips through.
If you’re unsure about the setup or need more ideas for effective, hands-free defenses, there’s a guide that can help you take your traps and alarms to the next level. It covers everything – from creating automatic tripwires to setting up noise-based alerts that will trigger at the slightest disturbance.
The instructions are straightforward, so you can customize your systems to suit your space and needs. Plus, it includes tips on fine-tuning each trap for maximum efficiency, ensuring you’re ready for anything that comes your way.
Whether you’re trying to keep intruders out or alert yourself to any movement, this guide makes sure you have all the tools you need to stay one step ahead.
Reinforce storage containers with silicone sealant and tamper-evident zip ties. A cracked ammo can from a surplus store becomes a weatherproof first-aid stash when lined with a garbage bag and sealed. For hidden compartments, glue rare-earth magnets inside hollow curtain rods or under porch steps to hold backup keys or cash.
Always load the heaviest items (batons, tools) at the bottom of kits to prevent tipping—a 5-gallon bucket filled with gravel at the base adds ballast.
Testing is brutal but necessary. Trigger alarms at 3 a.m. to simulate disorientation. Soak flashlight seals in a sink for 10 minutes to check for leaks. For motion sensors, enlist a spouse or neighbor to crawl through your perimeter while you monitor response times.
Maintenance is a monthly chore. Replace flashlight batteries every 6 months, even if unused. Lithium cells corrode more slowly, but I mark expiration dates on mine with paint pens. Test pepper gel annually by spraying a paper target (downwind!) to ensure pressure hasn’t dropped.
For solar alarms, wipe panels weekly with vinegar to prevent dust buildup—a 15% efficiency loss can mean silence when you need noise most.
Bottom line?
Build it lean. Test it mean. And sleep knowing you’ve outthought the threats. 
You may also like:
Why Guns Alone Won’t Keep Your Homestead Safe
Missing This from Your First Aid Kit Could Be a Fatal Mistake (Video)
Homesteading Skills You Need Before The Next Crisis
How to Keep Looters Off Your Property After a Disaster