Honestly, hooking up fans and egg turners is likely too much effort for homemade incubators, especially when you’re trying to keep going on a very tight budget.
Plus, if you’re actively turning the eggs and opening the incubator to do that, you’ll get a better idea of how each egg is developing and whether or not you need to pull rotten ones.
This is a still air style incubator.
The List For The Egg Incubator
- 1 40-watt bulb, ideally with a lamp. If you do not have a small, flexible lamp that you can work with, you can also use a small wall fixture unit as desired.
- 1 lamp or wall fixture with wiring and plug included.
- 1 foam cooler with a well-fitting lid.
- Reflective material (ideally cased around foam) large enough to place within the cooler.
- Your choice of substrate (you can also use a dry-bottomed incubator if you prefer to work without substrate).
- Temperature probe (reptile ones work great).
- Small, microwave-safe bowl.
- Sponge (appropriate for washing dishes).
That’s it! Those are all the components you’re going to need to make an amazing, successful, still air incubator.
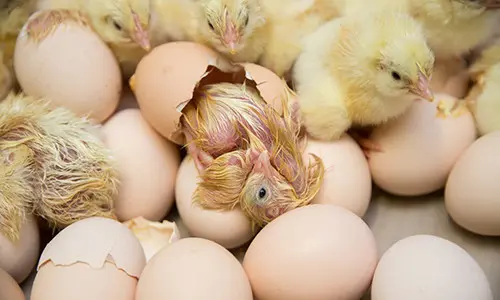
You should be able to pick up most of this either at hardware stores or your average market, especially during the spring and summer. You may also be able to grab a cheap foam cooler from a butcher or a grocery store if they have specialty frozen foods being delivered. If you do not intend to hatch more than 10-15 eggs at a time, these sizes are appropriate for that.
Should you desire to hatch a whole lot more, we recommend looking for frozen fish foam coolers or larger, “beach party”-type foam coolers.
Tools You’ll Need For The Egg Incubator
There are very few tools necessary for this.
A hot glue gun is helpful if your reflective material is not single-sided sticky, but make sure that you’re using it on a low temp so you don’t accidentally melt your outer foam walls.
If you are using a lamp, you’ll only need some duct tape and a sharp knife to create your incubator.
If you are using a light fixture, please refer to the installation instructions.
Related: How To Make A Water Pump In Your Backyard
Let’s Put This Together
Alright! First thing’s first. Place your foam cooler on a level surface, ideally close to the position that you’ll be placing it in permanently.
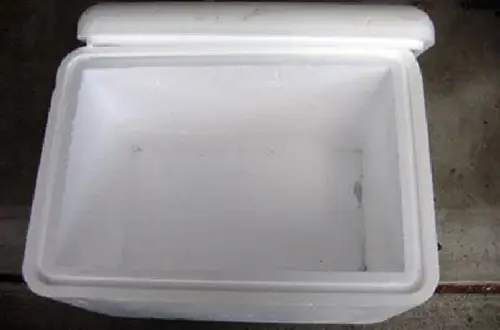
Take the shade off of your flexible lamp and slice a hole large enough for the bendy cord to fit through. Press your lamp through the hole, letting the bottom rim of the foam rest against the bottom of the lamp neck.
If using a light fixture, again, please following the instructions as if you were installing the light on a solid wall. We will, from here on out, pretend that you are using a lamp.
Tape the lamp into place. Do not place tape around the socket. Instead, tape from the outside to secure the lamp. Work the base so that it is even with the base of the incubator upon the surface. Once you’ve fully closed the hole with duct tape, please move on to the next step.
Place your substrate of choice in the bottom of the cooler. If you are not using substrate, you may skip this step. If you are using substrate, do not allow the eggs to come within 3″ of the light bulb.
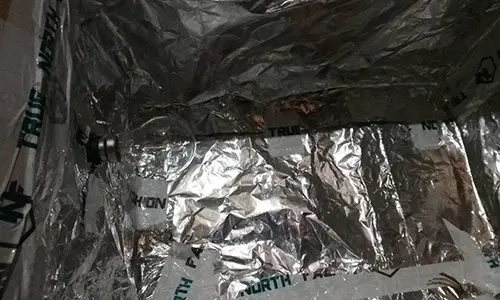
Using the sticky side of the reflective boards (or your hot glue gun), paste the boards around the inside of the cooler. Do not place a board on the same wall the light is poking through, but also don’t forget to add one to the inside of the lid of the cooler, too!
Run your sponge under some water and wring it out. Place the bowl in the incubator far from the light, then put the sponge in the bowl. This helps keep the substrate from getting wet and also makes it easier to remove the sponge now and again to soak it down and increase your humidity within the incubator prior to lockdown.
Finish
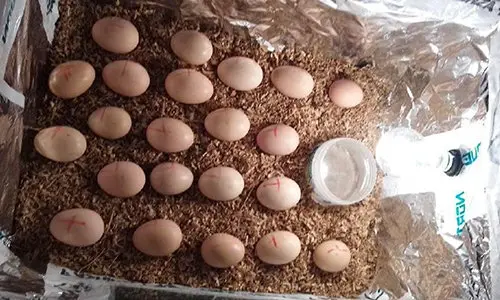
Mark one side of each egg with an X. This should not be the top or the bottom of the egg, but one of the sides it rests on. This will help you keep track of your eggs when you turn them. We usually do mornings are X up, evenings are X down. Whether you choose this specific way to identify your eggs or not, it is always best to have some kind of a mark on there simply for the visual assistance and reminder.
Once you have your reminder on each egg, go ahead and place them on the substrate (or the bottom of the incubator if you are going substrate-less). Do not allow your eggs to touch. Each egg should have at least 1/4″ space all the way around it. It does not matter if they touch while you are turning them so long as they are incubating separately. If not, heat will build between each egg shell and may cause it to pop, dimple, or cause other issues that will make it difficult for a chick to hatch.
One Last Touch
After your eggs are placed, it’s time to add your last thing: your temperature probe. Go ahead and put it near the eggs but not actually on an egg. The wire is typically very thin and should easily stick out from between the lip of your cooler lid and the cooler itself without any necessary cutting.
If possible, get a probe thermometer that is also a hygrometer (this checks your humidity levels). If not possible, make sure to give the eggs a bit of air while you’re turning them.
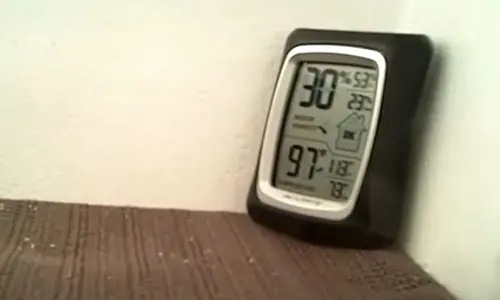
To do this, turn the lid across sideways (so the long part is pointing off toward and away from you when facing the broad side of the foam cooler/incubator). Leave it like that while you are turning your eggs. If at any point the eggs feel wet to the touch, remove the bowl and the sponge to let the incubator dry out. There are few issues found from incubating dry but many problems come from incubating too wet. If desired, you may avoid the sponge/bowl altogether, but I do not recommend this for those who are new to hatching eggs.
Place your lid on top, turn your lamp on and congratulations!
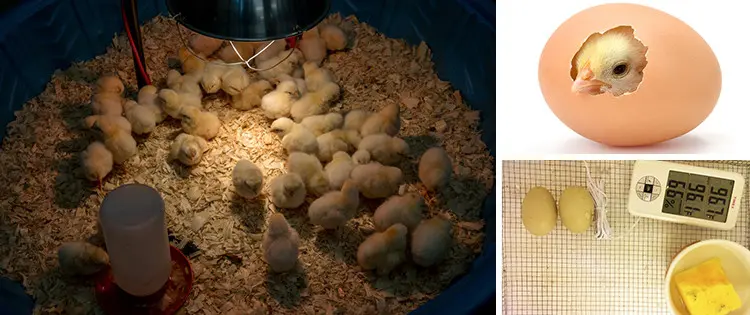
You’ll see your chicks in about 3 weeks. But we always allow our incubator to go a little longer in case there are late chicks or those who need a little longer for their navels to dry up (you can find out more about that here).
Remember to let them dry out a little after they hatch before you move them into the brooder. Happy Hatching!
Please note that with any incubator there is a significant risk of fire. These are very flammable and should be placed in areas near an extinguisher or where they can be quickly and safely removed from the home.
By creating the incubator suggested here, you take all responsibility for this information onto yourself. We are not responsible for any damage, losses, or otherwise ill fates caused by following this guide.
You may also like:
How 17th Century Sailors Kept Water Fresh For Months On End At Sea (Video)
DIY Dutch Bucket Hydroponics System







Nice to know we can make our own still air incubator.
But I think you’re making too many assumptions.
Pictures are always appreciated when the explanation is not quite adequate.
Since you don’t show a picture of the lamp already inserted into the foam cooler, why don’t you tell us where to insert the lamp.
You assume we know, but it could be the side or the top.
And how far in should the bulb be exposed to the inside?
It might seem like common sense, but you can’t expect everyone to know what you know.
Actually, there are two different pictures showing exactly that. the orientation and positioning of the lamp/bulb. Maybe take another look at the article? Are the pictures not loading for you? Try a different browser?
If you look at the second to last picture, they’ve put the lamp in the short side of the cooler, about 1.5″ from the top.
What is the optimal temperature and humidity level?
What do you recommend for a substrate?