I’ve brought home more than one “great deal” piece of furniture that turned out to be a smoke bomb in disguise. Estate sales, thrift stores, and hand-me-downs from a smoking household all carry the same risk: gorgeous solid wood at a fraction of retail price, wrapped in a smell that clears out a room in about ten seconds. The good news is that smoke smell in wood is almost always fixable, it just takes working through the problem in the right order instead of reaching for the strongest product first. Here’s exactly how I tackle it, from mild lingering smell to furniture that smells like it survived an actual fire.
Why Wood Holds Onto Smoke Smell So Stubbornly
Wood is porous, and smoke isn’t just an odor floating in the air, it’s a mix of tiny soot and tar particles that settle into that porous surface and grain. Cigarette smoke leaves a sticky, yellowish residue behind for exactly this reason, and it’s that residue holding the smell in place, not just a scent sitting on top of the wood. That’s why simply airing out a piece of furniture almost never fully solves the problem on its own. You have to address what’s physically embedded in the wood, not just mask what’s floating off of it.
Step 1: Clean the Surface Before You Do Anything Else
Skipping straight to baking soda or vinegar without cleaning first just means you’re deodorizing a dirty surface. Cleaning first removes the soot, tar, and residue that’s actively contributing to the smell, and it gives every step after this one a real chance to work.
- Mix a mild dish soap (Dawn works well) with warm water, or use a wood-safe cleaner
- Wipe down every surface with a soft cloth or sponge, changing your cleaning solution as it gets dirty so you aren’t just spreading soot and nicotine residue around
- For heavy nicotine buildup, which shows up as a sticky yellow-brown film, plan on real elbow grease; this residue can be substantial on furniture from a long-term smoking household, and it’s worth wearing gloves since nicotine residue can be absorbed through skin
- Rinse your cloth frequently and let the wood dry completely before moving to the next step; trapping moisture under a fresh treatment invites its own problems
Step 2: Deodorize With Baking Soda
Baking soda is cheap, safe on nearly every wood finish, and a genuinely effective first-line odor absorber for mild to moderate smoke smell.
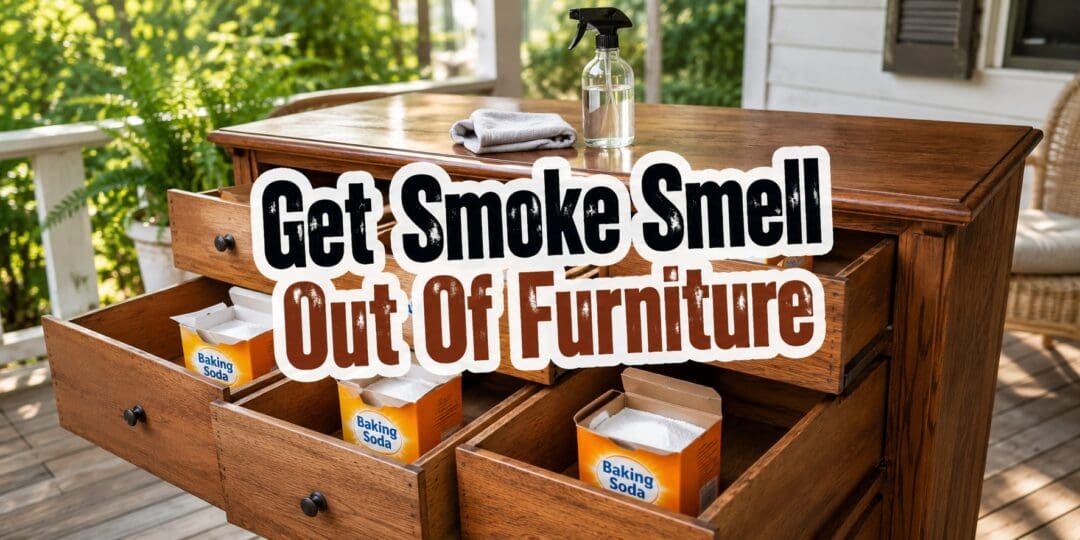
- Sprinkle a generous layer of baking soda over open surfaces, and set open containers of it inside drawers, cabinets, and enclosed compartments
- Let it sit for at least 24 hours; longer (up to several days) for stronger odors
- Vacuum thoroughly with a brush attachment afterward, paying attention to seams, corners, and joinery where it collects
- Repeat the process if the smell is still noticeable; this is rarely a one-and-done treatment for anything beyond light odor
Step 3: Follow Up With a Vinegar Solution
Vinegar’s acidity helps break down the odor-causing compounds left behind by smoke rather than just covering them up, which is why it pairs so well after a baking soda treatment.
- Mix equal parts white vinegar and water in a spray bottle
- Test on an inconspicuous spot first; some finishes can react with vinegar’s acidity, especially older shellac or wax finishes
- Lightly mist the wood, never soak it, and wipe down with a soft cloth following the grain
- Let it air dry completely with good ventilation; the vinegar smell fades on its own within a few hours and takes a real chunk of the smoke odor with it
- For drawers or enclosed compartments, leaving an open bowl of straight vinegar inside overnight works well without any direct contact with the wood at all
Step 4: Bring In Activated Charcoal or Coffee Grounds for the Stubborn Stuff
If baking soda and vinegar knock the smell down but don’t fully clear it, these two natural absorbents are worth adding into the rotation, especially for enclosed spaces like cabinets and drawers where air doesn’t circulate well.
- Activated charcoal: place in small bowls or breathable sachets inside drawers, cabinets, or near the affected furniture, and leave for several days, replacing as needed
- Dry coffee grounds: spread evenly across surfaces and inside compartments, left for 24 to 48 hours, then vacuumed up and wiped down; a strong, natural deodorizer that’s easy to have on hand
- Both work by physically absorbing odor molecules rather than masking them, which is why they hold up well for lingering odor that baking soda alone didn’t fully clear
Step 5: Get the Wood Outside if You Can
Sunlight and fresh air moving through and around a piece genuinely help, especially combined with the treatments above rather than as a replacement for them. If weather and space allow, move the furniture outside (out of direct rain, but in open air and sunlight) for a day or two between treatments. The combination of UV exposure and constant air movement helps break down and carry off residual odor in a way that a closed-up room never quite manages.
Step 6: Seal It In With Shellac If the Smell Won’t Quit
This is the step most guides skip, and it’s the one that actually solves stubborn, deeply embedded smoke smell for good rather than just knocking it back temporarily. A de-waxed, shellac-based sealer like Zinsser B-I-N is specifically formulated to block odors from fire, smoke, and cigarette smoke at the surface, and it’s a genuine go-to among furniture refinishers and painting contractors for exactly this problem, not just a marketing claim.
- Clean and fully dry the wood first; sealing over lingering surface residue just traps the smell rather than blocking it
- Apply the clear shellac sealer to all unfinished or porous surfaces, including the inside of drawers, cabinet interiors, and the underside of the piece, since smoke penetrates unfinished wood far more than a finished, sealed surface
- One coat is often enough on lightly affected wood; heavier, long-term smoke exposure may need two coats
- Work in a well-ventilated area and wear a respirator rated for organic vapors; shellac sealers have a strong solvent smell of their own while wet, though it typically clears within a day or two with good airflow
- Once the sealer has cured, you can topcoat with your regular finish, stain, or paint if you’re refinishing the piece anyway
A Few Cautions Worth Knowing
- Don’t oversaturate wood with any liquid treatment. Excess moisture from vinegar, cleaning solutions, or oil soaps can cause wood to swell, warp, or damage the existing finish, especially on veneer or antique pieces. Use a barely damp cloth, not a soaking one.
- Test any cleaning solution on a hidden spot first (the underside of a shelf, inside a drawer) before treating a visible surface, particularly with vinegar and any commercial odor product, since some finishes react poorly to acidity or solvents.
- Ozone generators can be effective against deeply embedded smoke odor, but they produce a gas that is harmful to breathe. Ozone treatment should only be done in an unoccupied space, ideally by a professional, and never run while people or pets are in the room.
- If you’re dealing with a genuine antique or a valuable, irreplaceable heirloom rather than a thrift store find, it’s worth consulting a furniture restoration professional before you start sanding, sealing, or applying any treatment, since some of these steps are difficult to reverse.
When Cleaning Isn’t Enough: Sand and Refinish
For furniture where smoke has genuinely soaked deep into the wood grain over years, cleaning and sealing sometimes isn’t quite enough on its own, and a light refinish closes the loop for good.
- Lightly sand the affected surface to remove the outer layer of wood that’s holding onto the odor
- Wipe away all sanding dust with a tack cloth or damp rag before continuing
- Reapply wood stain or paint to match, if needed, on the sanded area
- Finish with a shellac-based sealer coat as described above, then your regular topcoat (polyurethane, wax, or oil) to protect the wood and lock out any future odor absorption
A Quick Note on Fabric and Upholstered Parts
If the piece has upholstered cushions, drawer liners, or fabric elements alongside the wood, treat those separately, since fabric holds smoke differently than solid wood does.
- Removable cushion covers can usually be washed with a cup of white vinegar added to the wash cycle, plus baking soda in the rinse
- Non-removable upholstery generally needs a dedicated upholstery cleaner, steam cleaning, or a professional fabric restoration service rather than the wood-focused methods above
- Avoid heat-drying fabric that still carries smoke odor, since heat can set the smell in rather than release it; air dry in a well-ventilated space instead
When to Call In a Professional
Most furniture, even fairly smoke-heavy thrift and estate sale finds, responds well to the steps above with a bit of patience and a couple of rounds of treatment. It’s worth bringing in a smoke damage restoration professional or a furniture conservator instead of pushing through solo when you’re dealing with a piece that survived an actual house fire and has real soot and heat damage, a valuable antique or family heirloom where a mistake would be costly, or a smell so deeply set that DIY methods aren’t budging it after multiple honest attempts.
Bring Old Furniture Back to Life the Amish Way
Removing smoke odors is just the first step. With the right techniques, even a weathered thrift-store find or family heirloom can become a beautiful, long-lasting piece you’ll be proud to use for years.
The Amish Ways Book is filled with practical, time-tested methods for restoring, maintaining, and caring for your home using simple tools and proven traditional techniques. From furniture care and natural cleaning solutions to household repairs and self-reliant skills, it’s packed with the kind of knowledge that helped generations make things last instead of replacing them.
The Bottom Line
Smoke smell in wood furniture is almost always beatable, it just takes working the problem in order: clean the surface first, deodorize with baking soda and vinegar, bring in activated charcoal or coffee grounds for stubborn spots, give it real airflow and sunlight when you can, and if the smell still won’t quit, seal it in for good with a shellac-based odor blocker or take it down to bare wood and refinish. Don’t pass up a genuinely good piece of furniture just because of how it smells on day one. With a little patience, it’s one of the most fixable problems in furniture restoration.
You may also like:
Small Survival Projects You Are Missing On Your Property
DIY Wind Turbine From Salvaged Motors (Video)
5 DIY Wax Projects for Your House
The Hidden Costs of Country Living
Homemade Dish Soap – Recipes, Ingredients, and Everything You Need to Know
DIY Smokeless Fire Pit: How to Build One That Actually Works (Step-by-Step)