Maybe you’ve decided you want to grow fruits; after all, they are an amazing investment for self-sufficiency since you can make jams, can them, dry them, freeze them, or make delicious drinks and syrups. They’re the whole package.
The problem is that you walk into the nursery, you find a healthy little blueberry bush or a fig in a pot, and the tag says $25. You want three of them, maybe five, and just like that you’re about to spend over a hundred dollars for a row of plants that are barely taller than your hand.
I want you to know there’s a better way, and it costs you almost nothing and after you finish reading this article you’ll know exactly what to do.
Most of the fruit on your homestead, or on your neighbor’s, will grow a whole new plant from a snipped piece of branch. That’s all!
One cutting gives you a plant, a handful gives you a row, and a few years down the line that row is feeding your family while everybody else is still paying full price at the garden center.
It’s one of the most satisfying things you can learn out here, and easier than you’d think. Let’s start with the ones that root easiest and fastest, then I’ll walk you through how it’s done step by step.
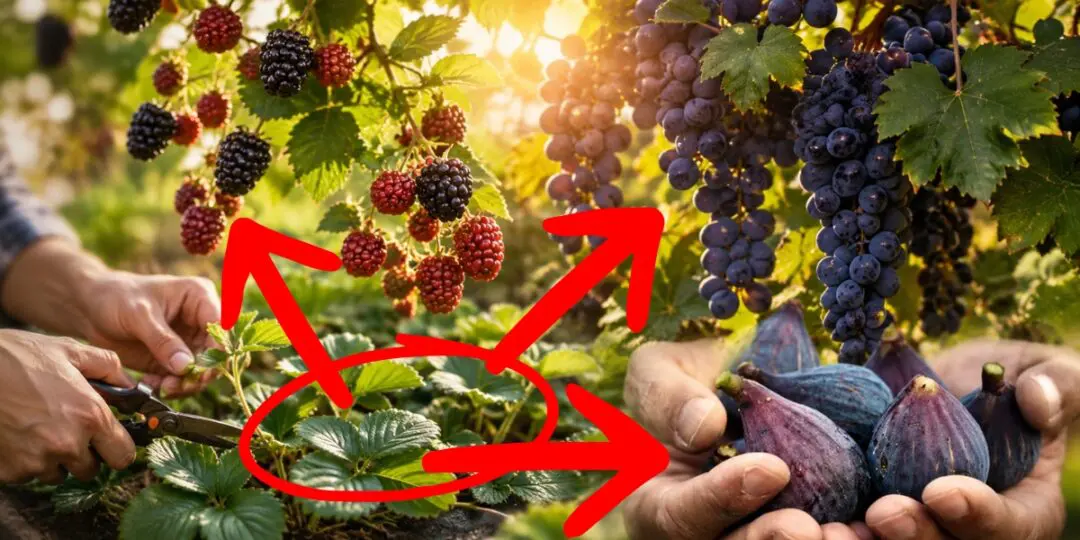
Figs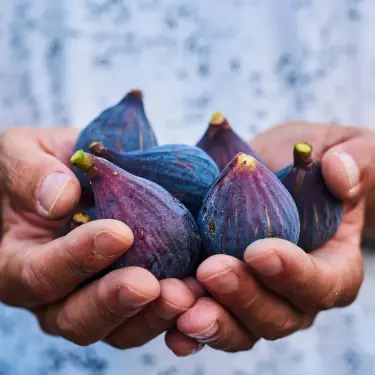
If you have never rooted a cutting before, you can always start with a fig. They’re the easiest fruit I know of, and I think every new homesteader should try this one first.
Figs root so willingly that I was surprised the first time I tried it. It was too easy.
You’ve got three ways to go: stick the cutting straight in a pot of soil, drop it in a vase of water on the windowsill, or wrap the bottom in a damp paper towel inside a plastic bag and set it on top of the fridge where it stays warm. All three work. Most varieties throw roots in three to six weeks.
The hardest part is honestly just deciding how many you want, because one tree hands you dozens of cuttings. Depending on where you live, you can find fig trees on the street and this is how you can get cuttings for free.
For example, I was once visiting around L.A., meeting a good friend, and in those suburbs you find fig trees hanging over fences and sidewalks. I couldn’t resist and took some cuttings back home.
Currants and Gooseberries
My whole currant patch started with a few cuttings a neighbor handed me over the fence, and now I’m the one passing them along. Currants and gooseberries are cousins and they root the same easy way, so I’ll cover them together.
They’re tough, forgiving, and they handle cold incredibly well, which makes them a good bet if you’re up north. Push the cuttings into a nursery bed or a deep pot in late fall or winter. By spring, most of them will have rooted and started to leaf out. You’ll rarely find these bushes cheap at a nursery, which is half the reason I bother.
How to Make Cash From Currants and Gooseberries
This is one pro tip I want to share with you because I know how money-hungry a homestead is when you start. Maybe you need to buy land, maybe you want to build the house, you name it.
Also, even if your homestead is already established, you need money each time you want to begin a more ambitious project. Like the type of project that is expensive up front but then it makes its money in the long run.
So, a question a lot of fellow homesteaders have in mind is “how can I get more money”? And it’s a fair question. We all ask ourselves this constantly, even more considering we are living in a world where things get more expensive once every three months.
Being self-sufficient also means being able to make money out of your homestead. This is a big one. That’s why I decided to tell you more about currants and gooseberries and how they can help you get some extra cash. Sometimes a lot of extra cash.
These berries are known to be the “you can’t buy this anywhere” type, and that’s why a lot of folks would pay a small fortune for them. Many times, restaurants need a reliable source to get currant jelly and gooseberry preserves and this is where you get it. You can become their reliable supplier and get some money from them.
How to make high-quality products
The quality of your products is important and that’s why following the right recipes is a must. The internet is full of various recipes; you can find them everywhere: from websites to Facebook, but the real question is, can you trust these sources?
Most of the time, when you want high-quality preserves, the best idea is to follow the traditional recipes our grandmother used. Unfortunately, most of these recipes are not on the World Wide Web…
Each time I tried recipes found on random sites, they didn’t work how I expected. At some point I got sick of it and simply decided to buy a book. And not any book; I went with a book recognized in the homesteading community for its reliable content.
The Amish Ways has everything you need to know about canning and preserving. It presents some of the secret Amish recipes they have been using for hundreds of years. This is why the jams you buy from them at the local farmer’s market are so good.
Once you master their techniques, your preserved goods will taste better than before and you can start your own batch of currants and gooseberries and then sell it to make a profit. And even if you’re not chasing profit, who doesn’t like to have some good jam in their pantry?
👉 See how to make canning goods just like the Amish
Grapes
Grapes are right up there with figs, and a mature vine gives you an almost silly number of cuttings every time you prune it. Take eight to ten-inch pieces with two or three buds on each.
There’s one mistake that’ll waste the whole effort, though. A cutting stuck upside down won’t root, so you have to plant it the same way up it grew. I cut the top of each one at an angle so I never get them backwards. Push them in deep, just the top bud showing, give them something to climb, and a few years on you’ll have so many grapes you’ll start to think about selling them.
Mulberry
If you’ve got a mulberry, or know someone who’ll spare a branch, you’re in luck. Sweet fruit, and very productive plants; they root well from cuttings. They’re a little slower than figs or grapes, so a dab of rooting hormone helps and you’ll also need some patience. Keep the cuttings warm and the soil consistently moist while they get going.
Fair warning: a mature mulberry produces so much fruit that it’s able to feed you, the chickens, and every bird around your property. My flock appreciates the little treats and the wild birds that come to my yard after the fruits keep some pests away. It’s a win-win and I’m all in for it.
Elderberry
Elderberry might be the most generous plant on this list. It grows fast, roots like crazy, and the berries and flowers are good for syrups, jelly, and old-school remedies. It’s so eager you can shove fresh cuttings straight into damp ground in early spring and walk off. I’ve done it that way and in pots both, with good luck either way.
The catch is that it spreads. Give it room, or stay on top of pruning, because a happy elderberry will take over a corner of your yard before you’ve noticed.
One thing elderberries are known for is their strong immune support. People have been using them since forever for this purpose and after one winter when I kept getting sick all the time, I decided that I might give it a chance too.
That’s how I made the Immune-Boosting Elderberry Syrup. At first I thought it wasn’t working, but then I found out that the secret is to be consistent. You have to take it every day for a couple of weeks until it becomes effective.
Once you have the syrup, you can keep it in the fridge and take a tablespoon every day for immune support. If you want to try the recipe I used, I’ll drop the resource I used here.
If you feel like it, you can give it a try too.
Also, if you’re not growing elderberry or you simply don’t feel like you have the time to make the syrup, you can make things easier and use this Dual-Extracted Elderberry Tincture. For this, you simply add a few drops to a glass of water or your favorite drink, and you are good to go.
Pomegranate
If you garden somewhere warm, a pomegranate is worth a spot, and it’s one of the easier fruit trees to clone from a cutting. Take a ten-inch piece of year-old wood, stick it two or three inches deep with the top buds showing, and keep it bright, warm, and just barely moist. Roots usually show up in a month or two.
The reason I go with a cutting over seed is the head start. A cutting can fruit in a year or two. Start one from seed, and you might wait five years, then find out it doesn’t even taste like the parent.
Blackberries and Raspberries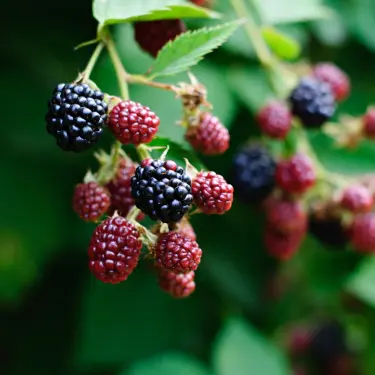
I’m putting these together because they share a trick that does most of the work for you.
When a blackberry or trailing cane arches over and its tip hits the ground, it’ll root right there on its own. That’s called tip layering. You can nudge it along by bending a cane down in late summer, burying the tip a couple inches, and pinning it with a rock or a bent piece of wire. By spring you’ve got a rooted plant you can cut free from the parent and move wherever you want it.
Raspberries do something similar with the shoots they send up from their roots, called suckers. Dig one up with a bit of root attached and transplant it.
Honeyberry
Honeyberry, or haskap if you’ve heard it called that, is one I wish more people grew, especially in cold country. It resists hard winters, fruits earlier in the season than just about anything, and the berries taste like a blueberry crossed with a tart grape. Root it from soft green growth in early summer, or from dormant wood in winter. Either way, keep the cuttings moist and out of the wind while they take.
You won’t find these at most nurseries, and when you do, they aren’t cheap, so rooting your own actually saves you real money here.
For honeyberries, I want to tell you that you can also grow them in a garden bed instead of a pot. If you want to start a new DIY project that takes only a couple of hours, you can see how to build improved garden beds.
You can find more in the video below.

Blueberries
I saved blueberries for last because I want to be honest with you. They do grow from cuttings, but they’re the fussiest thing on this list, so don’t make them your first attempt.
The thing is that they won’t root in regular potting soil like all the other plants listed above. Blueberries need an acidic, peaty mix, and even then they take a good three to four months to grow roots worth bragging about.
Water them with rainwater if you have this possibility, since they’re touchy about the chlorine and salt in tap water. Expect to lose a few, and start extra so the losses don’t get you down. Get the hang of it and you can fill a whole patch for free. I still encourage people to start a blueberry patch because if you were to do it from plants you got from the store, it would cost you a fortune. With cuttings, it’s mostly free.
How to Take a Cutting Properly and Make Sure It Will Have Roots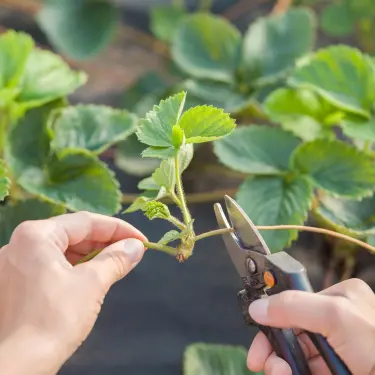
Now that you’ve picked your fruit, here’s the whole routine you need to follow if you want healthy cuttings that will grow in strong and fully established plants. For most of these, the steps barely change, so learn it once and you’re most of the way there.
Take a cutting six to eight inches long off healthy growth, about as thick as a pencil. Make the bottom cut just below a node, the little bump where a leaf or bud comes out, since that’s where roots form easiest.
Strip the leaves off the bottom half. If it’s a green cutting with big leaves up top, cut those in half too, so it doesn’t lose water faster than it can drink. Dip the bottom inch in rooting hormone if you’ve got some. Most of these root fine without it, but it speeds things up and improves your odds.
Push the bottom two or three inches into a pot of moist, well-draining mix. I like something that holds moisture but never sits soggy, because soggy is what rots a cutting before it ever roots. Water it in, then cover the pot loosely with a clear plastic bag or a cut-off soda bottle to trap the humidity. Keep it warm and out of harsh sun.
Then you wait. Keep the soil damp but not wet, and somewhere between a few weeks and a couple months you’ll feel resistance when you give the cutting a gentle tug. That’s roots.
What to Use Instead of Tap Water or Rainwater
I just mentioned that rainwater is a strong choice when you don’t want to use tap water. But if you don’t already have rainwater stored somewhere, what will you do? It’s not like the rain starts when we wish for it. This would be amazing, but unfortunately reality doesn’t align with our wishes.
Ok, so when rainwater and tap water are not your options anymore, you need something more reliable. This is how the Water Smart Box was created.
This is basically a device that gathers the water from the atmosphere and transforms it into fresh liquid water you can use to drink or use in your garden. The thing with it is that it’s completely independent from the grid. You don’t need to dig or connect it anywhere. It’s simply a stand-alone device you can easily build in just four steps and delivers you fresh water even when there is a drought.
If you are curious about how it works, you can see more here in this video.
When to Take Your Cuttings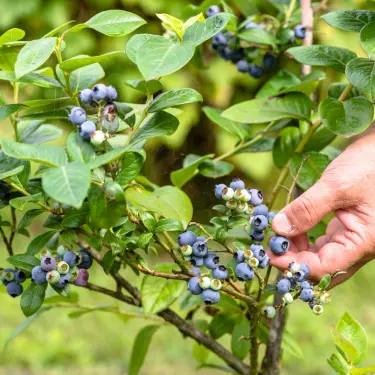
Timing comes down to two kinds of cuttings, and which one you take depends on the time of year.
Hardwood cuttings – You take these in late fall or winter, after the plant has dropped its leaves and gone dormant. The wood is firm and woody, which makes it forgiving and easy to handle. This is the one I point beginners to, and it covers figs, grapes, currants, gooseberries, elderberry, mulberry, and pomegranate.
Softwood cuttings – You take these in late spring and early summer off the soft green new growth. They root faster, but they’re fussier, since the green stems dry out quickly and need extra humidity to pull through. That’s your window for honeyberry and blueberry.
So it depends on when you’re reading this. If it’s summer right now, you can get going with softwood cuttings today. If you’d rather wait for the easy season, mark the calendar for late winter and take hardwood ones then. WSU Extension has a clear breakdown of these cutting types if you want to go deeper.
Always Avoid These Common Mistakes
After doing this for years, I see the same few mistakes trip people up, so let me save you the trouble.
Take more cuttings than you think you need. Some of them won’t root, and that’s true even for the easy ones. Want five plants? Start ten. The spares cost you nothing but a few minutes.
Wipe your snips with rubbing alcohol between plants. Ten seconds, and it keeps you from carrying disease from one cutting to the next.
Don’t let them dry out, and don’t drown them either. Damp but never soggy is the spot you’re after. That balance takes a little practice, but you’ll get a feel for it fast.
And label everything. I promise you won’t remember in three months which cutting was the sweet grape and which was the sour one. A little tag with the name and the date saves you a lot of squinting later.
Final Thoughts
If you ask me, this is the essence of the homesteading life. You start with a single cutting in a pot by the window, and a few years later you’re walking past a whole hedge of berries you grew yourself and you’re also able to help others who were just like you when you started and give them a few cuttings to start their own plants too.
I’ve got a row of little fig pots on my potting bench right now, rooted off the cuttings from California I took three summers ago. Every time I walk by, I think about how that one branch turned into all of this, and that’s about as good a return as a homesteader can ask for.
You may also like: 
Join Our Homesteading WhatsApp Community!
Why Do Amish Women Remove Their Teeth? (Video)
9 Plants That Grow With No Water
How to Keep a Greenhouse Cool in Summer (10 Proven Methods)
Plant These Herbs Once and You’ll Have Them Forever


I can’t seem to get the elderberry syrup recipe. Can you please help me