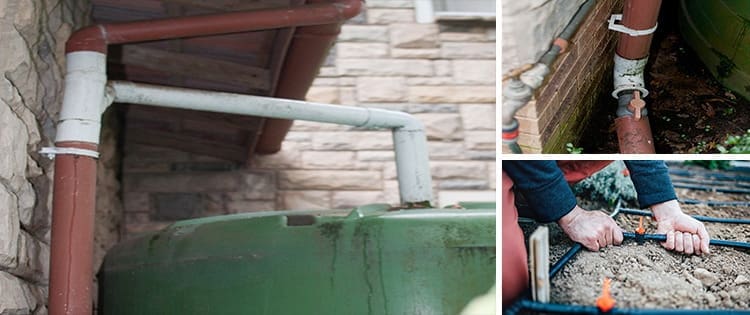
Fresh herbs bring a wonderful flavor and aroma to food.
Here we will guide you through the steps required to build an irrigation system for your herb garden. This system will harness rainwater collected by your roof and delivered to your storage tank.
We will be making a simple system for a small herb garden.
Required Equipment
- Gutters and downpipe to channel rainwater from the roof to the tank. The size of the tank depends on the amount of space available and the amount of rain your location receives.
- Inline filter from the tank to the pump.
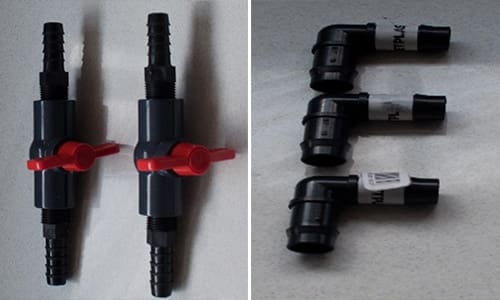
- A valve to close the pipe.
- Piping, elbows, tees, and an end stop.
- Irrigation nozzles to suit the garden.
Setting up the Downpipe
The rainwater entering the tank must be as clean as possible. So, we need to build a flushing function that will divert the first couple of liters of rainwater away from the tank. Then, as the rain starts to fall, the roof is rinsed, and any leaves and dirt will be swept into the gutter and then into the downpipe.
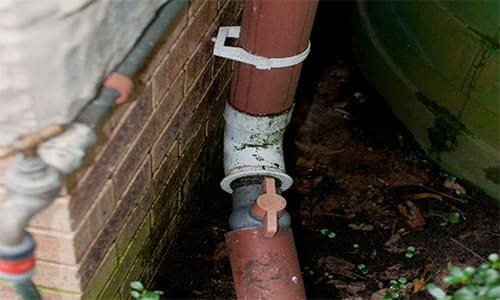
Have a look at the photo of the downpipe. As rainwater begins to flow into the downpipe, the vertical section is filled with water that has leaves and dirt. Only when the downpipe is filled to the tee connection will rainwater begin to fill the tank, and by then, the water should be much cleaner.
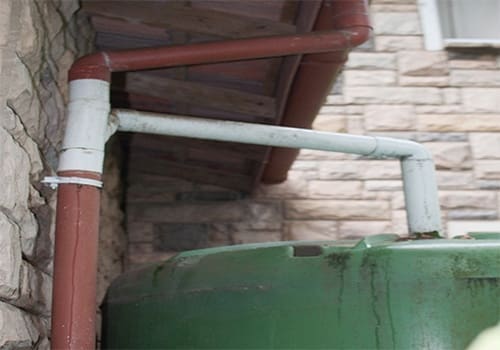
Remember to fit a valve at the end of the downpipe that can be opened to flush any debris out of the downpipe. If your roof has many leaves, it would be good to fit some netting over your gutter to prevent the leaves from falling into the gutter.
Related: 7 Mistakes To Avoid When Harvesting Rain Water
Setting up the Tank
Water is heavy, and your one-thousand-liter tank will weigh a ton when full, so make sure that the tank’s foundation is secure. In addition, the base of the tank needs to be about a foot off the ground to accommodate the pump and make working on the pipes a little more comfortable.
I would recommend that the base area be covered with soft sand and then the tank placed on top of the sand. Make sure that the tank is sitting level.
With the tank in position, the downpipe needs to be correctly placed to allow the rainwater to flow into the tank.
An essential tip: do not fill the tank before you have completed the piping.
I learned my lesson and had to empty the tank to fit a drain, so don’t hurry to fill the tank. With the downpipe fitted, we can now turn our attention to the pump and drain installation.
Setting up the Pipework
The first item to fit is a drain. Over time, no matter how good your cleaning system is, sediment will fill the bottom of the tank, and a drain hole fitted with a valve will help reduce the sediment.
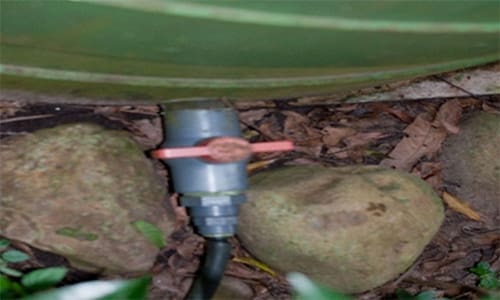
Next, we need to fit the inline filter to the tank. The way to do this is to fit a valve to the tank opening and then the inline filter to the other side of the valve. This will allow you to close the water and clean the inline filter.

Fitting the Pump
The pump should be fitted to the pipe leading from the Inline filter. The pump must be protected from moisture, and the easiest way to do this is to fit the pump in a suitable plastic container. Ensure you have a drain hole in the container and enough ventilation to prevent the pump from getting hot.
Related: How To Make A Water Pump In Your Backyard
Electrical Connection
The pump will have a sealed electrical supply that must be plugged into the domestic supply. In addition, a suitable waterproof socket will be required if the domestic supply point is exposed to the elements.
If possible, it is better to use an internally located power socket.
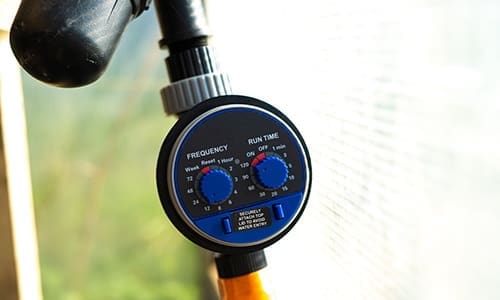
It may be helpful to fit a timer to the socket. This will automatically switch on the pump for the time you set it. This will ensure that your herbs receive regular watering, but you will have to be careful not to overwater your plants.
Pipework
Once the pump is fitted, we can begin with the more fun part of the project. Connecting the pipes to feed your herb garden can have any number of supply lines. If your garden lies on either side of your tank installation, you need to fit a tee connection.
A valve should be fitted to each supply line to allow watering on individual sections. This will provide you with the opportunity of regulating the amount of water in respective areas. This is important because different herbs require different amounts of water to keep them happy.
Once all the pipework has been fitted and secured. I would suggest using cable ties to secure the pipework if it is above ground.
If you can bury the supply pipe, that is the best method of keeping the line out of the way. Be sure, however, not to bury the pipe in areas where it is likely to be struck by spades and forks.
Related: DIY Water Filter
Fitting Irrigation Nozzles
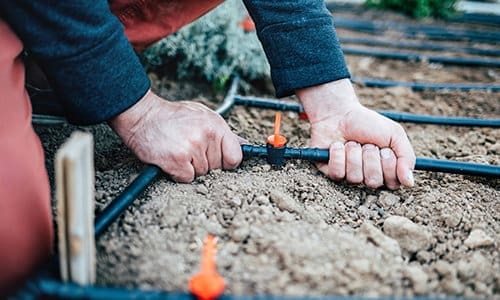
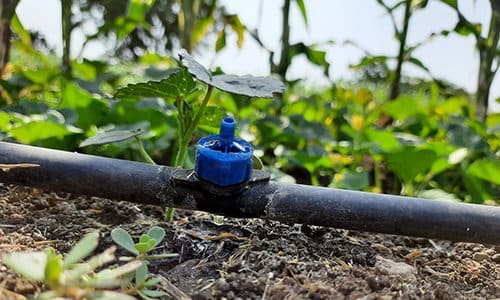
Nozzles come in a variety of shapes. If you wish to place a nozzle in the center of your herb garden, you will need to use nozzles that spray 360 degrees.
Nozzles situated on the side of the garden bed should have a 180-degree pattern. Other patterns are also available, so look at what will suit your herb garden shape.
Remember that you will also need an end stop for each line.
Correct Pressure is Important
You will be able to regulate the pressure in the irrigation nozzle by opening or closing the valve in the supply pipe. Try to set the pressure to produce a delicate mist-type spray on the herbs. This is important on the more delicate leaf herbs.
Fitting a rainwater harvesting system to water your herb garden is an excellent way to grow herbs for your kitchen.
If you follow the steps outlined, it should be a trouble-free installation, and there are few tools required. Plastic irrigation fittings are designed for the DIY enthusiast and make the job of setting up a convenient water supply to your plants simple and easy.
I hope you enjoy your fresh herbs very soon.
You may also like
 What Happens If You Ash Your Garden
What Our Forefathers Did and Built Around the House (Video)
Backyard Projects That Might Get You Arrested
