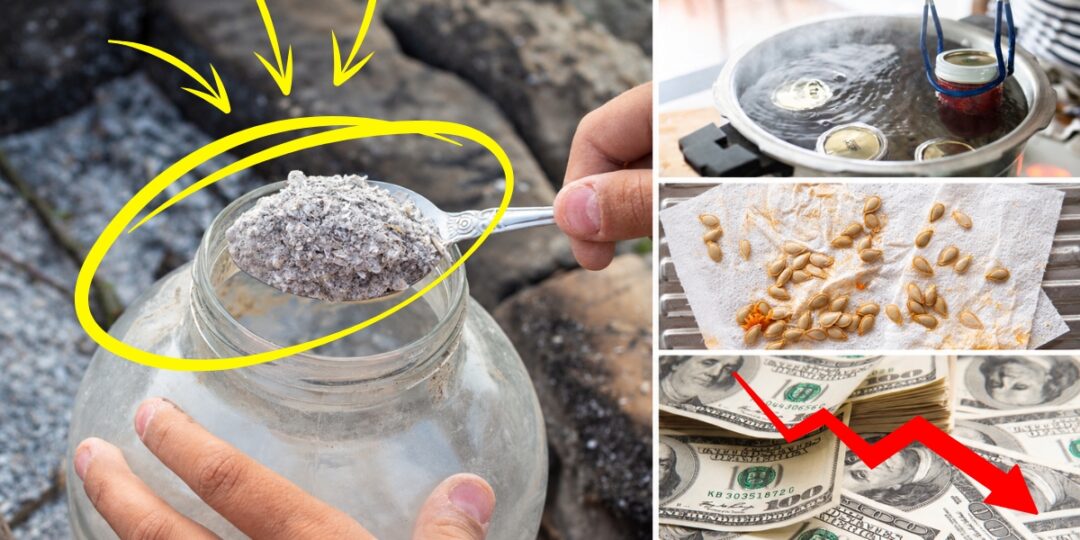
Every winter, I used to carry a bucket of ash out of the woodstove and dump it on the garden. My grandmother did it, my mother did it, and I did it too without really thinking about why.
It was free fertilizer. Good enough for me.
Then one February, my husband watched me carrying another bucket outside and asked a simple question.
Why are you putting that there?
I gave him the answer I’d always believed. Because it saves me from buying fertilizer.
He’d been reading about soil for the orchard, and he said he wasn’t sure the ash was helping the way I thought it was. And he was right…
These are old habits I grew up around, things we keep doing because they seem thrifty. This is the biggest problem with them. They seem frugal and in the end you’ll end up paying for all the damage.
1. Dumping Wood Ash on the Garden
Wood ash works a lot like lime, only faster. Also, you need twice as much ash to have the effect of lime.
The way this habit was born makes sense. The ash is already sitting there in the stove or in the firepit, and it costs nothing. Also, it does contain calcium and potassium. About this one, our grandparents weren’t making it up. They knew something, but not the full story.
The biggest problem is using ash when your soil doesn’t need it.
If your pH is already where it should be, more ash can push it too high. Once soil gets too alkaline, plants can have trouble pulling up nutrients that are already there.
If you’ve been dumping heavy amounts of ash on the garden every year without checking your pH, your garden may have become less productive because of it. Potatoes get hit especially hard because scab gets worse as the pH rises.
So, if you keep applying ash where it’s not needed, you are basically destroying your whole harvest and also the next harvest because you are poisoning the soil itself.
But this doesn’t mean wood ash is useless on your homestead. Far from it. There are plenty of other things you can do with it instead of throwing it away.
For example, people have been making lye from wood ash for homemade soap for generations. You can also add some clean ash to your chickens’ dust bath to help them deal with mites and lice. Some gardeners even use it to keep slugs away from their plants.
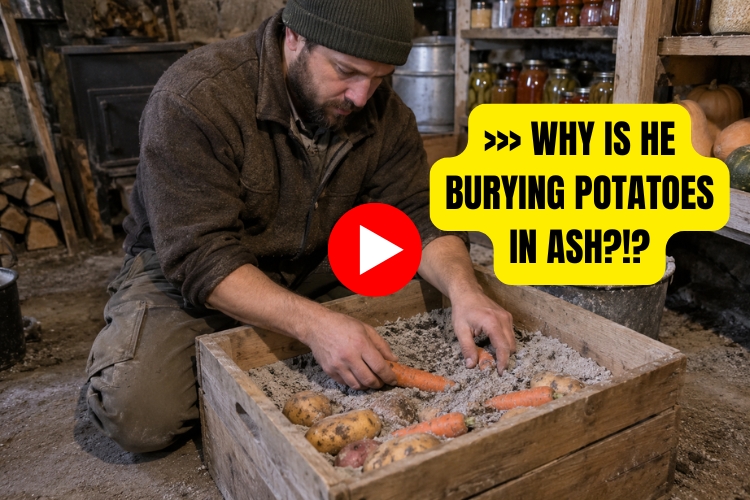
But there’s another use I came across recently that I’ve never heard of before.
And out of all the things you can do with wood ash, this might be the one worth saving it for.
Take a look at the video below and you’ll see what I mean.
2. Reusing Canning Lids
The sealing compound on a canning lid gets pressed down to fit the rim of the jar. Once it’s been squashed into that shape, it will never be able to do the same job again.
Your grandmother may have reused lids, but she may also have been using zinc caps with rubber rings, which were made to be reused.
The flat lids that replaced them aren’t. Same jar, same ring, different piece of equipment. Yeah, I know, some of the things were better back then… They were made to be reused.
The conclusion is that you need to buy new flats each season. You can still reuse the old ones, but only for refrigerator pickles. These are made to eat quickly, and you can use any jar.
In the long run, saving 30 cents for a lid and then losing a whole quart of preserves is not worth it.
3. Water-Bath Canning Everything
Ok so many people still water-bath can everything mainly because a pressure canner costs around $150 and because their grandma used to do it and nothing bad happened.
Indeed, water-bath canning might work without putting your life in danger, but it’s a high risk that you shouldn’t take just to save some money.
Acidic foods like tomatoes are great for water-bath canning, but beans or other low-acid foods need to reach a specific temperature in order to be safe. 212, more precisely. This is way past what you can reach with water-bath canning, no matter how long you leave these jars in it.
Of all “hacks” from this list, this one worries me most because it gets passed down with so much confidence. I’ve seen countless people on Facebook groups recommending caning basically anything in a water bath. Just because they’ve tried it and it seems ok. Their family water-bathed beans on a wood stove for years and nobody got sick.
The University of Missouri Extension lists this belief in its common canning myths. They also point out that a sealed lid only means a vacuum formed. It does not mean the food inside got hot enough to be safe.
So if you’re canning anything other than fruit, pickles, jam, or acidified tomatoes, you need a pressure canner.
Why Some Homemade Preserves Turn Out Better Than Others
Once you’ve learned how to can safely, there’s another thing worth thinking about. How do you make sure the food actually tastes good?
Just think about it. Two jars can look exactly the same sitting on a pantry shelf. But once you open them, that’s when you notice the difference. One has vegetables that turned soft and lost their flavor. The other tastes almost as good as when you first put it up.
That’s why I’ve always thought canning is a bit of an art. And a good recipe can make all the difference.
A friend of mine once got talking to a woman at the farmers market who made some of the best preserves she’d ever tasted. After a few conversations, she managed to get her to share some of her recipes.
And that’s really the secret. You can spend years figuring things out yourself, wasting batches along the way, or you can learn from people who already know what they’re doing.
Luckily, some of that old knowledge has been written down. There’s a book that brings together old-fashioned preserving recipes for both water-bath and pressure canning, including some you don’t come across very often anymore.
You can take a look at the recipes here and see which ones you’d want to put up in your own pantry.
4. Tilling the Garden Every Spring 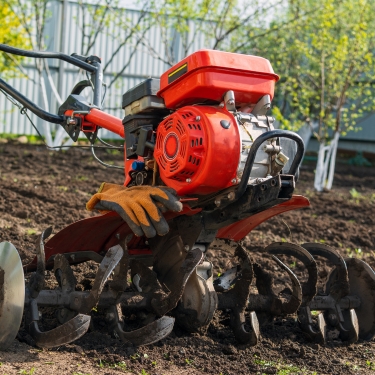
Spring plowing is about as traditional as gardening gets. Freshly tilled ground does look good. After putting in so much work, you might just look at that plowed garden and be nothing but proud.
The problem is that tilling every year disturbs the good microbial life in your soil and, even worse, it brings buried weeds seeds back toward the surface. Surprisingly, a lot of weeds seeds can stay alive underground for decades.
The money part here is that a lot of homesteaders decide to buy a tiller at some point. And this requires gas and maintenance. So, money and time. Also, when the new weeds grow, you need to pull them and take care of the waste.
Now, I don’t say use a tiller. I got one. But I only use it when I need to break new ground.
And here’s something worth thinking about. What if you could grow vegetables without tilling the soil at all?
There’s actually a way to do it that also cuts out weeding and uses the same water over and over again. And you don’t need a big piece of land to try it.
The interesting part is how the whole thing works.
See how you can build this growing system at home →
5. Using Mothballs to Keep Animals Away
Ok so first of all, mothballs are a registered pesticide. They’re made for killing clothes moths inside a closed container where the fumes can build up.
If you use them outside, the toxic fumes spread through the air and never reach a concentration an animal would really notice.
This was a very popular practice back then, and it stuck with people. I know many people who have tried it. But at the end of the day, only a proper fence would keep uninvited guests away.
Then, maybe the fumes won’t scare deer away, but if you put the mothballs on the soil, the active ingredients will be absorbed by it, and in the end they might end up in your plants. So, you’re basically spending money to poison your own harvest.
A cheap electric wire around the targeted crops costs you once and does the job so much better.
6. Treating Fence Posts With Used Motor Oil
This is another old practice that’s still around. Why? Because many people think it helps with rotting wood.
Even more, for decades, American poultry keepers painted roosts with oil thinned with kerosene for mites. People also soaked fence posts in barrels of drain oil because that was simply what you did with used oil. It was free and made the wood look protected.
But listen to old timers talk about those posts and you’ll notice the same thing.
They still rot.
The oil may slow it down a little, but sooner or later that post still has to come out. Now you’ve spent the time treating it, setting it, digging it back out, and paying for another post anyway.
Used motor oil contains heavy metals and combustion byproducts, which is why the EPA treats it as hazardous waste. One gallon can contaminate a million gallons of water!
The “free” treatment didn’t save you from replacing anything. It just delayed it.
For mites, permethrin dust from the feed store costs a few dollars and clears an infestation. For fence posts, cedar or black locust will last far longer.
Take the used oil to the auto parts store. They’ll recycle it for free. This is the best thing you can do.
7. Saving Seed From Hybrid Plants
I’m a big believer in saving seeds. The problem isn’t the practice. It’s what’s in some of those packets. These are seeds you can plant only once and that’s it. Saving anything from a plant that grew from a hybrid is a waste of time.
How do you know you have hybrid seeds? If the packet says F1, you’re dealing with a hybrid, and that hybrid vigor only lasts one generation.
A couple of years ago I was stubborn and I wanted to test it myself. So I saved some hybrid seeds and planted them just to see what happens.
The following summer, I got twelve plants from those seeds. Three gave me decent tomatoes. The rest were small and tough, and a couple never set fruit at all. Why? Because these seeds have traits from both parents. It’s basically a lottery. It’s like planting a mystery pack. Not a reliable practice for a homesteader who wants a good harvest…
Now you might say that a pack of seeds is not that expensive. Well, that’s why the real cost isn’t the seed packet. It’s the bed you gave up, the water, the fertilizer, and the whole growing season you spent waiting for a crop that never turned out the way you expected.
Always check the seed packets before planting and note down what you have. In this way, you can know if you can save seeds from those plants or not.
The Old Homesteading Skills Worth Keeping
Now, after reading all this, I don’t want you thinking that every old trick our grandparents used was a waste of time. Far from it.
There are hundreds of old-fashioned skills that are still useful today. The trouble is that a lot of this knowledge isn’t being passed down anymore.
And most of us certainly didn’t learn it in school.
Luckily, someone has taken the time to gather 200 of these skills and put them into one book called The Lost Skills of Independence.
What I like most about this book is that it covers what I consider the three main pillars of homesteading: growing your own food, preserving it for later, and building things yourself instead of buying everything.
To me, these are the skills that really make a difference when you’re trying to become more self-sufficient. And having so many of them explained in one place, with actual instructions you can follow, is something I find genuinely useful.
And some of the projects are pretty interesting. For example, you can learn how to:
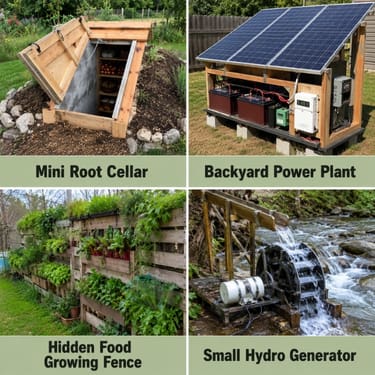
- Turn an ordinary pallet fence into a place to grow more food, even if you’re short on garden space.
- Build raised beds that water themselves, so you’re not constantly dragging the hose around.
- Grow fruit trees in a tiny backyard, without needing room for a whole orchard.
- Build an old-fashioned smokehouse right on your property.
- Turn leftover animal fat into homemade lard and tallow, just like our grandparents did.
- Make a DIY refrigerator that doesn’t need electricity, using an old-fashioned cooling method.
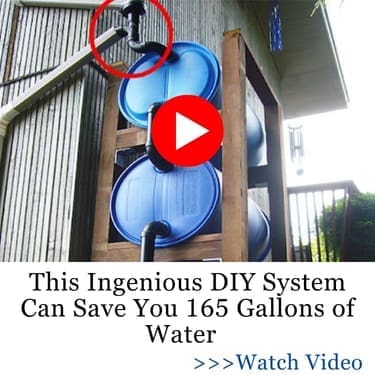
- Build a three-barrel rainwater collection system to collect water for your homestead.
And those are just seven of the 200 skills inside!
The nice thing is that you don’t have to figure everything out yourself. Each skill comes with step-by-step instructions, color illustrations, and a list of the materials and tools you’ll need.
It’s the kind of book you can leave open on your workbench while you’re making something.
Right now, there’s an exclusive 76% early-bird discount, and you also get three extra guides completely free.
Personally, I think this is the kind of book worth keeping around, especially when you have a new project in mind.
Take a look at the 200 old-school skills and check the discounted offer here →
Final Thoughts
I don’t think any less of my grandparents because they used some of these tricks and they passed them down to me.
They were using what they had and doing what they’d been taught. And they fed a family in this way for years.
But nowadays it happens that we know a little bit more about some specific things. Sometimes old habits will turn out to be indeed thrifty, but other times this new information that we have will save us more money in the long run.
You may also like:
7 “Must-Have” Kitchen Tools That Are a Waste of Money
How to Make The “Three Sisters Soup” for Regular Bowel Movements (Video)
How to Get TV Reception When You’re Miles From a Tower
These 7 Homesteading Skills Pay for Themselves in Under a Year