With summer in full swing, take time to really enjoy it.
There are many things you can do that don’t cost a lot of money and will be fun for people of all ages. Try out one of these 6 ideas that will certainly make this summer more interesting!
Use Ice Cubes to Water Plants
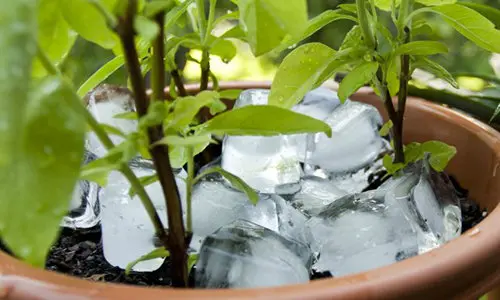
You know how refreshing it is to drink ice water on a hot summer day. Well, your plants will appreciate sucking up their water slowly to avoid wilting from the heat and humidity, too.
Just place two large ice cubes at the base of your plant each week to keep them happy and hydrated.
Construct a Fire Pit
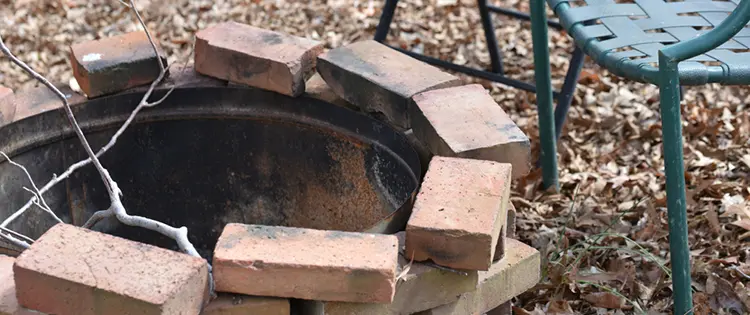
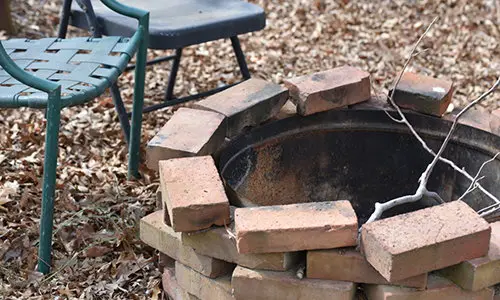
Locate an area away from overhanging trees, the house, and any other flammable structure. It’s best to use a thick steel ring like the ones used for park campfires to protect the stone blocks or those made of cast concrete and molded to look like real stone (available at any home center). Excessive heat can cause them to dry out and break down prematurely.
Glue the blocks or concrete together with masonry adhesive. Aim for a fire pit between 36 and 44 inches in diameter to create enough room for a healthy fire and to allow for conversation.
Related: How To Make A Simple Fire Pit In Your Backyard
Try Solar Drying Plants and Vegetables
Check out this low-cost alternative for natural foods. It’s easy to dry fruits and veggies to be used in casseroles, soups, stews, ice cream, and baked goods. Or enjoy the dried food as snacks or add to cereal or yogurt.
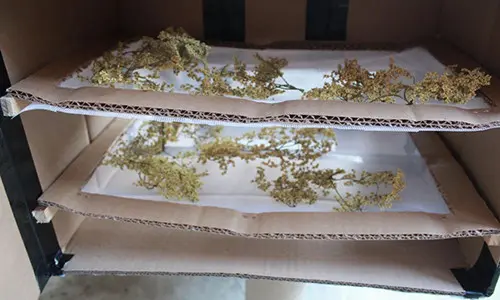
To start, make a boxed frame out of cardboard and cover with plastic sheeting. Add several pieces of cardboard “shelves” to increase the capacity (optional: cut the middle and insert a mesh). It’s important to use only good quality plants and vegetables that you want to dry. Next, clean all surfaces before handling and washing the items you want to dry.
Before drying, the plants and vegetables should be blanched in steam. Peel, cut, and slice the products. Remember, the thicker pieces will take longer to dry and the very thin pieces may stick to the cookie sheets/trays placed on the “shelves.”
It is also important to position the dryer toward the sun to maximize the rays each day. Under ideal weather (sunny and hot versus cold and rainy), the food should dry in about two full days. Make sure the slices are sufficiently dry to prevent mold and store in small brown bags or glass jars. That is after you sample a few of your yummy dried foods!
If You See This Plant in Your Backyard, Burn It Immediately! (Video)
Build a Solar Oven
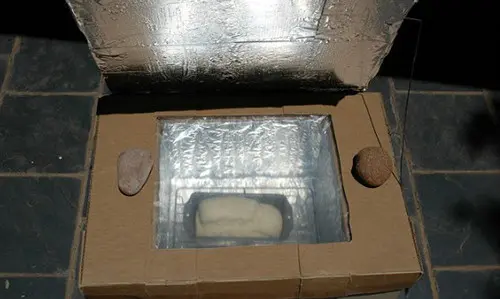
If you want to cook your food without wasting energy, then making a solar oven is for you! What better way to use or recycle those cardboard boxes. Just use the sun’s energy to heat up a tasty treat.
Materials Needed
- Cardboard boxes (volume between 1-2 cubic feet)
- Box knife or scissors
- Aluminum foil (heavy-duty is easier to handle)
- Black skillet/pan
- Insulating material like polystyrene, packing foam, newspaper, or fiberglass insulation
- Clear plastic food wrap
- Cloth or duct tape
- Kitchen thermometer
Procedure
- Cut up enough insulating material to line the box interior.
- Cover the bottom and sides, but not the flaps.
- Next, cover the insulation with aluminum foil and tape in place.
- Cut four pieces of aluminum foil slightly larger than the four box flaps.
- Wrap these pieces of foil over the inner-facing sides of each flap.
- Tape down the corners so the foil stays flat.
- Place a cooking surface inside the box.
- Cover the opening of the box with a piece of clear plastic food wrap.
- Use the plastic wrap to form a square or rectangular window pane that nestles between the open flaps.
- Put the box in direct sunlight, tipping toward the sun.
- Place your food on the cooking surface, put it inside, then seal up the box with the plastic wrap cover.
- Check your food’s temperature with a food thermometer (minimum over 140 degrees).
- Cook until done.
Related: DIY Solar Oven From A Pizza Box
Make a Hammock from Recyclables
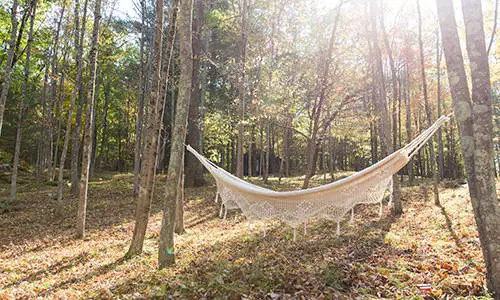
What a fun pleasure to read, sleep, or just relax in a hammock! Why not try making one to sway in the breeze? There are many ways to make your own hammock from various recyclable but this easy DIY only takes an hour.
You will need a 6 ft. sisal rope (cut in half), one old throw (5 ft. X 6 ft.), a drill/sewing machine/scissors, wooden bar (43 in.) with a diameter of at least 2 in., and masking tape.
Procedure
- Fold the throw in half.
- Then fold the outside corners in by 12 in.
- Cut away the folded corner pieces and zig-zag the cut edges to prevent fraying.
- Fold each side in about 2 in. and pin to make the pockets for the rope.
- Stitch up the pockets and reinforce the ends with back stitches.
- Make marks 3.5 in. and 5.5 in. from both ends of the bar and using a 5.25 in. drill bit, drill through.
- Tie knots at each end of the ropes.
- Use masking tape to seal the edges to prevent fraying.
- To hang the hammock, thread the rope through the outside hole of your bar and into the top narrow edge of the throw and through to the widest edge.
- Adjust the knots up or down to lower the hammock to the right height.
- Hang your hammock by knotting the two pieces at the top together.
Related: Ingenious Ways To Recycle Plastic Bottles
Stir Up Some Iced (Sun) Tea
Refreshing iced tea sure hits the spot on those sunny hot days! Black tea is most commonly used, but you can use any flavor.
For normal size tea bags, use 4 tea bags to 2 quarts of water. It’s best to use a glass container to brew the sun tea. Experiment with adding a few sprigs of fresh mint for flavor.
Place the container in direct sunlight for about 3 to 5 hours. Then put it in the refrigerator for the tea bags to steep more. The tea is good for a day or two (slightly less time than iced tea made from boiling water).
Have a special DIY summer! Enjoy!
 Build Any Shed In Just 2 Days, Even Without Woodworking Experience (Video)
You may also like:
10 Ideas For A Backyard Business
DIY Cheap & Portable Washing Machine

