I used to think backyard projects were complex and back-breaking.
To date, I’ve paid landscaping companies a fortune to get my backyard in check. And even though they did a good job, I wasn’t satisfied with the final look.
I then decided to take the fate of my backyard into my hands.
And the result?
Four completed projects and counting.
These ingenious projects are easy and affordable.
Anyone can try them!
Go put on your gumboots and join me as I walk you through all of them.
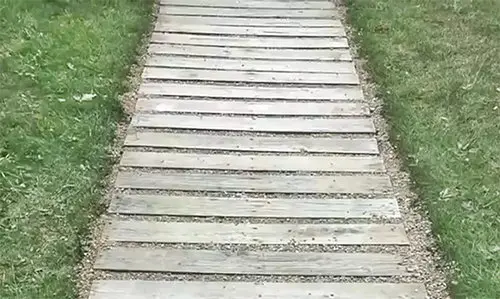
Wooden Walkway
Grass tends to always be moist, muddy, and slippery, especially when it rains.
It’s strenuous to go through it with a loaded wheelbarrow, and even if you manage, you’ll carry dirt into the house on your return.
A wooden walkway helps counter that problem by offering a solid ground to walk on with ease and without accumulating dirt.
Here are seven steps to create one for yourself:
- Get some wooden pallets and take the planks apart.
- Dig as deep as the width of the plank and as long as you want your path to be.
- Level the ground using a rake.
- Get some landscape fabric and lay it where you’ve dug.
Make sure you cut off any excess fabric on the sides.
Related: DIY Smokehouse In A Barrel

- Start laying the planks on the fabric, leaving about two inches between each.
- Pour gravel into the spaces you left.
- Finish off by sweeping excess gravel off your weather-proof walkway.
Not only will you have an effortless and cleaner walk around the backyard, but your outdoor space will look exquisite.
Stone Planter
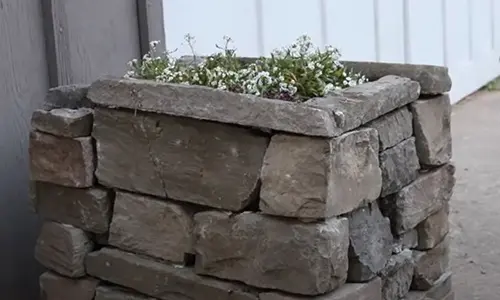
A stone a planter is made from cement cylinder blocks and stones. To make one, you’ll need to:
- Look for stones with a flat surface area as well as two large cylinder blocks.
- Choose the place where your planter will be situated.
- Apply landscaping glue (also known as outdoor liquid nails) on top of one cylinder block.
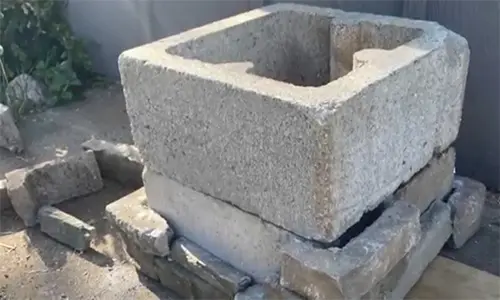
Take the second block and place it on top of the other.
- Apply landscaping glue on your stones as you stack them on top of each other around the blocks.
- Punch some holes through the planter for drainage.
- Put in some potting soil into your finished planter and plant whatever you want.
Stone planters give off a luxurious cottage vibe.
Possessing them will result in neighbors and passers showering you with wows all the time.
Don’t tell them you made them, or else you’ll have an endless list of students waiting for you to teach them how.
After a few months of not indulging in any project, necessity forced me to make a:
Dry Creek Bed
Every time it rained, the upper parts of my basement got very moist, which left me thinking my home had a pipe problem.
I called a plumber to investigate, and he said the moisture came from the soaking wet ground around my house.
I don’t have gutters, so when it rains, most of the water accumulates and drains around my house, which transfers the moisture to my basement.
The problem was getting worse, so I made plans to install gutters, which my homestead buddy opposed.
He said gutters increase work around the homestead and that instead, I should make a DIY dry creek bed.
He gave me clear instructions like I’m going to share with you in a sec.
I followed them, and now after it rains, my basement no longer gets moist.
Before I get into the steps, you should know that this project works best suited for a yard that is sloping a bit.
Here’s how to make a DIY creek bed:
Related: How To Build A Small Storage Shed From Pallets
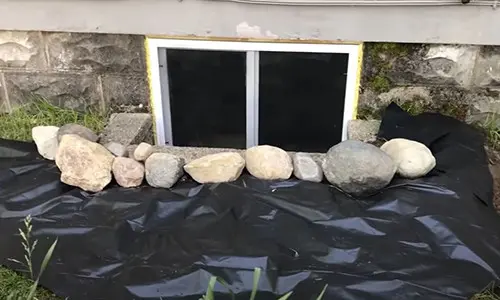
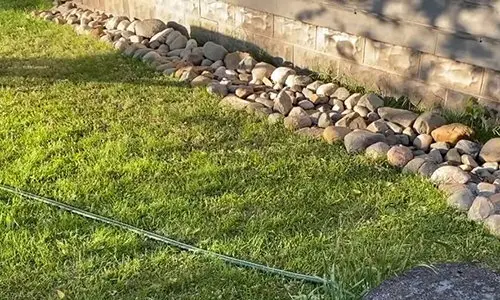
- Get a lot of field stones from your homestead friends or farmers.
- Lay plastic fabric around the house. This helps the creek bed catch the water and move it down the slope away from the house.
- Put stones on top of the plastic. The stones help absorb the pressure of the rainwater as it falls from the roof then directs the water onto the plastic underneath.
If you have surplus stones left after finishing the project, lay them around your plants so they give your yard a design upgrade.
The creek bed saves you from the stress of cleaning the gutters and ensures that rainwater doesn’t damage your property.
Rocket Stove
Rocket stoves have been around for as long as fire has been around.
I saw one on a TV channel, which prompted me to make one for myself.
In this project, you’re going to need:
• 2 or 4 hollow blocks
• If 2, then one hollow block with the shorter side removed with a cement saw.
• And one half hollow block.
• Pan support.
• Wooden sticks.
Here’s how to create a rocket stove for yourself:
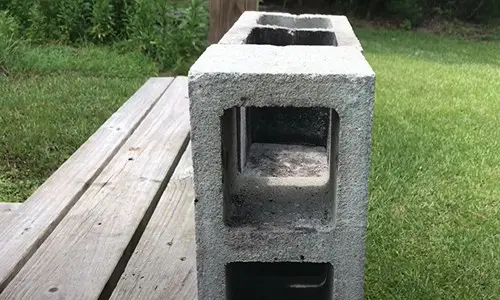
- Lay one hollow block on its side on a level surface.
- Take the block with the shorter side removed and place it upright on top of the first block.
- Get the other hollow block and place it vertically with its opening facing the block on top of the other.
- Take the half hollow block and place it upright on the top opening.
- Place your pan support on top of the half-hollow block.
- Finally, deposit the wooden sticks through the side until they touch the end of the other block, then light them up.
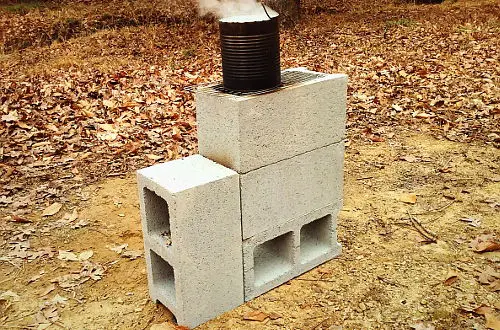
Start enjoying traditionally prepared meals in your backyard while reminiscing with your family and friends.
After the fun is over, neatly pack the blocks away for use another time.
These projects have left my home looking astonishing, and they can do the same for yours as well.
Which project are you going to try first? Leave a comment below.
You may also like:
This Homemade Device Can Power Up Your Entire House 7 Days in a Row (Video)
Easy DIY 165 Gallon Rain Harvester

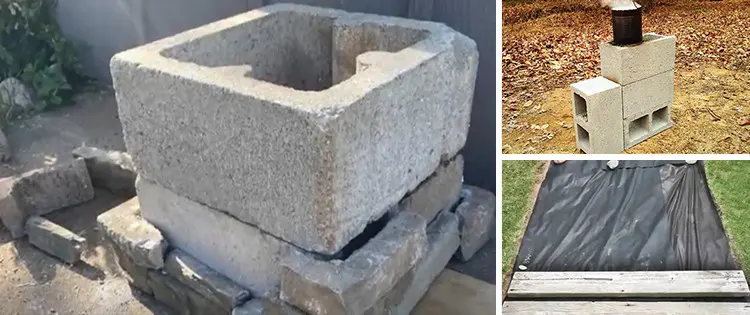




Of note: Cinder Blocks are handy for many different “fire” based projects (e.g. Rocket Stoves, Grill Pits, etc.); however, the service life of these blocks is short when used for fires.
I’ve used the blocks for grill pits and platforms for Potjies and Dutch oven cooking. In a very short time, they begin to crack and crumble.
So, you can certainly use cinder blocks, but don’t expect them to last very long.