Onions are not exactly hard to grow – all you need is plenty of sun and soil with good drainage. That’s why living in a tight, cramped space with a restricted area for gardening isn’t an excuse not to grow these delicious bulbs. With this DIY Vertical Onion Planter, you can grow onions as plenty as you’d like while maximizing a tiny space.
Knowing how to grow onions in a DIY Vertical planter promotes self-sufficiency and self-sustainability and opens up plenty of possibilities for your gardening project. Planting on old plastic bottles will also reduce your waste and contribute greatly to the environment.
I started this practice a few years back by planting small vegetables and herbs like tomatoes, scallions, and microgreens in cut-up bottles of soda. Now that I’m able to live somewhere with a decent garden, I only maintain a couple of “vegetable bottles” which I use to keep my scallions!
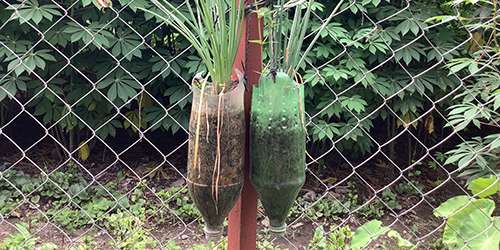
That said, I want to share it with you so you can do it, too! What are we waiting for? Let’s get down to business!
Tools Needed for the Onion Planter
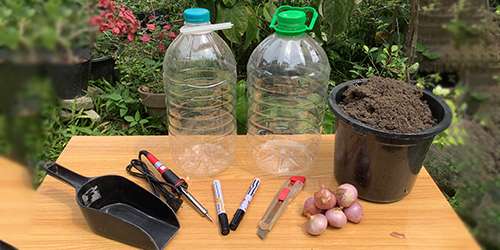
- Cutter
- Soldering rod
- Drill (Optional)
Materials Needed for the Onion Planter
- 6-L plastic bottle
- Fertile Soil
- Onion
- Pan or Saucer (If growing indoors)
Step 1
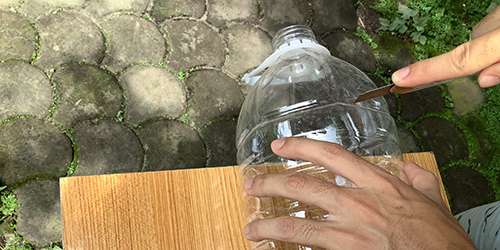
First things first, remove the top part of the plastic bottle using your box cutter. To make an even cut, you may want to use a marker to draw a line or look for a groove to serve as your guide.
Take note that the opening should be big enough so that you can easily pour the soil in and effortlessly arrange your onions.
Step 2
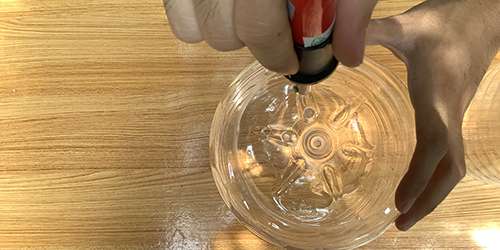
Next, using your soldering rod or other similar tools, poke a few holes in the bottom of the bottle to let the water drain freely out of the Vertical Onion Planter. While onions need plenty of water, they grow best in soils with good drainage. This also prevents the bulbs from rotting because of excess moisture.
Step 3
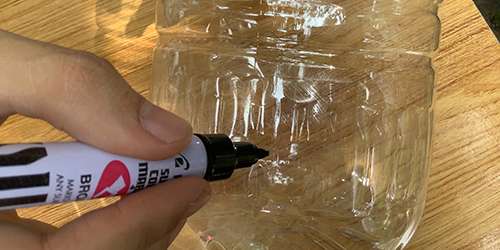
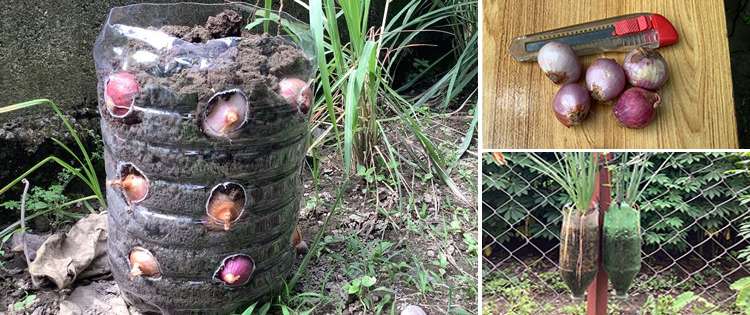
Afterward, you can then put small holes all over the bottle. These openings are where the onions will shoot out their sprout so it is important to remember that each hole should fit one bulb.
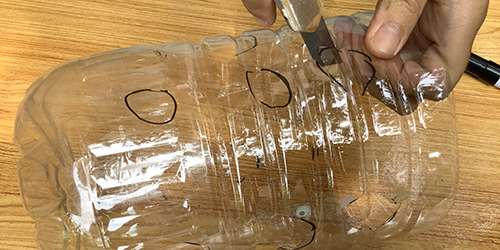
To make things more convenient, make sure that the holes are level with each other so you can easily plant the onions in layers.
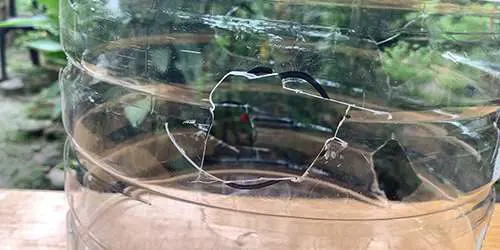
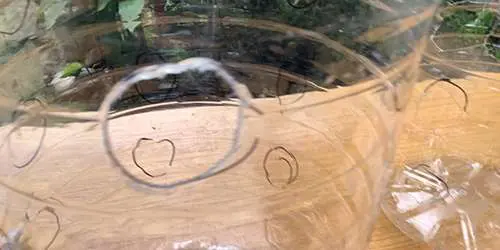
NOTE: I did two versions of a DIY Vertical Planter-On one, I used a box cutter to punch holes in the bottle while on the other, I used a soldering rod to form the holes by melting through the plastic. I found that using the soldering rod makes a nicer ring than the former, but you have to be extra careful lest you want to burn your hands!
Step 4
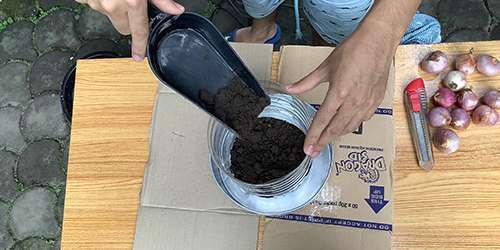
For the next step, you want to put in the soil already until it becomes level to the first holes. Onions love anything from sandy loams to heavy clay. However, you can expect optimum yield from loose, fertile, and well-drained soil.
To produce big, juicy bulbs, you may want to mix manure or compost to your soil first before pouring it in your DIY Onion Planter.
If you only have hard soil or clay-heavy soil, improve its texture first by adding aged compost or humus. Leaving them as is will severely limit bulb development and result in poor-quality onions.
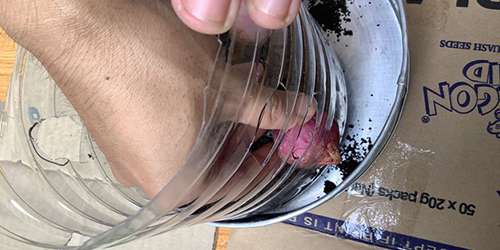
Afterward, have your onions ready and place them inside the bottle with the roots pointing towards the center. Make sure that the top part–the one with the pointy tip–is pointing out of the hole.
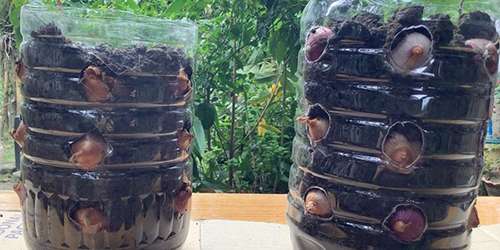
Do the same thing over and over again until your DIY Vertical Onion Planter is full.
Step 6
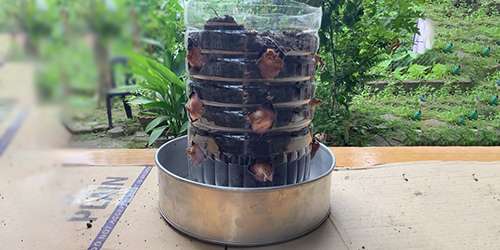
When you’re done, it is now time to find a spot for your DIY Onion Planter. If growing indoors, fix the planter on top of your pan or saucer just like the one in the photo and place it near a window where it can receive plenty of sunlight.
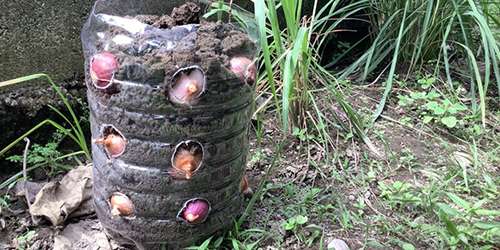
If outdoors, you can just put it just about anywhere just as long as it will get adequate sun.
What makes this DIY Onion Planter Good?
Making a DIY Onion Planter is highly beneficial because of two things: one: it affords the onions the environment of a real raised bed garden, and two: it allows you to relish on fresh onions right at the comfort of your own home.
Frequently Asked Questions
- Can this DIY Vertical Onion Planter be used for other plants?
Yes, absolutely. This DIY Vertical Planter can also be used for growing garlic with almost similar results.
- How long will you wait until you harvest from the DIY Vertical Onion Planter?
You should wait for the onion tops to turn brown and naturally fall over. This way, you’ll know that the onions are ready for harvest. This usually happens about 100 to 120 days after planting them.
- How often should you water the onions when growing them on the DIY Vertical Onion Planter?
Onions in DIY Vertical Onion Planters need one inch of water per week. You should choose to water deeply once a week rather than light sprinkling each day. Stop watering the onions for a good seven to fourteen days before harvest and let the bulbs mature on their own.
If you have any more questions and tips, feel free to leave them in the comment section below.
You may also like:
How to Build a Smokehouse In Your Backyard (with Pictures)
What Happens When You Pour Sugar Into An Onion? (Video)
15 Gardening Mistakes You’re Making Right Now
How To Make A Water Pump In Your Backyard





I never would have thought. I’m going to try it
What kind of onions were you planting,? Would I be able to do it with yellow onion scraps?
Nice idea; but it seems like you would be limited by the size of the bottle and spacing of the holes, as to how big the onions can grow. Might have to space the holes a bit farther apart for full size onions, unless you want to take them out while they are still fairly small.
My onions do not get much bigger then then a gulf ball, even the red onions. Is there a way to get them to grow bigger?