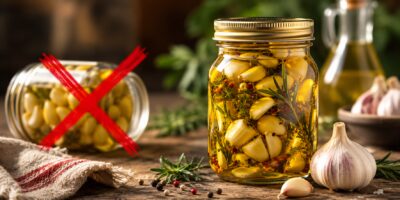
Have a huge garlic harvest and you’re out of ideas on what to do with your bounty? Why not save some for later and add some explosive flavor to your dishes? Let me show you how to make pickled garlic.
This is a sweet recipe. If you would prefer to have a savory pickled garlic recipe, I recommend adding 3 tablespoons of salt, 2 tablespoons of multi-colored peppercorns (or pimentos, or both!), and upping the vinegar just a little bit.
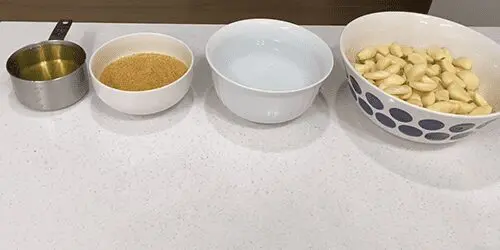
For this specific recipe you’ll need:
- 1 QT Jar with lid
- 2 cups of water
- 1.25 cups of white vinegar
- 1 cup of sugar (we used raw in this recipe because it’s what we had on hand, but any cane sugar will do)
- 2.5 cups of cleaned and peeled garlic cloves
- A large pot
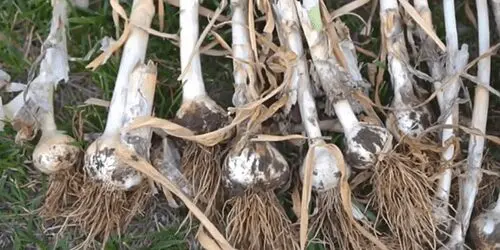
Step 1 for Making Pickled Garlic
If you haven’t grown your own garlic, I’m very surprised! Garlic is incredibly forgiving and you should try it sometime, if you have the room for it. Select your garlic by looking for fresh, hard bulbs without any green tops sprouting out of them. If they are fresh from your garden, wait until the tops begin to wilt for the best flavor.
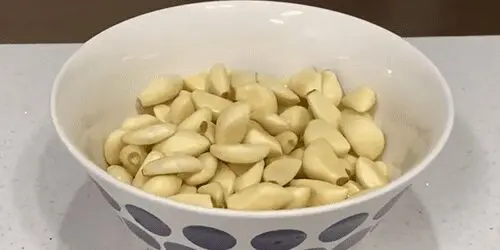
Step 2: Peel Your Garlic
All garlic intended to be pickled must be peeled. You can do this by placing them in a bowl and shaking them around each other (the idea is that they peel one another) or by doing it by hand. You must not crush the cloves or slice them in any way. Be careful as you handle your garlic but get that thin, papery skin off.
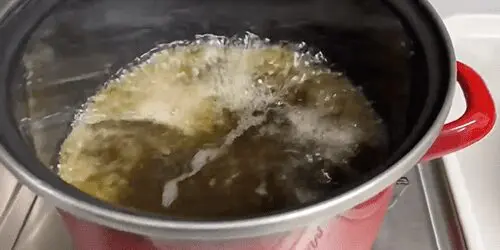
Step 3 for Making Pickled Garlic: Heatin’ Up!
Using your pot, add all non-garlic ingredients together and stir with a long-handled spoon (to avoid splashing, this stuff hurts if it pops on you!). Heat slowly to a boil and continue to stir frequently so the sugar doesn’t stick to the bottom.
You are finished when the sugar has fully dissolved and the mixture looks a little bit caramelized; as if the water has taken on a very thin caramel flavor. It is ideal to do this right before bed then turn off your heat, put a lid on your pot, and allow it to cool overnight.
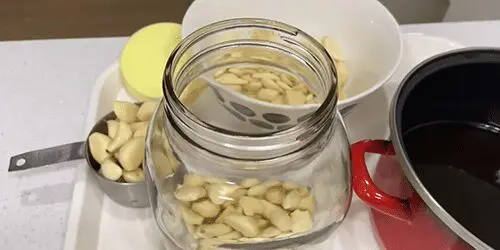
Step 4: Let’s Get Garliced
Add your garlic to your jar. You can toss it all in at once or do it bit by bit; it doesn’t really matter for this recipe. Some people are simply more used to “layering” the garlic in instead of letting it all pop in at the same time. I assure you, after years of making this recipe, it changes nothing.
Ladle your pickling mixture from your pot into your jar. Take your time and DO NOT DO THIS IF THE MIXTURE IS STILL WARM. There is a very good chance you will shatter the jar and you can be seriously injured by exploding glass.
If your pickling mixture is indeed cool, continue ladling it a bit at a time until you’ve completely covered your garlic and then some. You want about 3-4″ of space between the bottom of the jar and the bottom layer of garlic.
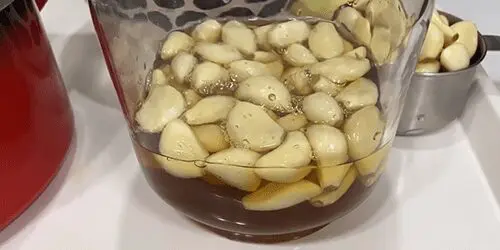
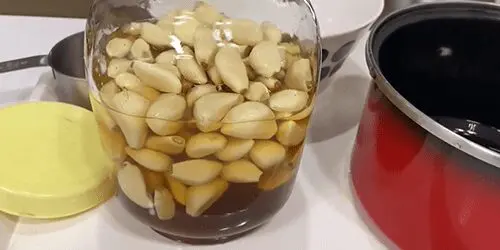
Do not be alarmed if your garlic isn’t entirely covered by the pickling mixture or if it is floating “high” in the jar. This is what should happen. As the garlic absorbs your pickling mixture, it will sink deeper and deeper into the fluid and you’ll see it “consumed” by the jar.
⇒ Learn How To Keep Eggs Fresh For At Least A Decade
Step 5 for Making Pickled Garlic: Patience
Ah, this is the part that I hate. This pickling recipe takes right around 3-4 weeks to be fully ready to use; same goes if you make the adjustments for the savory pickling listed up above (though with small cloves, that one is sometimes ready in 2 weeks; check it right around then to see if it’s good to go).
As it is, you’ll be waiting for a little while for your delicious sweet garlic. Shake your jar at least twice a day to keep your garlic circulating and keep the jar in your ‘fridge. Sugar-pickled items should not be stored on shelves unless they are in a cold cellar and you have experience looking for botulism and other potential illnesses that may happen when working with pickles.
Remember, this is essentially a sweet and wet cure method and anything can happen while working with that, especially if this is your first time pickling an item. It can be tricky. Give yourself a round of applause for trying and know that you’ve done just great!
Related: 5 Recipes That You Can Make If You Live Fridge-Less
After three weeks, we recommend sampling a small clove near the top. If it is rich, bursting with flavor, and does not make you feel ill after a day, the pickles should be safe to eat.
Eating a sample should not cause any sort of distress even if the pickling has gone sour, which this occasionally does. This largely depends on your exact setup, how long you’re cooking your sugar, and plenty of details about your jars and storage methods that I cannot possibly know. After all, we aren’t in your kitchen; I’m just trying to help it taste fantastic.

Why Should I Pickle Garlic?
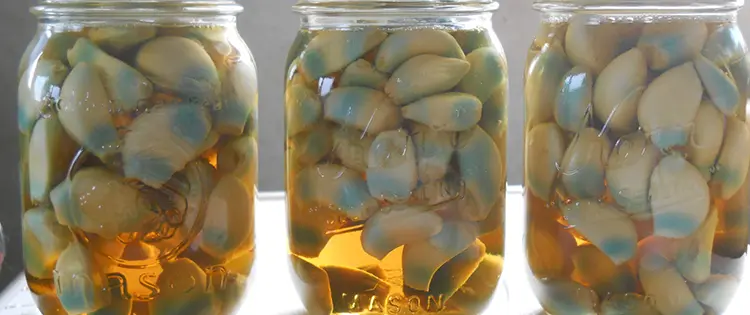
Pickling garlic is an easy and tasty way to preserve fresh garlic cloves, making them shelf-stable and ready to use anytime. You can start by peeling the garlic cloves or use pre-peeled garlic to save time. Bring a pot of water to a boil and prepare your brine using equal parts white vinegar and apple cider vinegar, a few black peppercorns, red pepper flakes, a bay leaf, and a pinch of salt.
Pour the hot brine over the garlic cloves, ensuring they are fully covered. Let the mixture cool to room temperature before sealing the jar. If your pickled garlic turns blue, don’t worry—it’s a natural reaction and still safe to eat. A good pickled garlic recipe can last for months and brings versatility to your kitchen!
This recipe is one of my favorites, a tried, true, and tasty one directly from my personal cookbook. We only add the warning for those who are new to pickling or find themselves uncertain. If you follow the directions above, you’ll be just fine. Happy Pickling!
You may also like:
Strange Gardening Tips And Tricks That Really Work
How To Get 295 Pounds Of Extra Food For Just $5 A Week (Video)
20 Foods That Can Last 20 Years
Foods You Should Never Buy And Always Make At Home
20 Grandma’s Depression Foods We Will Need Soon


What ways do you use the pickled garlic?
I pickle mine in a vinegar an salt pickle brine an water bath for 10 min . I eat it , use it in salsa , macaroni salads potato salads .