For many of us, our backyards represent both a comfortable and functional living space. How much we use that space can be limited by the seasons in some areas, but even in winter there are backyard projects that can extend the time we spend outside behind our homes.
You don’t need a big budget or fancy tools to make your backyard more productive, comfortable, and useful. In fact, some of the most rewarding projects I’ve tackled around my place cost little more than a few afternoons and some scrap materials I already had lying around. From quick fixes that make daily chores easier to clever builds that save money in the long run, these projects prove you can get a lot done without breaking the bank.
How much money you spend is up to you, but we’ll try to give some rough estimates for costs at least in a range. What’s important to remember is that any do it yourself project is going to save you money so all of the costs are related to basic materials.
Here are five of my favorite budget-friendly backyard ideas you can try this season.
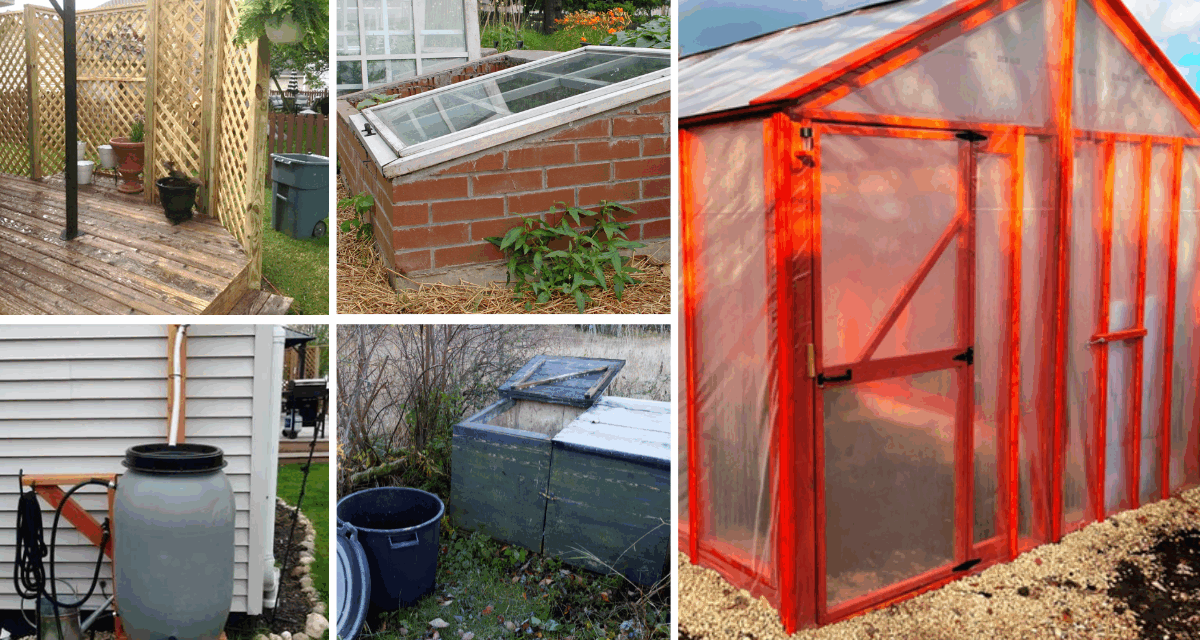
A Backyard Rainwater Collection System ($50 to $100)
Every house has a roof, and most have gutters and downspouts. If that’s your situation, you’re more than halfway there for a rainwater collection system.
All you need now are two critical parts.
The first part is a downspout channel that directs some of the rainwater to a hose leading to a collection barrel.
The downspout channel costs between $10 to $15 and is easy to install on any downspout.
The second part is the collection barrel.
You can use a barrel you’ve salvaged or buy a specialized rainwater collection barrel for about $50. Specialized rainwater barrels come with spigots and an overflow valve toward the top that lets you direct excess runoff to a part of your garden or yard through a hose.
Most barrels hold up to 55 gallons of water and it makes watering anything in your yard not only easier, but it saves you money on water bills. The highest total cost of $100 includes the downspout channeler, specialized rainwater barrel and various hoses. A soaker hose is a good idea if you want to connect it and automatically water a vegetable garden on a particularly hot day.
If you salvage a barrel and have extra hoses all you really need is the downspout channel and at most, you’ll be out 15 bucks.
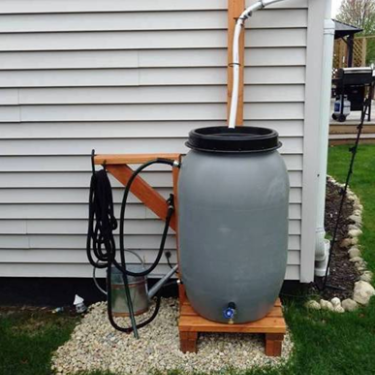
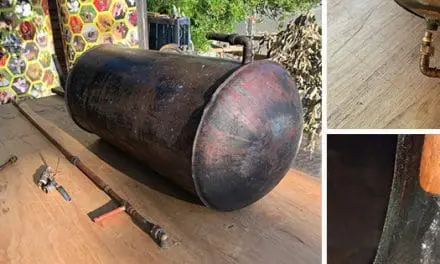
If you have some spare blue barrels around, you can also build a pressurized rainwater harvesting and purification system that stores 165 gallons, pressurizes itself with gravity, and even gives you clean drinking water, for even less than that $15 setup. That’s right: more water, more functionality, and cleaner water, all while spending less than a basic barrel system.
Because the water is stored vertically, it’s also pressurized by gravity, and you’ll be able to use it without a pump or siphon. You could use this project for a lifetime. And if you connect it to the water filter I’m about to show you, then you will also have clean water to drink and cook with. You can learn exactly how I built it from here.
This will be your backup water tank. Way better than hoarding plastic bottles.
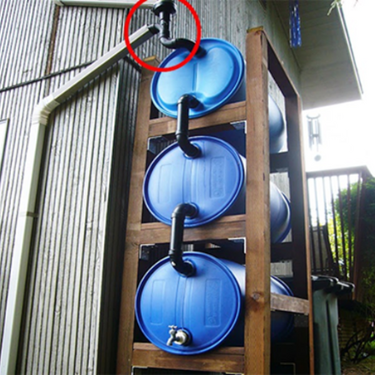
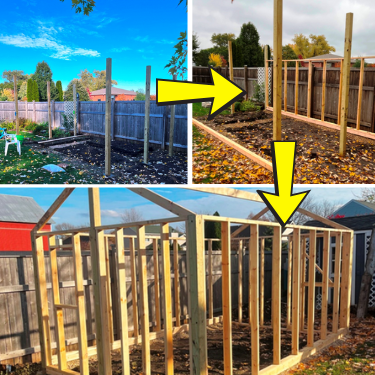
A Backyard Greenhouse ($300 to $500)
A backyard greenhouse can not only get your garden off to a good start, but also extend your growing season. With some simple heating possibilities, it can even give you a winter living room in the backyard.
How much you spend depends on the size of your greenhouse. We’re going to think big and build a 10×16 foot greenhouse with plastic sheeting on the sides and polycarbonate panels on the roof. Here’s the materials list: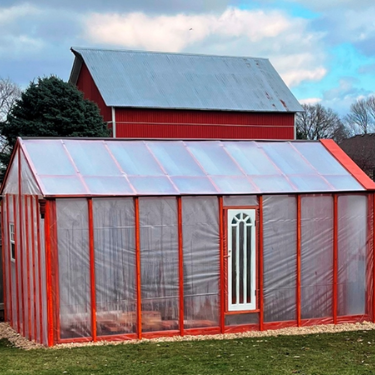
Lumber:
4×4: 2 (16 ft), 2 (12 ft), 6 (10 ft)
2×6: 1 (16 ft)
2×4: 2 (16 ft), 52 (8 ft)
2×2: 4 (8 ft)
1×2: 34 (8 ft)
2×12: 1 (16 ft)
Fasteners: 300 (3 in wood screws), 50 (4 in wood screws), 72 (1 in lathe screws with rubber washers)
Other: 3 bags concrete, 24 polycarbonate roof panels (2×4 ft), 6 mil plastic sheeting (40×50 ft)
Construction:
- Stake & Square – Mark a 16×10 ft rectangle, square the corners, and mark center points for main posts.

- Dig Post Holes – 6 holes, each 3 ft deep.
- Set Corner Posts – Add 2–3″ of stone, place 10 ft 4×4s, fill with dry concrete, level, then add water.
- Install Foundation – Attach 4×4 foundation beams to set posts.
- Build Long Walls – Use 2×4s (24″ on center); cut height to 6½ ft; attach to posts with 3″ & 4″ screws.
- Build End Wall (Window) – Frame with 2×4s (12″ on center); size window opening to fit your window.
- Build End Wall (Door) – Frame door opening 6½ ft high × 36″ wide; attach to posts.
- Add Ridge Beam – Use metal braces; cut corner posts flush with top walls.
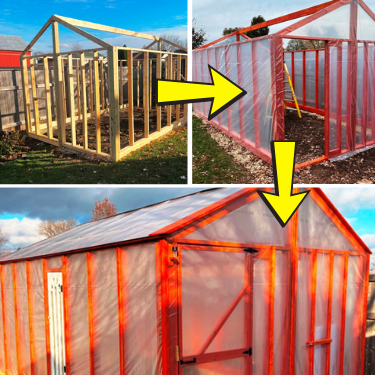
- Build & Install Door – Make from 2×2s; attach hinges & handle.
- Install End Rafters – Cut and attach angled 2×4s to ridge beam and corner posts.
- Seal Frame – Apply water seal to all wood.
- Add Side Plastic – Remove door; staple 6 mil plastic to sides; cut opening; reinstall door.
- Install Remaining Rafters – Complete both sides.
- Attach Roof Panels – Use lathe screws with rubber washers + silicone bead for sealing.
- Add Front 2×10 – Attach above door.
- Install Window – Place into framed opening.
- Finish Roof Ridge – Secure ridge piece in place.
- Set Up Rainwater Collection – Use greenhouse roof as catchment.
- Plan Interior – Add benches, shelving, or planting beds.
For a truly year-round solution, another idea I got from The Amish Ways book is the underground food garden. This earth-sheltered greenhouse lets you grow food and medicinal plants all year long, staying naturally insulated while hidden from neighbors, looters, FEMA, or any other unwanted intruders. It’s a clever way to keep your garden productive through winter without extra heating.
A Backyard Privacy Trellis ($75 to $150)
Most of us have neighbors and some of those neighbors live fairly close. An easy way to create some privacy is to construct a privacy trellis from 4×4 posts and lattice.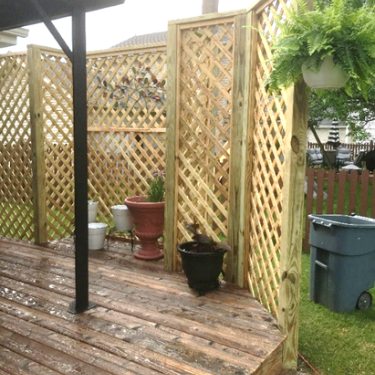
How many posts and how much lattice you need depends on the size you’re trying to build. We used the foundation of a deck with some post holes dug around the perimeter.
The posts were dropped in the holes (at least 3-feet deep) and then surrounded with some stone before being filled with concrete. Pose levels helped to make sure the posts were level around the deck.
Once the concrete had hardened, lattice was cut to fit. We started with 4×8 foot sheets.
After the lattice was attached around the posts we trimmed the 4×4’s to size and topped the lattice and posts with 2×4’s and reinforced the corners with 1×2’s.
We finished it off at the base with a top dressing of top soil and planted clematis.
We then took some of the leftover lattice and attached it to a fence for a grape arbor.
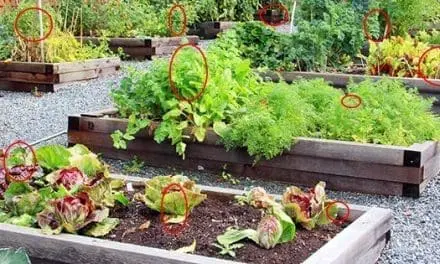
A Backyard Bucket Garden ($5 to $25)
This doesn’t get any easier. You can use 5-gallon buckets, large pots, even hanging pots. It’s basically all about container gardening. Find a place to locate them or hang them and make sure you use a rich soil mix and keep them watered. It lets you increase the yield from your backyard for a variety of fruits and vegetables, or if you don’t have space for a garden -it gives you a chance to grow your garden in buckets.
If you want to take it even a step further, this Amish rain barrel dripline irrigator makes container gardening even easier. By connecting a simple rain barrel to a dripline system, you can automatically water all your buckets, pots, and hanging planters without lifting a single watering can. It’s low-cost, low-effort, and keeps your plants consistently hydrated, which means bigger yields and less stress on you. And it uses rainwater, so it also helps your wallet. I learned how to built it from here.
A Backyard Vertical Garden ($10 to $50)
This goes beyond the buckets to both growing on walls and fences and taking advantage of those trellises you just installed. And it’s not just about fruits and vegetables. There are numerous flowering vines. Clematis is a good example and would look great on your privacy trellis. Pole beans are another option or a tray mounted to a wall or fence for rows of vegetables, herbs or greens.
A Solar-Powered Garden Light System ($25 to $75)
Extend your backyard usability well into the evening with a DIY solar lighting setup. You don’t need to run electrical wires or pay for a professional installation—just a few solar lights, stakes, and some creativity. You can place them along pathways, around your greenhouse, or near your bucket gardens. The solar lights charge during the day and automatically illuminate at night, making your garden safer and more inviting. For a slightly fancier setup, you can string small solar-powered LED lights along fences or trellises to highlight your vertical gardens and climbing plants. Once installed, they cost nothing to operate and give your yard a magical touch without a hefty electric bill.
A Backyard Compost Station ($20 to $50)
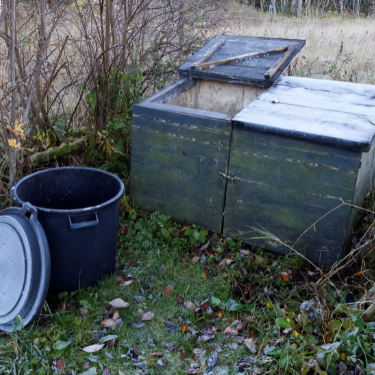
Turn your kitchen scraps and yard waste into nutrient-rich soil with a simple compost station. All you need is a large bin or even a few old pallets stacked to create a small enclosure. Layer green materials (fruit and vegetable scraps, coffee grounds, grass clippings) with brown materials (leaves, shredded paper, small sticks), and let nature do the rest. Composting reduces waste, improves your garden soil, and saves money on fertilizer. You can even combine this with your bucket or vertical gardens—just scoop out your finished compost and mix it right into your pots or raised beds for a natural boost.
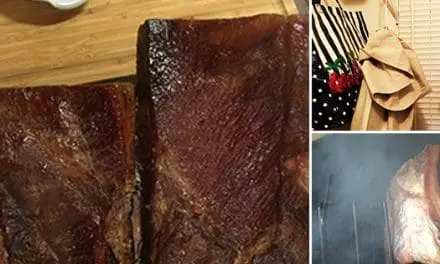
A Backyard Cold Frame ($30 to $80)
If a full greenhouse isn’t in your budget, a cold frame is a perfect alternative. Essentially, it’s a low, box-like structure with a clear lid that traps heat and protects plants from frost. You can make one from old windows, scrap wood, or even recycled plastic containers. Cold frames let you start seedlings early in the spring, extend your growing season into fall, and even grow hardy vegetables through mild winter months. They’re easy to move around, easy to build, and a great way to make your backyard productive even when the weather isn’t cooperating.
You Only Need a Weekend
Most of these projects can be done in a couple of days or even less. The greenhouse is a different story, but we got ambitious. In fact, the greenhouse lets us enjoy our backyard into winter as the temperatures inside sustain at least in the 50’s (Fahrenheit) even on the coldest days. Give one of these a try and make the most of your backyard all year round.
You may also like: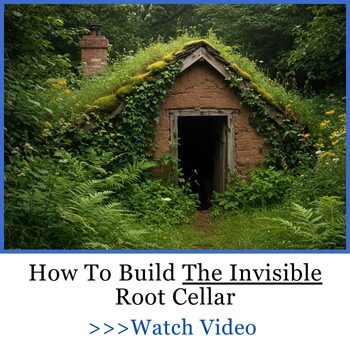
15+ Homesteading Projects You Can Downsize for Simplicity
70 Ingenious Projects You Need To Add To Your Backyard (Video)
Better Than Concrete: DIY Cob Projects You Should Do Today
DIY Harmless Rat Trap (With Step-by-Step Pictures)
Homesteading Items You Should Get From The Thrift Store


