Every fall, the home improvement and gardening stores are full of homesteaders looking for compost, soil conditioner, or something to protect their garden from frost.
But you don’t need to be one of them. If your yard is covered in fallen leaves you haven’t raked yet, nature has offered you everything you need for a healthy, thriving garden.
Before you read further, I want you to know that this isn’t another guide to using leaves as mulch. Everybody knows that one. And yes, you can compost them. But leaves have other jobs around a homestead, especially once the weather turns cold.
I tried a couple of these myself and one of them spared me from digging the whole garden in the spring.
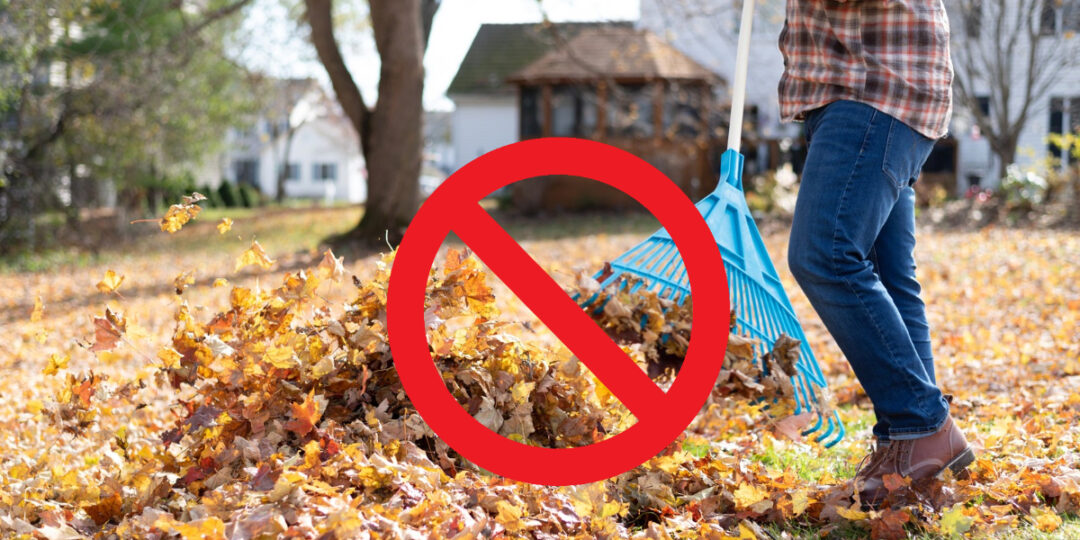
So, never throw away fall leaves and start doing these instead.
Make Insulation for Your Cold Frame
Last year, I had spinach growing in a little cold frame next to my backyard door. It was doing fine, but the forecast called for much colder nights. I didn’t want to lose it, and I started looking for solutions.
Buying a heater for a small box was not worth it, so I crossed it off my list. I started looking further and asked around and this is how I discovered this amazing use for fall leaves.
All I had to do was fill a couple of burlap sacks with dry leaves and then place them against the outside walls of my spinach cold frame. I also added a light insulating cover over the lid.
Be careful never to put heavy stuff on the lid of the cold frame because this can cause cracks.
I store my sacks somewhere dry between cold spells. Wet leaves make the bags heavy, and they can freeze solid. In the morning, I uncover the lid to let sunlight in. A closed frame can overheat even in winter, so I check the thermometer and prop the lid open when needed.
This method won’t keep tomatoes alive during a cold winter, but for hardy greens, this is the best method out there. And the easiest one.
If you want something more serious that will allow you to grow more crops during the winter, I advise you to choose an all-year-round greenhouse. This is a more serious approach that will let you grow your favorite crops all winter long. It will basically help you to have a year-long growing season.
Now this method lets you grow everything from greens and carrots to onions and tomatoes. It all depends on how cold the area you live in is.
And now, if you live in one of those places where it’s too cold to grow tomatoes, you don’t need to be mad. Because this DIY winter greenhouse lets you grow a surprising amount of peas, greens, and root vegetables that you wouldn’t be able to have in your garden otherwise when the weather gets cold.
Most homesteaders who tried this method were surprised to see how much harvest they can get during the cold months. And the greatest advantage is that you can probably start building it yourself today with stuff you already have in your backyard and your garage. The whole idea behind this project is to be accessible for most people. This is why the materials used are so basic that you might already have them.
Get ready to extend your growing season and have fresh harvest all winter long, click here →
Preserve Carrots Right in the Ground
I used to pull all my carrots as soon as the weather started to feel a little chilly. Then I’d struggle to find somewhere cool enough to store them. I hated this. And it used to happen every year…
But you don’t have to make the same mistake as me.
The whole idea is to keep the ground where you’ve planted your carrots as protected as possible. Here’s where fall leaves come into play.
Tuck a thick blanket of dry leaves over the soil and mark the ends with sticks so you can still find the row after the tops die back. 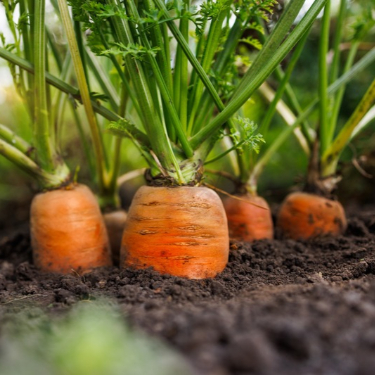
By late fall, the carrots have mostly finished growing. You’re just trying to slow down how quickly the soil freezes, so you can dig them up later instead of harvesting the lot at once.
Fun fact: A light frost can even make carrots taste sweeter.
Make sure to loosen up the ground with a fork or something before you pull the carrots out. In this way, you make sure the root remains intact.
Also, if you ever thought about starting a survival garden. Carrots are one of the main crops you need. They’re hardy, they’re nutritious, and they’re a staple in many, many foods.
The only problem is that they’re not enough…
A serious survival garden, one that will truly help you endure tough times, is not complete with only carrots. There are some other crops that you need, such as beans, peppers, cabbage, lettuce, onions, and garlic.
These are all vegetables you can eat fresh or preserve for later. This is their main advantage. This is why it’s called a survival garden.
So, if you really think about starting such a project, I have something for you. This Homesteading Garden Kit has seeds for all the crops you need in your survival garden. This is the complete package.
You don’t need to spend time buying different seeds from different sellers, which we all know are a nightmare to get delivered. Here, you have all that you need, in one place. And it’s all high-quality.
All the seeds are open-pollinated, which means you can save their seeds and replant them later. These are seeds that follow the self-sufficiency mindset and this is why they are perfect for any homestead.
Start your survival garden today, click here →
Make Chicken Manure
Each time you clean the chicken coop, you’re left with one of the best fertilizers out there. The only problem is that you can’t use it as it is because this is some strong stuff and it also carries germs you don’t want near your food.
But dry fall leaves are just what that chicken manure compost pile needs. Manure brings nitrogen and leaves bring carbon to balance it. They absorb moisture and help prevent bad smell and sogginess.
I keep a stash of dry leaves near my compost area for this. When I empty the coop, I mix in plenty of leaves, break up clumps, and check that the pile is damp, not soaked. If it starts smelling bad, I add more dry material and turn it to let air back in. I also cover the pile during heavy rain so manure-rich water doesn’t wash through the yard.
Give the compost time to finish properly before putting it on food beds. If you’re unsure, treat it as raw manure and follow the waiting periods before harvesting crops. I especially wouldn’t take chances around lettuce or carrots.
Since I started my flock, I noticed how truly difficult it’s to clean a chicken coop. Most coops are cramped spaces. And this isn’t a bad thing for the hens. A smaller space is easier to heat during colder months.
But for you, the one cleaning? The coop can be a real nightmare… This was a constant source of terrible back pain for me.
If you also keep chickens, I want to share a trick with you.
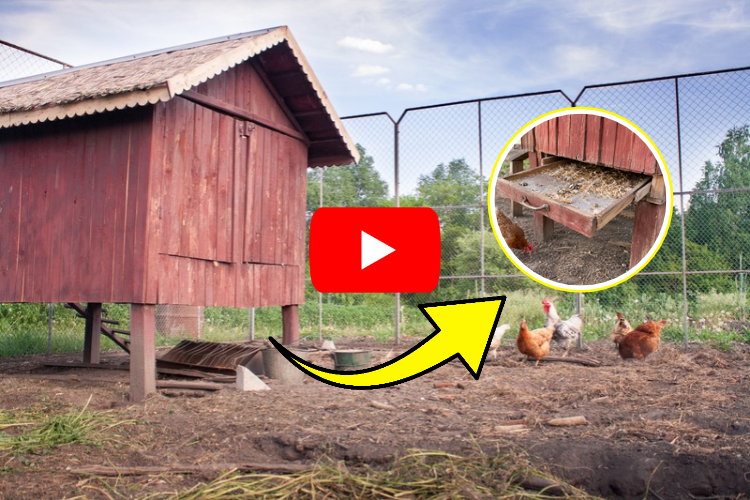
There’s no need to struggle with cleaning when you can transform the coop into a self-cleaning one. One little design tweak can basically allow you to take out the lower part of the coop, just like a drawer.
This lets you do all the cleaning more comfortably. If you don’t plan to have a chicken manure pile, you can even use the pressure cleaner and get the job done in minutes.
Tired of breaking your back every time you clean the chicken coop?
Take a look at this simple DIY upgrade that can save you hours of cleaning and make caring for your chickens a whole lot easier.
See how to build your own easy-clean chicken coop here →
Make a New Garden Bed Without Digging
This might be my favorite, because I hate digging out sod. A few years ago, I wanted another vegetable bed near the fence. The grass was thick, and I kept putting the job off.
Until I tried covering the grass instead of removing it.
Start by mowing the patch short. Overlap plain cardboard across the grass so it can’t poke through gaps. Pull off tape, labels, and anything plastic first. Wet the cardboard so it stays put, then cover it with several inches of shredded leaves. Add finished compost on top if you have it.
By spring, the grass underneath is often dead or much weaker. I pull back a corner and check before I plant. If I find living grass, I leave the covering in place longer. When the bed is ready, I make holes through any cardboard that’s left and plant into good soil or compost.
This is really a way to clear a patch of lawn without digging it all up. It’s very efficient at getting rid of weeds. Some people use this method to remove poison ivy from their gardens.
Make Leaf Mold
Leaf mold has an unfortunate name. It sounds like something you’d scrape off an old windowsill, but it’s actually one of the nicest things you can make from leaves. And your garden loves it!
Unlike the cardboard method, which clears space for a new bed, leaf mold improves soil you’re already gardening in. All it takes is leaves, moisture, air, and time. Once they’ve broken down, the finished stuff helps sandy soil hold water and makes heavy soil easier to work.
If you have an empty corner, make a simple cage out of wire fencing and fill it with damp leaves. No room? Use a sturdy bag with holes for air and drainage. Leave the bag somewhere shady and check occasionally that the leaves haven’t dried out completely.
The whole idea is being consistent and adding leaves to this pile each time you gather them in the fall. Before the leaves become leaf mold and start being useful, it can take a while. That’s why I like getting one batch started every fall. Soon you’ll have an older batch ready each year.
When it’s ready, you’ll know because it smells like a damp forest floor and crumbles between your fingers. I mix it into beds where the soil dries too fast.
This is nature’s way of keeping the soil nutritious for the plants. In forests, this happens naturally, but in your yard and garden, you need to hand out some help.
Make Natural Pesticide
I used to want every bed raked neat before winter. Bare soil, straight edges, no leaves blowing around. It looked tidy but took away shelter from insects.
Not all insects are bad for your garden. Some of them act as little guardians that keep bad bugs away.
Lady beetles, certain flies, and other insects that eat garden pests spend part of the winter hiding under leaves, bark, or dead stems. When everything gets cleared away, they lose those hiding spots.
Now I leave whole leaves under shrubs and along my perennial beds. I don’t shred these. The point is to keep a little of that loose, sheltered layer intact until the insects start moving again in spring. I don’t rush to rake it all away on the first warm weekend, either.
But this method only keeps bugs away. Bugs are fighting bugs. But another thing that can destroy a garden is fungus.
If you want to get rid of fungus in a natural way, you should try this Amish garlic pest spray. It’s 100% natural and you can easily make it from the garlic you harvested this year.
Before You Rake Everything Up
I used to try to get all the leaves raked up and bagged in one weekend. It felt good to have the yard clean, but looking back, I was throwing away something I could have used.
These days, I’m a little more careful about what I get rid of. I still clear the paths and keep leaves away from the house, but I save plenty for the garden.
You may also like: 
Stop Overpaying for Electricity. Make Your Own (They Want This Banned…) (Video)
10 Things I Wish I Knew About My Chickens Before Spring
20 Plants That Will Attract Birds to Your Garden
DIY Heavy-Duty Hand Salve for Homesteaders