Ever lost a button and wanted to replace it? Or needed to patch a hole on your jean or mend a fallen hem?
I know I have.
Many homesteaders believe sewing is an essential skill, but very few of them know how to.
Today’s article covers the basic techniques you need to know if you want to learn how to sew, both by hand and machine, so make sure you read until the end so you don’t miss out on anything.
How to Sew by Hand
If you’re new to sewing, learning to sew by hand is the best first step that will provide insight into how stitches work on different types of fabrics.
Here is a roundup of the most efficient stitches you need to know to get started:
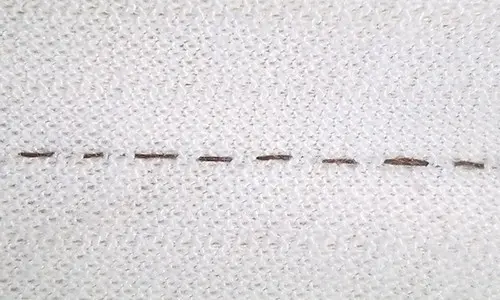
Running Stitch
A running stitch is a straight line of stitches that run through the fabric without overlapping.
Here is how to form one:
- Thread the sewing needle.
- Knot the ends of the thread.
- Start stitching from underneath, so the knot stays hidden.
- Move your threaded needle up and down through the fabric, making evenly spaced stitches.
- Rinse and repeat until the end, then make a knot and cut off the remaining thread with a scissor.
Baste Stitch
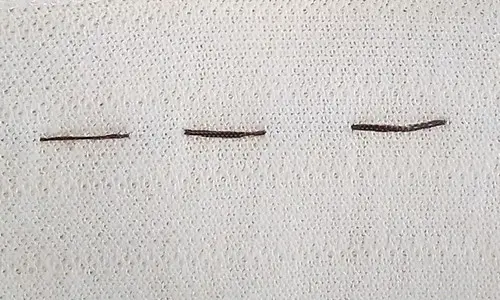
The basting stitch is a longer and removable version of a running stitch.
Use this stitch to temporarily sew two fabrics together for any reason that pins would get in the way.
To practice this stitch:
- Thread a sewing needle and knot the thread.
- 2. Start stitching from the backside.
- Skip small equal distances of between ¼ and ½ inches.
- Rinse and repeat the stitch in a straight line.
- When you reach the end, sew one or two stitches in place on the area you want to baste.
Herringbone Catch Stitch
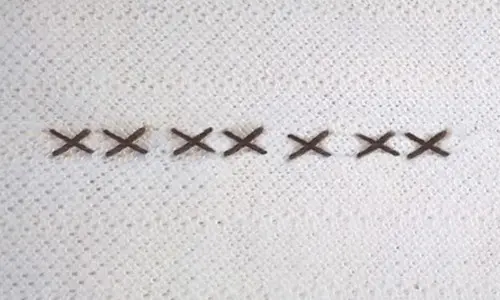
The herringbone catch stitch is very popular as the extra crisscrossing reinforces the strength of the stitch.
Here’s how to make this pattern for yourself:
- Iron your fabric.
- Thread a sewing needle and knot the thread.
- Start stitching from the backside.
- Pull the threaded needle over the hem to the top section and then to the right.
- Point your threaded needle back towards the left, then send it through the fabric and back out through the top layer.
- Send your needle back downwards towards the bottom section, crossing over the last stitch in a diagonal downwards manner.
- Now send your needle to the right side of the lower section.
- Rinse and repeat following the zig-zag motion until you complete the stitching.
Invisible/Ladder/Blind Hem/Slip Stitch
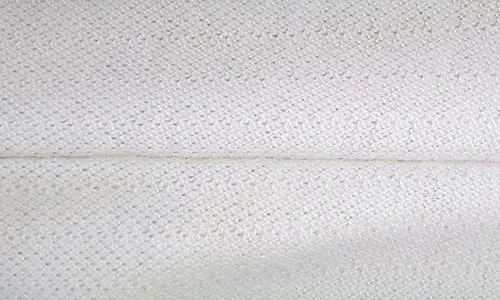
The invisible stitch helps you complete your small projects in style.
Here are the steps to form one:
- Thread a sewing needle and knot the thread.
- Fold the backside of the fabric and push the threaded needle through the folds leaving even spaces of ¼ inches.
- Knot the last point of your stitch by putting your needle through the loop twice, then pulling the thread and using a scissor to cut off the surplus.
As the saying goes, practice makes permanent! Practice your stitches until you can make consistent and even stitches.
One other important notion you should add to your bucket list of sewing skills before jumping to using the machine is:
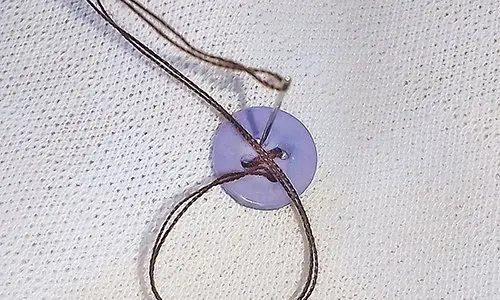
Sewing on Buttons
You can sew flat buttons by machine or hand, but the latter is the faster option.
Here’s how to sew on a flat button:
- Thread a sewing needle and knot the thread.
- Sew an “X” on the fabric where you’re going to place your button.
- Insert a pin through the “X.”
- Sew diagonally through the buttonholes several times.
- On the final pass, stitch through the stitches to form a loop, then make a knot.
When to Sew by Hand
You should sew by hand when:
- Repairing small rips
- Attaching patches
- Sewing on buttons and zippers
How to Sew Using a Machine
After grasping the basics of sewing by hand, you can now move on to learning about sewing machines, starting with:
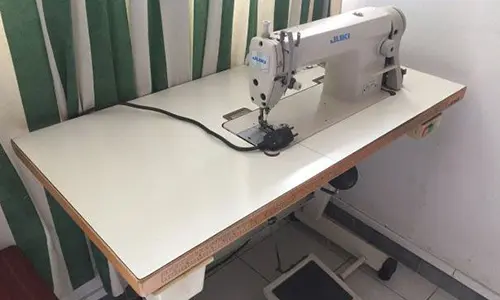
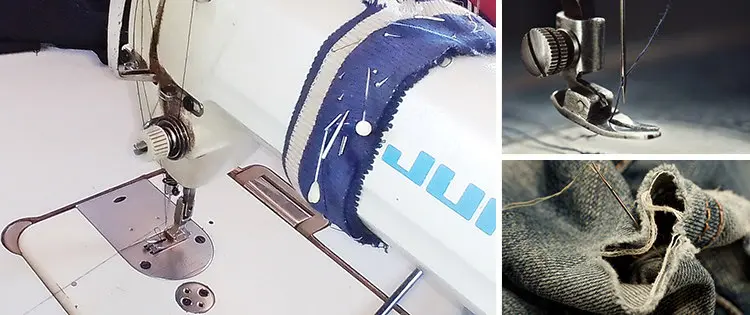
The Parts of My Sewing Machine
On/Off Switch: This switch appears as a red “Off” button and a black “On” button under the table.
Foot Pedal: The foot pedal dictates the speed of your sewing machine.
Knee Lifter: The knee lifter raises and lowers the needle at the start and end of stitching.
Reverse Stitch Lever: A reverse stitch lever secures your stitches firmly at the beginning and end of sewing.
Feed Dogs: The feed dogs are the teeth-like metal underneath the plate.
Handwheel: The handwheel raises or lowers the needle.
Stitch Regulator: The stitch regulator allows you to choose the type of stitch you want to use.
Bobbin Winder: The bobbin winder allows you to wind the sewing thread to the bobbin.
Bobbin: The bobbin is a small spindle that supplies the bottom thread during stitch formation.
Bobbin Case: The bobbin case holds the bobbin.
Spool Holder: The spool holder holds the spool of thread in place.
Needle Plate: The needle plate prevents the fabric from going down into the machine.
Setting Up The Sewing Machine
After learning the names of different parts, you should learn how to set up your sewing machine.
Wind and insert the bobbin
Place the bobbin on the bobbin spool and thread it until it switches itself off.
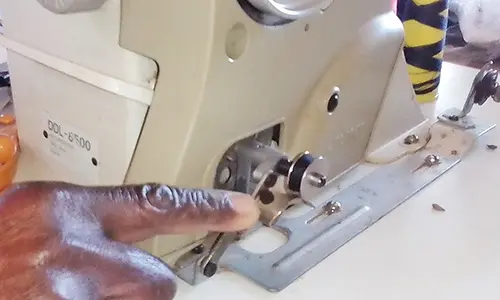
After that, take the wound bobbin and insert it into the bobbin cage underneath the needle plate, making sure you leave the thread tip from the bobbin outside through a hole in the needle plate.
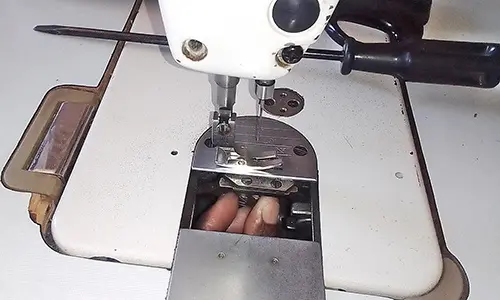
Start threading the sewing machine
Take the thread from the spool and pull it through the thread guide on top, then down and around the take-up lever.
Related: Are You A DIY-er?
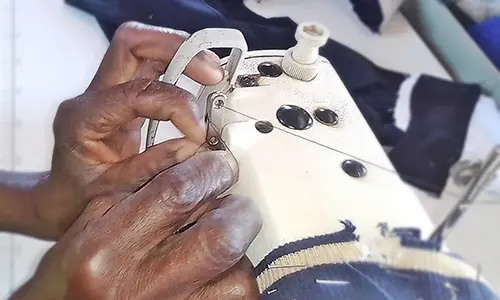
Follow the general pattern of threading a sewing machine which is: “left, down, up, down, into a hook, through the needle.”
Look for arrows to get a clue on the direction you should go.
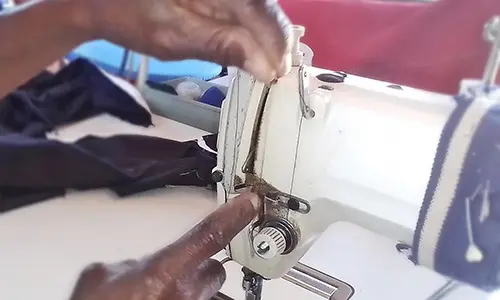
Make sure both threads are out
Use your left hand to hold the needle thread taut towards you. Now use your right hand to make a complete needle down/up revolution by turning the wheel anti-clockwise.
Pull up the thread you’re holding with your left hand, which will loop the threaded needle and leave you holding the two thread tails from the needle and the bobbin below.
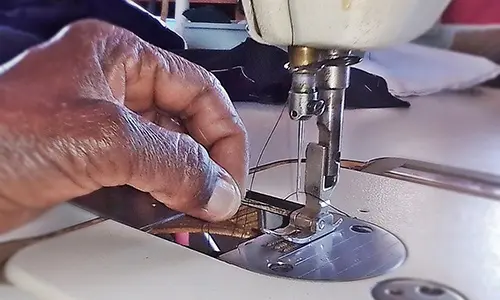
Turn on the sewing machine and start sewing!
Practice sewing two pieces of fabric together. Try working on easy projects to familiarize yourself with the sewing machine.
Pro Tip: Keep your sewing machine clean at all times so it can last longer.
When to Sew With a Machine
Use a sewing machine when:
- Sewing crafts
- Sewing heavy duty fabric
- Sewing buttonholes
- Quilting
Why is it Important to Know How to Sew?
Completing any sewing project gives you a rush of adrenaline and a sense of accomplishment.
You’re going to want to sew more to get the same feeling again. Other than that:
Sewing Helps You to Create and Repair Garments
The most notable benefit of learning how to sew as a homesteader is possessing the ability to mend your clothes when needed.
If you build enough confidence, you can even start creating personalized garments for your loved ones as well.
Related: 10 Money Saving Tips From A Cheapskate
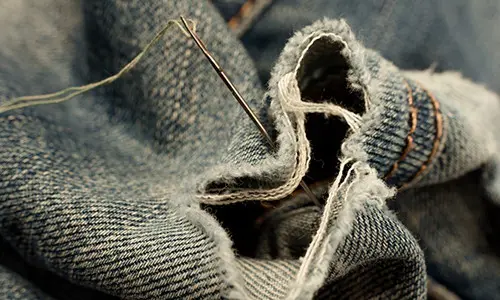
Sewing Helps You Save Money
The negligible cost of making adjustments to your clothes can add up to a significant amount after years of taking them to the tailor.
Knowing how to sew will eliminate those unnecessary costs because you’ll be doing all the repairs yourself.
Sewing Benefits Your Mental Health
Sewing is not only great in the physical world but also in the cognitive one.
The trial-and-error nature of learning how to sew strengthens your memory receptors and improves your memory capabilities.
So which sewing techniques do you use most often?
You may also like:
The ‘Superweed’ That Saved Large Communities During The Great Depression (Video)
How To Make Bio Fuel From Kitchen Scraps
10 Things To Do To Winter-Proof Your Home






That’s a good looking machine right there. I own an old manual Singer, and I am very satisfied with how I manage to repair our clothes. Indeed, money saving skill.