Living off the grid can be expensive.
As a homesteader, you can take several steps to cut down your electricity bills and reduce your overall energy consumption.
One of the strategies you might want to consider is having a wind turbine.
You can choose to install a wind turbine for several reasons, as it can provide a lot of benefits for those living in remote or off-grid locations. After a short research, I discovered that is not that hard to build one on my property.
That’s exactly what I did: a wind turbine.
It’s important to note that the suitability of a wind turbine for a homesteader’s specific needs depends on various factors, including wind conditions, available space, budget, and energy consumption.
You may be asking yourself, how to do it also and where will I get the materials?
It’s simple: you can make a cheap system to power your appliances while you use the scraps you have in your backyard. If you don’t have the necessary items, you can get them from the thrift store or maybe a yard sale.
I had an old generator and battery which were still working and I reused some PVC plastic sheet I had laying around in the garden to make the turbine blades (not the best design, but they worked). The rest of materials… well, the wiring, nails, etc can be found on every property, not a big deal.
After about 4 hours, I had my renewable energy project running.
Materials I Used
- PVC sheet: These will be used to create the blades of the wind turbine. Plastic are light and durable, making them suitable for this purpose.
- Dynamo (electric generator): The dynamo is the heart of the wind turbine. It will convert the rotational energy of the blades into electrical energy. This is small, but enough for me. The greater its size and power, the wider range of appliances it can accommodate.
- Wires: High-quality wires are necessary to connect the components and transfer the generated electricity.
- Nails: Nails will be used as fasteners to join different materials together.
- Battery: For energy storage, you’ll need a battery. It will store excess electricity generated by the wind turbine for later use.
- Standing pole: The standing pole serves as the main support structure for your wind turbine.
- Others are: super glue, silicon, wood frame.
When the wind turbine generates electricity, it will power the appliances you want.
Related: DIY Homesteading Toolkit
The Process
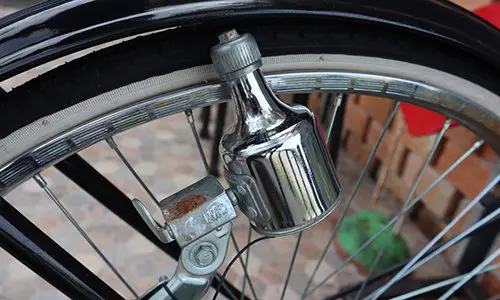
Before starting setting up your wind turbine, you need to gather all materials required. I didn’t want an expensive generator (I googled a few of them, but no luck for my needs) so I removed it from an old bicycle, and turned the DC motor (Bicycle Dynamo as shown) as the generator. This was easy.
Construct The Blades
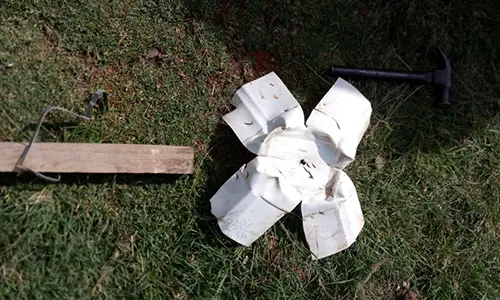
After doing some research, I learnt that the efficiency of a wind turbine largely depends on its blades. A lot of people create their own blades by skillfully carving them out of wood or making them from plastic. I chose to make mine by cutting sections out of a PVC sheet.
Building The Turbine Mounting
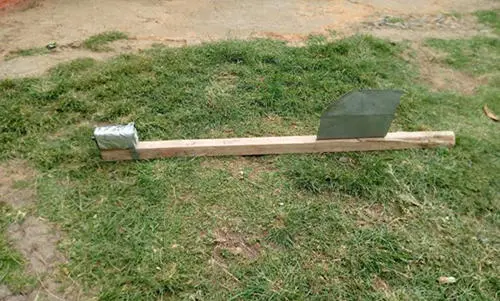
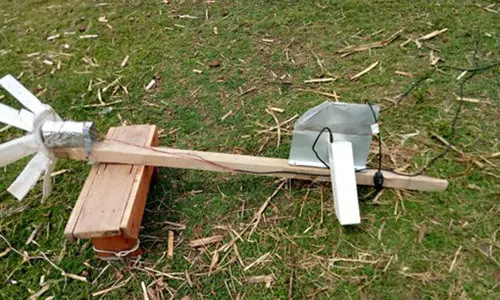
Next, I needed to find a way to mount the generator. To keep things simple, I attached the dynamo to a piece of wood using a strap. To protect the motor from the weather, I wrapped a piece of shining polythene around the generator. I made sure that the part that touches the blades or dynamo wheel protrudes enough so that it does not prevent blades from turns into the wind.
Attaching The Blades
Mount the dynamo roller at the center of wind turbine blades make sure it protrudes about 2-2.5 inches. This will secure it in a way that allows rotating freely. To generate maximum speed position it evenly spaced apart at the center of the blade. I used glue to secure them in place. It’s essential to ensure that all blades are angled in the same direction to catch the wind effectively.
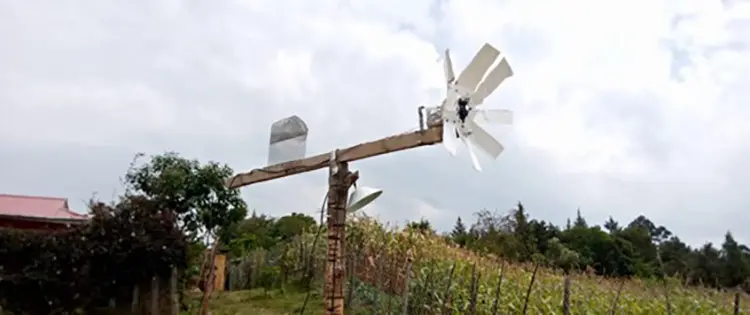
Below is a picture of the completed head unit with the blades in place. It looks great in my opinion, considering that this costs nothing for me.
Related: 9 Cheap DIY Backyard Projects
Create The Charging System
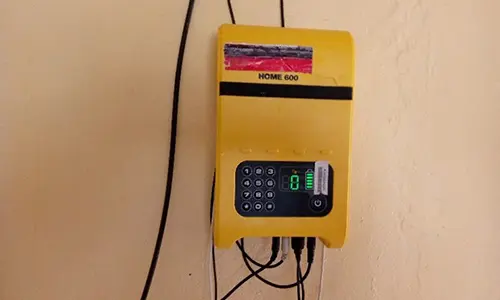
Now that I was complete with mechanical parts, say for the standing pole, it’s time to do electric part. I connected one wire from each dynamo terminal to the positive and negative terminals of the battery. This will allow the generated electricity to flow into the battery for storage.
Connecting The Appliances
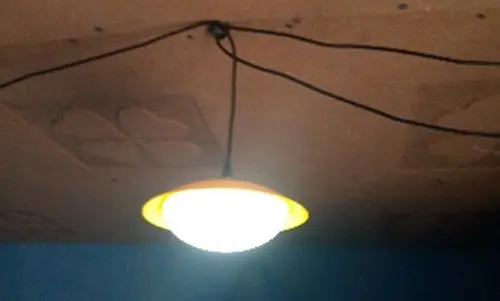
Once everything is set and the pole is risen into the wind, complete the circuit by connecting the light bulb or any other small appliance to the battery. When the wind turbine generates electricity, it will power the light bulb, causing it to illuminate. This setup demonstrates how the stored energy can be used to power various electrical devices or lighting.
Testing and Adjusting
When all the components are fully connected, it’s time to test your wind turbine.
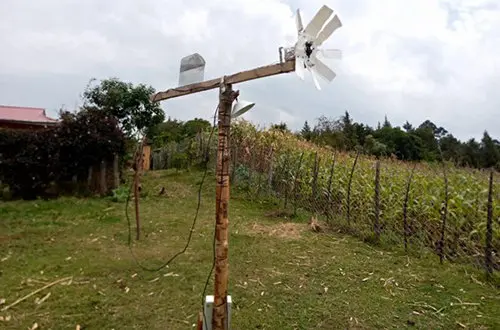
Place the turbine in an area with sufficient wind, and observe its performance. If the wind is strong enough, the blades will begin to rotate, turning the belt and generating electricity. The light bulb should light up, indicating that the turbine is producing power.
Observe the wind turbine’s behavior and make any necessary adjustments. You may need to fine-tune the blade angles, modify the height, or reposition the turbine to optimize its performance.
Final Thoughts
To ensure the wind turbine operates efficiently and safely, regular maintenance is essential.
Inspect the turbine periodically for any loose connections, damaged blades, or signs of wear. Lubricate moving parts as needed to reduce friction and prolong the turbine’s lifespan. Additionally, keep the battery in good condition to ensure it can store and release energy effectively. Make sure that the wood is not rotten and that’s it.
Building a small and inexpensive wind turbine at home is not only a rewarding DIY project but also a sustainable choice that can save you money on energy bills.
So, why wait? With some basic materials, a bit of technical know-how, and a dash of creativity, you can harness the power of the wind to generate clean electricity right in your backyard.
You may also like:
 9 Little Tricks To Save Electricity At Home Big Time
How To Store Food Without Electricity That Can Last Up To A Year (Video)

