Fermentation isn’t new. It’s one of the oldest food preservation techniques known to humankind, dating back thousands of years. Long before refrigeration or canning, families relied on fermentation to stretch their food supply through long winters, harsh climates, and lean harvests. Today, most people only think of sauerkraut, kimchi, or kombucha when they hear the word “fermentation.” But one of the most powerful and protein-rich traditions has been largely forgotten: fermented fish.
If you’re serious about self-reliance, this practice deserves a place in your skillset. Unlike sugary or vegetable ferments, fish fermentation provides high-quality protein and essential nutrients while demanding very little in terms of equipment. It doesn’t require constant electricity, expensive gadgets, or even large storage spaces. Just fish, salt, patience, and a clean container.
The idea of fermenting fish might sound intimidating or even unappetizing to modern tastes, but cultures around the world still rely on it to this day. From Scandinavia’s rakfisk to Southeast Asia’s fish sauce, these foods sustained entire populations when fresh protein was unavailable. For homesteaders and preppers, this isn’t just a quirky tradition—it’s survival knowledge that ensures your harvest from a pond, river, or coastal trip never goes to waste.
Why It’s Valuable for Self-Sufficiency
Protein is often the hardest nutrient to preserve without refrigeration. Grains, beans, and dried vegetables will sit on a shelf for years, but fresh meat and fish spoil within days. Freezers solve this problem for many families—but what happens if the power goes out? What if you don’t have the fuel to keep it running? This is where fermentation steps in as a low-tech insurance policy.
- Shelf Life Without Electricity: Properly salted and fermented fish can last months, sometimes years, without a single watt of electricity. That means even in the dead of winter or in a blackout, your family has protein ready to eat.
- Nutrient Preservation: Fermentation doesn’t just keep the fish from spoiling—it transforms it. Enzymes and friendly microbes break proteins into amino acids, making them easier to digest. Some forms of fermentation even create additional vitamins like B12.
- Flavor Depth: Imagine the savory punch of soy sauce or anchovies added to a dish. Fermented fish delivers that same umami boost, turning even a humble pot of beans into a satisfying meal.
- Resource Efficiency: Instead of tossing out small or bony fish that are hard to fillet, you can ferment them whole. In self-sufficient living, waste is the enemy. Every scrap counts.
When you’re thinking long-term, fermented fish isn’t just food—it’s peace of mind.
What Is Fermented Fish?
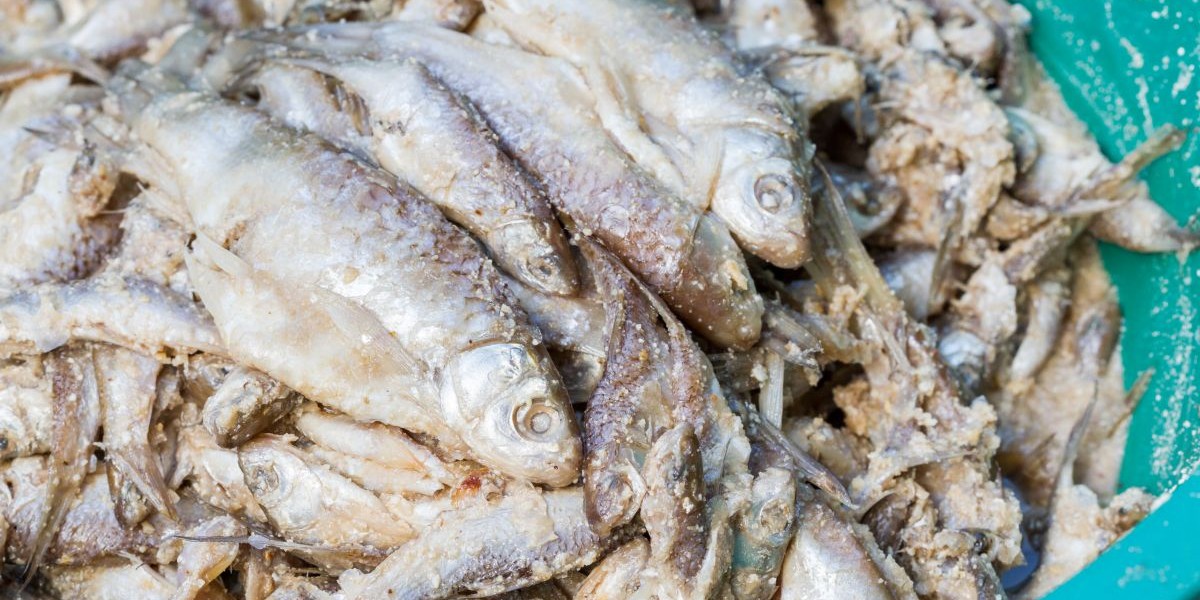
At its core, fermented fish is exactly what it sounds like: fish that’s been preserved through natural fermentation. After being salted and stored in a controlled environment, natural bacteria break down the fish over time, altering its texture, flavor, and chemical composition.
The result is a food that may smell strong but is loaded with nutrition and lasting power. Depending on the method, it might end up as:
- A paste (used as a condiment or flavor base).
- A sauce (like the fish sauces common in Asian cooking).
- Soft, whole pieces of fish (as found in Scandinavian and Baltic traditions).
What unites all of these is their ability to provide dense, storable nutrition with little more than fish, salt, and time.
How to Ferment Fish Safely (Step-by-Step)
What You’ll Need:
- Fresh fish (cleaned, scaled, gutted)
- Coarse salt (non-iodized)
- Clean water
- Fermentation vessel (ceramic crock, glass jar, or food-grade container)
- Optional: spices or herbs (garlic, ginger, chiles) for flavor
Method:
- Prepare the Fish
Clean your fish thoroughly—remove guts, scale, rinse. Pat dry. If using small fish, you might keep them whole; larger fish can be cut into strips or fillets. - Salt Cure
Cover fish in a thick layer of coarse salt. For smaller fish, aim for 20–30% salt by weight; for larger cuts, maybe slightly less. Let sit for several hours or overnight. The salt draws moisture out and helps inhibit unwanted bacteria. - Rinse and Brine
After salt curing, rinse off excess salt. Then submerge in a brine (salt water) solution. The strength of the brine depends: a typical ratio is about 1 part salt to 10 parts water, but many traditions use stronger brines. - Add Flavor (optional)
If you like flavors, toss in garlic, ginger, pepper, even herbs. These also help discourage spoilage. - Fermentation Period
Seal the vessel loosely (so gases can escape). Store in a cool, dark place—ideally between 15-25 °C (60-77 °F). Allow fermentation for 1–4 weeks, depending on temperature and taste preferences. Taste periodically (using clean utensils) until the flavor is what you want. - Storage
Once fermented to your liking, store in cooler temperature (root cellar, fridge if available) or under fresh brine. Use as sauce, flavoring, or mix into cooked meals.
What Fish Work Best & Variations
The beauty of fermenting fish is its flexibility. If you have access to freshwater or ocean fishing, you have the raw material. That said, some fish ferment better than others:
- Fatty fish such as mackerel, sardines, and herring are often preferred. The fat content gives the finished product richness and flavor.
- Small fish can be fermented whole, bones and all, reducing waste and effort.
- Larger fish may need to be cut into fillets or strips but work just as well.
Cultural variations show just how universal the practice is:
- In Scandinavia, rakfisk (fermented trout) is a seasonal tradition.
- In Thailand and Vietnam, fermented fish paste and fish sauce are kitchen staples.
- In parts of Africa, fermented fish is dried afterward and ground into seasoning powders.
Every region adapts the process to its climate and resources, but the principle is the same: preserve fish without relying on modern technology.
Common Problems & How to Avoid Them
| Problem | Cause | Fix |
| Off-smell (beyond pungent) or sliminess | Wrong bacteria, too warm, poor hygiene | Clean tools; cool temperature; proper salt ratio |
| Mold or surface growth | Air exposure, dirty vessel | Use weights to keep fish submerged; clean vessel well |
| Too salty or too soft texture | Over-salting or long fermentation | Adjust salt; reduce time; rinse more after cure |
| Insects or pests | Uncovered jars or weak sealing | Cover with a breathable lid or cloth; use weights; keep in sealed area |
Fermented Fish vs. Other Preservation Methods
| Criteria | Fermented Fish | Smoked Fish | Dried Fish | Canned Fish |
| Shelf Life (without power) | Months to years (cool storage) | Weeks to months (if kept dry) | Months to a year (airtight storage) | 1–5 years (sealed) |
| Nutritional Value | Preserves protein, adds enzymes & B vitamins | High protein, some nutrient loss from heat | Protein preserved, some vitamin loss | Retains most nutrients if done right |
| Flavor Profile | Strong, savory, umami | Smoky, rich | Chewy, concentrated | Mild, ready-to-eat |
| Equipment Needed | Salt, clean jars/crocks | Smoker or fire setup | Drying racks, sun or dehydrator | Pressure canner, jars, lids |
| Pros | No electricity, enhances nutrients, low waste | Adds flavor, tradition-friendly, fairly quick | Lightweight, easy to store, portable | Very long shelf life, familiar taste |
| Cons | Strong smell, requires patience & practice | Needs fuel, may still require cool/dry storage | Weather dependent, risk of pests/moisture | Requires energy/fuel to can, costly upfront |
How To Use Fermented Fish in Your Kitchen & Homestead
You might not sit down and eat a whole bowl of fermented fish on its own. Instead, think of it as a versatile ingredient that boosts your cooking.
- Soups & Stews: A spoonful of fermented fish enriches broths and adds savory depth.
- Condiment Substitute: Use it like soy sauce or anchovies—just a little can season an entire dish.
- Grain & Bean Dishes: A scoop stirred into rice, lentils, or beans transforms a plain meal into something hearty and satisfying.
- Homestead Seasoning: Even scraps of fermented fish can be dried and ground into powder for long-term seasoning.
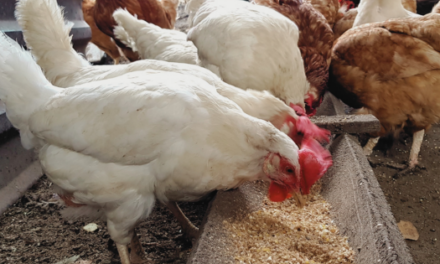
- Animal Feed: Extra fish or leftovers from fermentation can sometimes be added to animal feed, increasing protein intake for livestock (always research species-specific safety).
When food supplies tighten, morale often falls just as quickly as nutrition. Fermented fish gives meals not only substance but flavor—and in survival living, both are essential.
Pro Tips for Fermenting Fish
- Start Small: Try fermenting a small batch first to learn the process before scaling up.
- Use Fresh Fish: The better the quality going in, the safer and tastier the result.
- Salt is Key: Don’t skimp. Too little salt risks spoilage; too much slows fermentation.
- Keep It Submerged: Always weigh fish down under brine to avoid mold and off-flavors.
- Check Often: Taste as you go—fermentation times vary with temperature and fish type.
- Control Odors: Store jars in an outdoor shed, root cellar, or sealed container if smell is a concern.
Final Thoughts
Fermented fish isn’t just a quirky old recipe. It’s a lifeline from the past, one that every self-reliant household should consider reviving. It turns fragile, short-lived protein into something that can carry you through the hardest seasons. It adds nutrition, flavor, and flexibility to your pantry. And most importantly, it teaches us that survival doesn’t always mean reinventing the wheel—it often means looking back to what worked for centuries.
Yes, it may smell strong. Yes, it takes a little practice. But once you’ve tried it, you’ll see why generations before us trusted it as a cornerstone of their survival. If you want to be prepared for the unexpected, if you want to waste less and live more independently, fermenting fish is a skill that pays back many times over.
You may also like:

Cheap and Easy to Build Root Cellar in Your Own Back Yard (Video)
Fermented Foods for Gut Health: A Guide to Building Immunity and Self-Sufficiency


