When you’re aiming for true self-sufficiency, nothing goes to waste, especially not your food scraps. That’s where vermicomposting comes in. It’s a low-tech, low-cost, and highly effective way to turn everyday kitchen waste into rich compost using one of nature’s most underappreciated workers: worms.
Let’s walk through what vermicomposting is, how to start, and how to manage a healthy, productive worm bin for your homestead or backyard setup.
What is Vermicomposting?
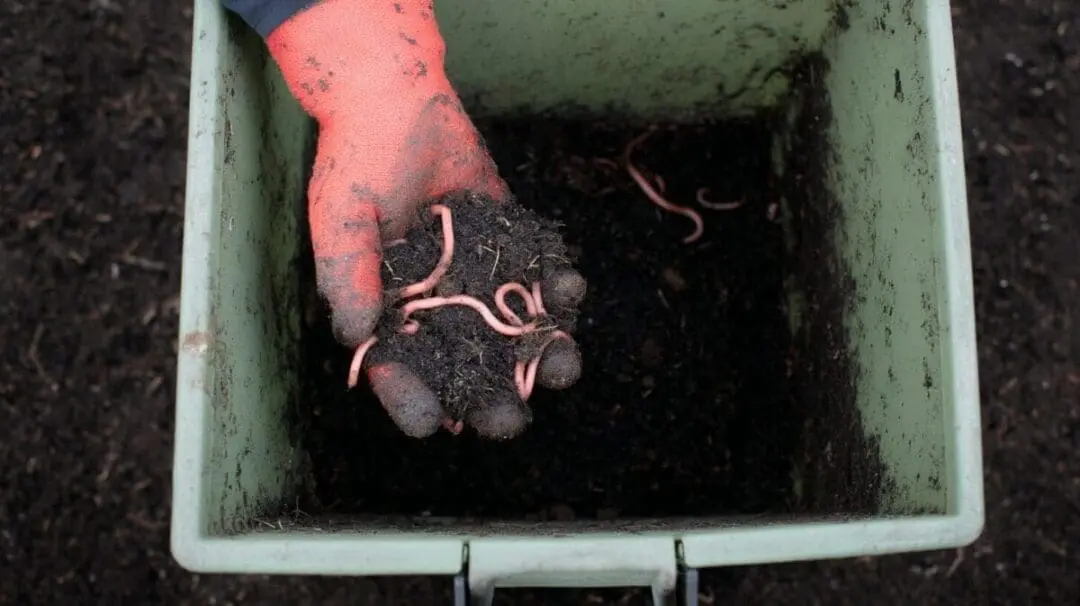
Vermicomposting is the process of using certain types of earthworms to break down organic waste—like vegetable peels, coffee grounds, and eggshells—into nutrient-rich compost. This final product is often called “worm castings” or simply black gold because of its value in improving soil health.
The most commonly used worms are red wigglers (Eisenia fetida) because they thrive in decomposing matter and reproduce quickly. Unlike nightcrawlers, red wigglers don’t need deep soil to survive, making them ideal for contained composting systems.
Advantages of Vermicomposting
There’s a reason more homesteaders are turning to worms instead of traditional compost piles. Here are just a few benefits of using a vermicomposting system:
- Faster Composting: Worms speed up the breakdown of organic matter, producing usable compost in a matter of weeks instead of months.
- Compact and Odor-Free: Properly managed bins take up very little space and don’t stink—making them perfect for small yards, patios, or even indoor use.
- Improves Soil Structure: Worm castings enhance soil aeration, water retention, and nutrient content, leading to stronger plant growth.
- Natural Pest and Disease Resistance: Plants grown in worm-enriched soil tend to be more resilient against disease and insects.
- Reduces Household Waste: Vermicomposting can divert hundreds of pounds of kitchen scraps from landfills each year.
- Produces “Worm Tea”: The liquid runoff can be diluted and used as a powerful natural fertilizer for your plants.
Simply put, vermicomposting gives back more than you put in—and that’s the kind of system any self-sufficient household can get behind.
Equipment and Supplies Needed for Vermicomposting
Getting started doesn’t require much, and you can easily build or buy everything you need:
- A bin or container – Plastic or wooden bins work fine, as long as they’re opaque and have a lid. Drill small holes for airflow and drainage.
- Bedding material – Shredded newspaper, cardboard, coconut coir, or aged leaves are ideal. Moisten it until it feels like a wrung-out sponge.
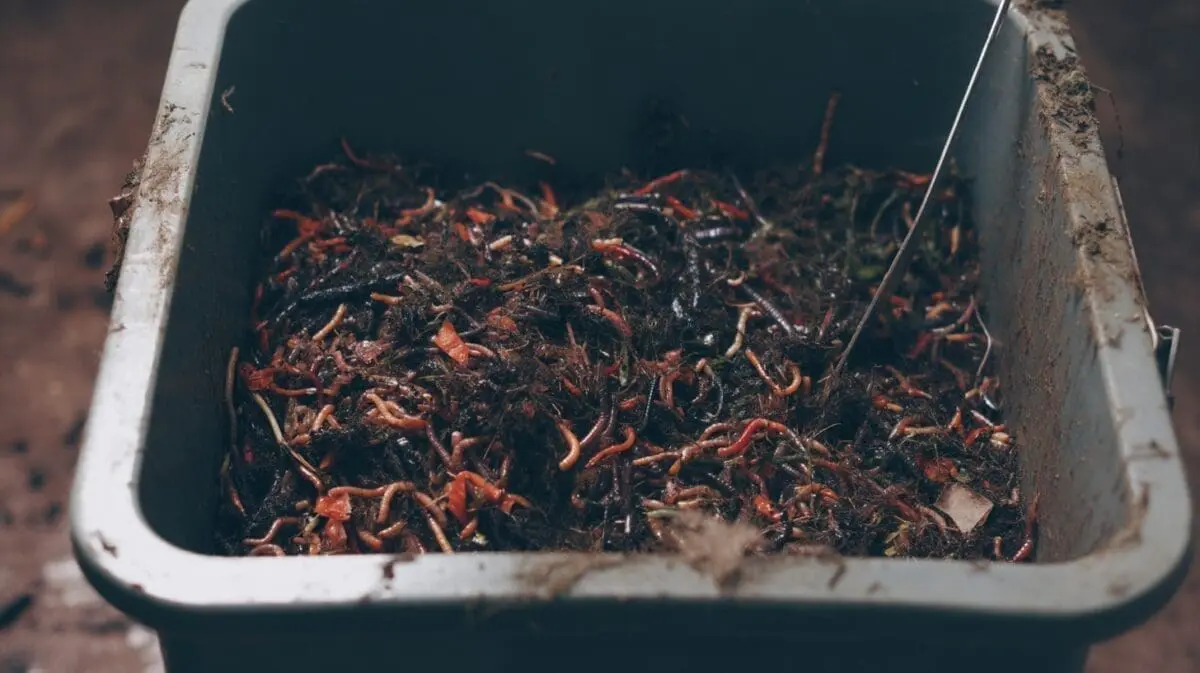
- Red wiggler worms – Start with about 1 pound of worms (roughly 1,000) for a standard household setup.
- A catch tray – Optional, but useful to collect any liquid (“worm tea”) that drains out, which can be diluted and used as a fertilizer.
- Food scraps – Vegetable peels, fruit scraps, tea bags, and coffee grounds. Avoid meat, dairy, oily foods, or anything salty or spicy.
You don’t need a fancy system. Many homesteaders repurpose old totes, wooden boxes, or even 5-gallon buckets.
Starting the Process
Once your bin is ready and your worms have arrived, it’s time to get them to work.
- Prep the bedding – Moisten your shredded newspaper or leaves and fill the bottom of the bin about 6 inches deep.
- Add the worms – Gently place them on top of the bedding. They’ll dig in themselves to avoid the light.
- Feed lightly at first – Introduce food scraps slowly, burying them in a different corner each time to prevent rot or pests.
- Cover with a lid – But make sure ventilation holes are present to keep air circulating.
For best results, keep the bin somewhere with consistent temperatures (ideally between 55°F and 77°F). A basement, shed, or shaded outdoor spot can work.
Harvesting the Compost and the Worms
In about 2–3 months, you’ll notice that most of the bedding has turned into dark, crumbly compost. That’s your sign it’s time to harvest.
There are two main ways to separate the compost from the worms:
- Side-to-side method – Push the finished compost to one side and place fresh bedding and food on the other. Over a week or two, most worms will migrate to the new side.
- Light method – Dump the contents onto a tarp under bright light. Worms will burrow away from the light, and you can scrape off the top layers of compost.
Once separated, use the worm castings in your garden beds, potted plants, or seed-starting mix. You can repeat the process indefinitely with the same worms.
Properly Managing the Worm Bin
A healthy worm bin doesn’t smell, attract pests, or require constant attention. But here are a few simple guidelines to keep things running smoothly:
- Avoid overfeeding – Feed small amounts and wait until most of it’s gone before adding more.
- Balance the moisture – Bedding should be moist but not soggy. Add dry paper if it’s too wet or a sprinkle of water if it’s too dry.
- Watch for pests – Fruit flies and ants usually show up when there’s too much food or the bin is too wet. Cover scraps well and keep your lid snug.
- Add bedding regularly – Every few weeks, fluff up the bin and add fresh bedding to keep the system balanced.
And don’t forget—red wigglers multiply fast. If your worm population starts booming, you can share some with friends or start a second bin.
Want to learn even more about vermicomposting, check out this video:
Final Thoughts on Vermicomposting
Vermicomposting is one of those forgotten homestead skills that still makes a big impact. It takes your waste and turns it into something valuable. Whether you’re growing vegetables in raised beds or just want to cut down on trash, a small worm bin can go a long way.
For more forgotten techniques and old-time wisdom, consider checking out The Lost Ways. It covers how our ancestors stored food, farmed, and lived without modern tools, and that includes how they fertilized their crops without running to the garden center.
Remember, self-sufficiency starts with the soil. And nothing builds better soil than black gold from a bin full of worms.
You may also like:
 How Do You Speed Up Composting
Cheap and Easy to Build Root Cellar in Your Own Back Yard (Video)
Why You Should Have A Black Soldier Fly Composting System
The Ultimate Guide To Composting


