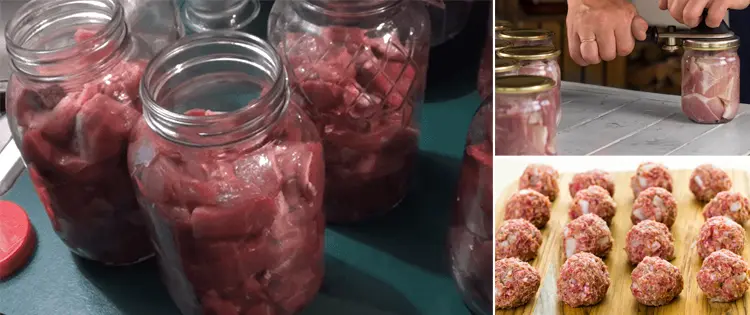
(Originally published 12/12/12.) Sometimes you just get lucky and you hit the mother-lode on meat. Maybe it’s a great sale – for example, my favorite butcher gave me a great deal on some beef this week. Perhaps you’ve bought a portion of a cow or pig in cooperation with some others. Maybe there’s a hunter in the family and you have been blessed with venison.
However you acquired your roast of beast, you need to get it canned as soon as possible. We’re all well aware of the delicacy of the power grid – there are still people in the New York City area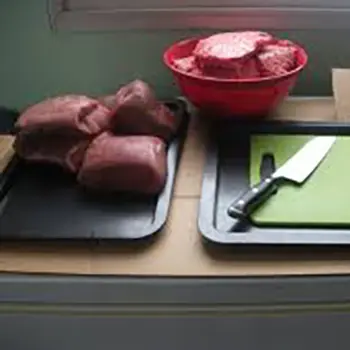 that don’t have power more than a month after Hurricane Sandy struck. With snow and ice season beginning, ’tis the season for power outages.
The other benefit to canning your meat is that not only will it be preserved no matter what your electricity situation, it’s immediately ready to eat. If you have a way to cook, you won’t have to waste fuel actually cooking the meat – you will only need to heat it up. And worst case scenario, if you can’t warm it up, it’s safe to eat right out of the jar.
Related: Canning Mistakes Even The Most Advanced Homesteaders Make
I started out with 8.3 pounds (3.75 kg) of roast and 7.7 pounds (3.5 kg) of lean ground beef.
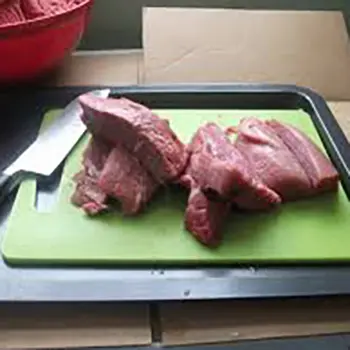
You’ll notice my lovely counter-top in the photo – when dealing with all this raw meat, I like to make it easy for myself and I cut open a cardboard box (which is how I get my groceries, so I have a free source of them) and lay it out on my freezer. Then I use a cookie sheet to hold the meat and place my cutting board in another cookie sheet. This way I don’t have to clean up a bloody mess after preparing all that meat for canning. (I’m sure you know this but be certain to put a few drops of bleach in the wash water afterwards in order to kill bacteria left from the meat.)
I sliced the roasts into pieces that would fit into my sterilized jars.
For some of the roast, I made simple canned roast beef (or roast whatever – this works well with any type of red meat).
Ingredients (per jar)
- 1 pound of roast (approximately)

- 1 clove of garlic
- 2 small cooking onions, halved
- salt and pepper
Directions
- Place a kettle of water on to boil.
- Jars should still be warm from being sterilized.
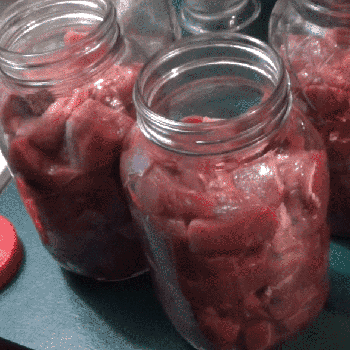
- While waiting for the kettle to boil, place roast in each jar, leaving an inch and a half of space for the additional ingredients.
- Add garlic, onions, salt and pepper to each jar.
- Pour water from the kettle into the jars over the meat and veggies. Using a table knife, run it down the sides of the jars to remove any air pockets, then top up if needed. Allow 1 inch of headspace.

- Use a cloth with some vinegar on it to wipe the lip of the jars. If there is fat from the meat on the lip, the jars won’t seal properly.
- Lid the jars.
- Using your pressure canner, process the jars for 90 minutes at 10 pounds of pressure, adjusting for altitude.
When you are ready to serve your roast, use the canning liquid to make gravy.
You may not want to can all of your beast as a simple roast – another great way to preserve your meat is in a homemade barbecue sauce. This sweet sauce is especially nice with game to reduce the flavor that some people find offensive. It can be used for roast or for ground meat. If you have some left over, use it to brush over chicken when roasting it in the oven.
Barbecue Sauce for Canning
Ingredients
- 4 cups of crushed tomatoes (canned or fresh)
- 6 cloves of garlic

- 6 small cooking onions
- 2 tbs of dried bell pepper or 1/2 cup of fresh bell pepper
- 1/4 cup of brown sugar
- 1/4 cup of white vinegar
- 1 tsp of Worcestershire sauce
- 1 tbsp of hot sauce (like Frank’s Red Hot)
- 2 tbsp of salt
- 1/4 tsp of powdered cloves
- 1 tbsp of paprika
Directions
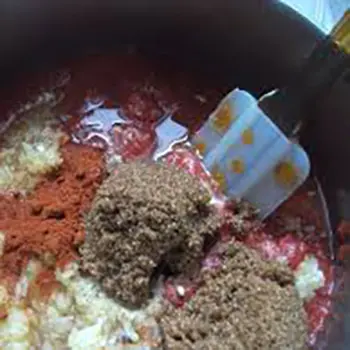
- Using a food processor, finely mince peppers, garlic and onion.
- Mix all ingredients in a saucepan and bring to a boil.
- Ladle the hot liquid over the meat, being sure to use a knife to remove air pockets.
- Proceed with canning as for regular roast beast, above, or pour over uncooked ground beef (or other meat) and proceed as above.
Meatballs for Canning
For the ground meat, I made also made meatballs – these can really well. I have always made them eggless because Rosie is highly allergic to eggs and it seems as though these slightly dry meatballs hold together well during the canning process. I canned them in Italian Marinara Sauce.
Ingredients
- 5 pounds of ground beast
- 2 cups of very fine crumbs (I freeze bread for this purpose and use a food processor to make the crumbs)
- 2 tbsp of salt (note: account for the salt in your source of crumbs and adjust accordingly)
- 2 tbsp of dried parsley flakes
- 1 tbsp of garlic powder
Directions
- Combine all ingredients in a large bowl, mixing well with hands. Form very firm meatballs. The right size sits nicely in the palm of your hand.
- Place 8-10 meatballs into each sterilized quart jar – don’t overfill the jars with meatballs – you want to leave room for sauce.
- Cover the meatballs with hot spaghetti sauce.
- Very gently use a spatula to remove the air pockets so that sauce completely fills the jar, allowing 1 inch of headspace at the top.
- Process for 90 minutes in a pressure canner at 10 pounds of pressure, adjusting for altitude.
Today’s canning session resulted in the ingredients for 36 meals ( side dishes will be needed with them). It was approximately 5 hours of work but less than half of that was hands-on. The (nearly) 16 pounds of meat turned into 9 quarts and 5 pints of canned food, plus supper tonight.
This article was written by Daisy Luther and first appeared on The Organic Prepper.
You may also like:
What Happens If You Leave Your Meat For 3 Days In Your Backyard (Video)
Canning Secrets Nobody Tells You About
How to Dry Can Beans and Rice for 20+ Years Shelf Life
20 Foods That Can Last 20 Years
Cheap Recipes To Keep You Well Fed In The Next Crisis

