Owning a home is a dream come true for every homesteader, but the reality is not what you expect.
It requires a lot of hard work to keep your private oasis running smoothly – and making occasional repairs to it is part of the bargain.
You should call a professional for complex issues like a broken AC unit or a leaking roof. But for minor headaches like the ones we’ll be discussing today, you should do the repairs yourself because they are not worth the expense of hiring an expert.
Here is a list of ten home repairs you can do in 10 minutes or less.
Cleaning Gutters
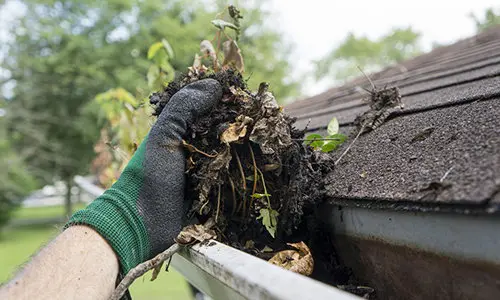
Clogged gutters cause water to pool around the house, which results in water leaking into the basement. That can have devastating consequences like rot issues or mold infestation.
To prevent such a catastrophe, you should remove all the leaves and debris from the gutters every fall and spring.
- Get a ladder that can reach the gutters and call someone to hold it.
- Find level ground.
- Climb the ladder and remove the leaves and debris.
- Get off and move your ladder to other parts to cover the entire house.
Note: If you’re not comfortable climbing a ladder, find someone who is.
Diverting Gutter Runoff
Now that the water in your gutter is flowing, a new problem may arise. The runoff onto your foundation may cause problems soon.
Get a flexible corrugated drainpipe to extend and lengthen your gutter downspouts far away from your exterior walls. You can choose to leave the pipe exposed or bury it – either way, ensure that the water heads away from your house and not into it.
Fixing Squeaky Doors
Even though doors in your home may seem innocent, they too can be a nuisance if you don’t occasionally repair and maintain them – the most common problem being squeaks.
If you have a squeaky door:
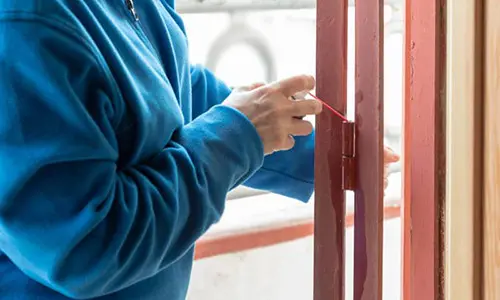
- Firstly, unhinge the door by inserting a small screwdriver under the vertical pins on the hinges and hitting them out with a hammer (depending on what type of hinges you have).
- Put it aside or let someone hold the door while you wipe the pins with WD-40, alcohol, or oil, and then slip the pins back into the hinges.
- To ensure long-term lubrication, apply silicone spray on the hinges.
Unclog A Toilet With Dish Soap
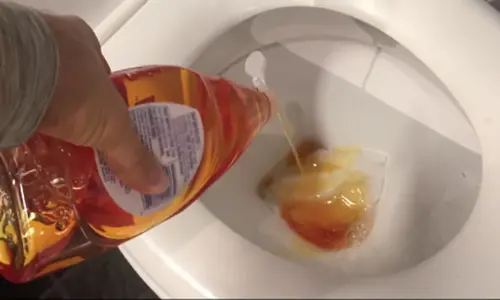
If the toilet plunger isn’t helping you unclog the toilet, then pick up liquid dish washing soap from the kitchen and use it instead.
- Squirt about half a cup of dish soap into the toilet and let it sit for an hour.
- Revisit the toilet and pour boiling water while flushing it to remove the clog.
The dish soap and the boiling water help reduce the friction in the bowl, allowing contents to slide on through.
Related: If You Have This Plant in Your Backyard, You Will Never Run Out of Soap
Repairing A Faucet Washer
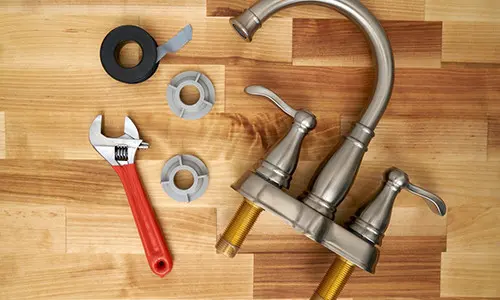
Repairing a leaky faucet is one problem every homeowner encounters in one way or another. The problem may seem insignificant but bear in mind that those drips add up and slowly but surely suck your cash without you noticing a thing.
Fixing leaky faucets may seem too far fetched for you, but the process is pretty simple. Because compression-type faucets are the most common, I’ll address replacing washers of that faucet style.
- Start by shutting off the shutoff valve to cut the water supply to the faucet.
- Proceed to unscrew the faucet handle and remove it (you can find the screw under the plastic cap or decorative metal)
- Use pliers to remove the packing nut.
- Take out the screw holding the washer in place.
- Examine the washer and source an exact replacement from your plumbing supplier or home improvement retailer. Washers come in packs of different shapes and sizes, so you’ll have plenty to work with on your next plumbing project.
- Once you have the new washer, reassemble your faucet with the new washer in place to complete the installation.
- Once you’ve located a new washer, reverse the steps you took to remove the old one to complete the installation.
If that does not fix the leak, then that means another part of the faucet may be worn out and may need the help of a professional.
Restore Free Flow To A Faucet
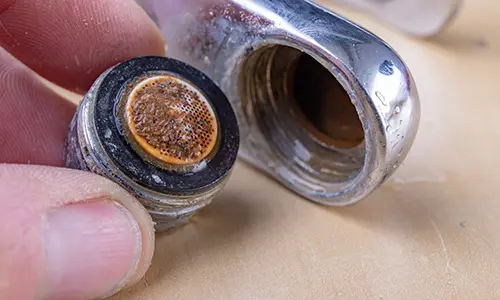
Still on faucets, if your bathroom or kitchen faucet starts spraying to the side or loses pressure, it’s usually because of dirt in the aerator screen. Luckily, cleaning it is an easy feat.
- First, close the drain plug – so you don’t drop any part inside.
- Now remove the aerator using masking tape or rag.
- Disassemble the aerator and soak it inside vinegar.
- Scrub it with a toothbrush to remove sand and other deposits.
- Reassemble the aerator correctly and reverse the steps you took until everything is in place.
Related: How To Save Every Drop Of Water On Your Property
Low Water Pressure
Low water pressure can have several root causes, but the solutions are often as simple as adjusting the pressure-reducing valve.
- Look for the bell-shaped valve next to the main water line that enters the house.
- Before making any adjustments, loosen the locknut, then turn the bolt on the valve clockwise to increase pressure and counterclockwise to decrease it.
- Adjust a half-turn, then check the pressure. If it’s still low, repeat the adjusting processes until you get the desired result.
Clogged Drain
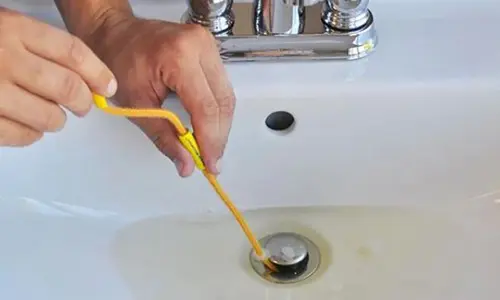
If one of yours drain is clogged, don’t call a professional. Instead, go to a nearby plumbing retail store and pick up a zip drain cleaning tool.
The barbed plastic strip (or metal) is very affordable and easy to use: just slip the Zip-It tool into the clogged drain, twist, and pull out the clog.
It’s far more effective than gunk-dissolving chemicals and much safer for your health and the environment. Another bonus property is that it’s reusable.
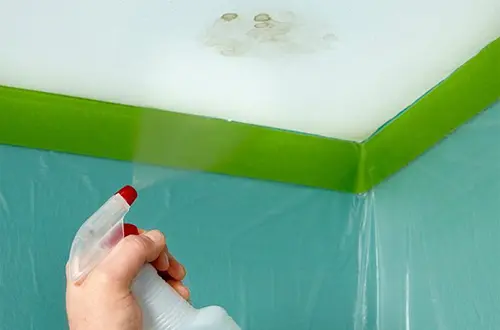
Bleach Away A Water Stain
Before you repaint your ceiling to get rid of water stain, try this ingenious fix:
- Create a mixture of 10% bleach and water.
- Cover the floors and wall around where you’ll be applying the solution with plastic.
- Wear a pair of safety goggles.
- Spray the stain with the solution and wait a day or two.
You’ll be surprised at how fast the stain disappears.
Drywall Patching
Anyone can patch nail holes. It’s a quick and easy way to make your drywall look brand new without calling a professional.
- Fill each hole with lightweight putty using a spackle knife, then scrape the surplus off the walls.
- Let the putty dry up, then sand the spot until it’s smooth.
- Use a primer to paint the refurbished spots.
Every homesteader must know one or two common house repairs because major problems arise from neglecting minor ones.
If you truly love your home, then sacrificing 10 minutes to care for it won’t be a big deal. You’ll sleep like a baby, knowing your home is in perfect shape.
So which home repair are you going to try out first? Leave a comment below.
You may also like:
 5 Mistakes To Avoid On Your Property
The Berry That Is Illegal To Grow (In Some States), But Perfectly Fine To Forage (Video)
How To Build Your Own Wall Hanging Can Rotator
4 Ingenious One-Day Projects For Your Backyard

