This past week I had some spare time and I decided to put it to good use. I finished a survival project I had in mind for a while now and I am very happy with the results. This is why I decided to share my project here with you.
I know from experience that any project, however small it can seem to you, might mean a lot to someone else. This article will show you how to build your own wall hanging can rotator.
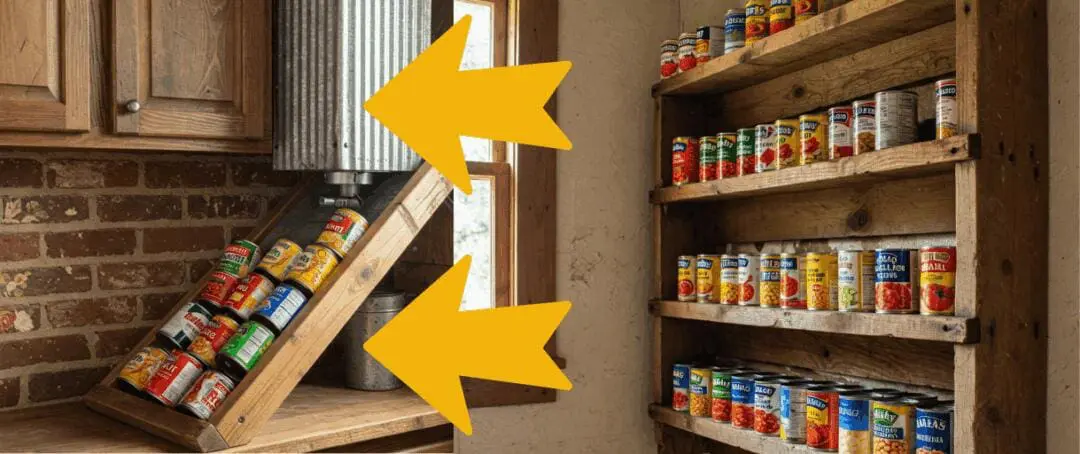
DIY Wall Mounted Canned Food Dispenser
As you probably know, two of the biggest problems with having a long-term can stockpile are:
1. Keeping track of which cans expire first;
2. Having enough storage space for all your cans.
This I think, takes care of both. This is the smaller version of the can rotator that you get as a bonus when you buy The Lost Ways. Here’s how I built my Wall-Hanging Can Rotator that can hold up to 100 cans.
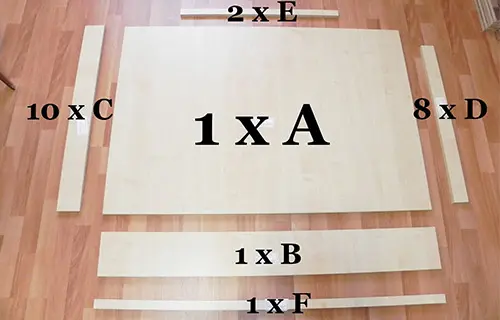
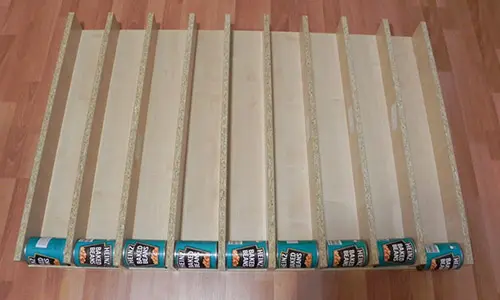
First, I gathered the materials. I guess the picture above is self-explanatory.

First picture – 3 large metal corners like this one on the backside
Second picture – 10 smaller pieces like this one to “bind” the boards together
Third picture – 10 even smaller pieces to “bind” the boards together

First picture – Something like this metal piece to attach my can rotator to the wall (3 of them)
Second picture – Lots and …lots of screws
Third picture – And two corners (white ones)
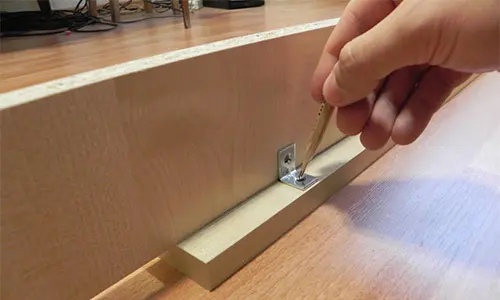
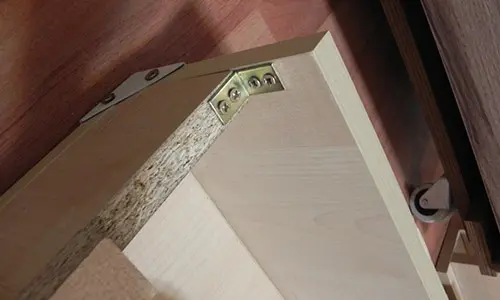
First, I screwed together board A and board B using the two white corners.

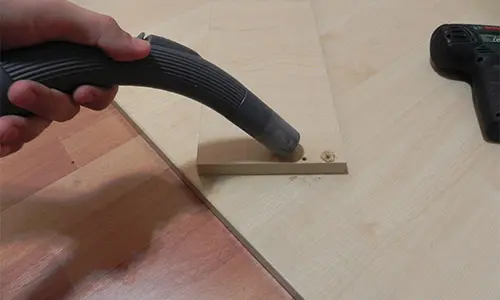
I always remove the sawdust right away.
I used the small white corner pieces to secure them together.
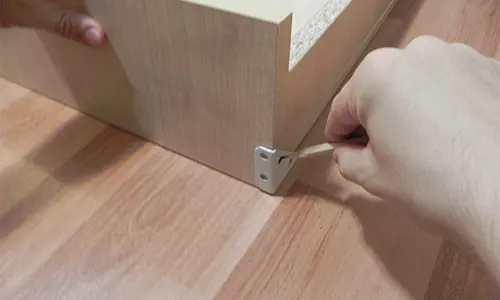

When it’s done it should look something like this. Repeat for the other corner. Now I’ve got the “backbone” of my wall hanging can rotator, but my work is far from over.
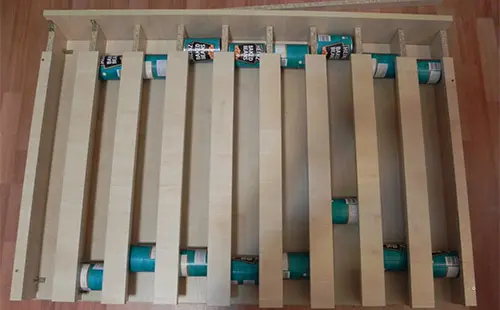
So, the next step is to test if what I wrote on paper can actually work. Without gluing the boards together, I placed the cans to see if they would fit. You should get 9 shelves for holding the cans.
Next, I glued 8 boards C with 8 boards D. And 2 boards C with 2 boards E together using a liquid adhesive.
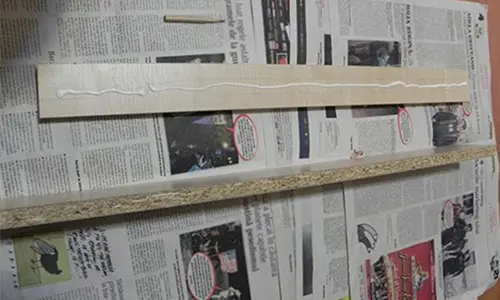
Here they are once they’ve been glued.

I then used one of the small metal corner pieces to secure them.
And another slightly larger piece to bind them firmly to board A.
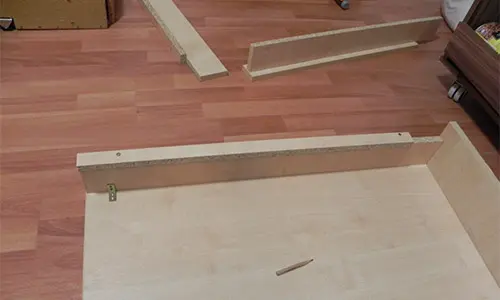
And to board B, as you can see below.
Time for another test to see how the cans would fit. With the last test I had made sure they have place at the bottom, but that would be of absolutely no use if they didn’t fit at the top of my rotator as well.
So far, so good it seems. The cans can move unobstructed from top to bottom.
The next step was to glue the C and D boards I had made previously to board A, using the small corner pieces for added strength.

Here it is with all the boards put in place:

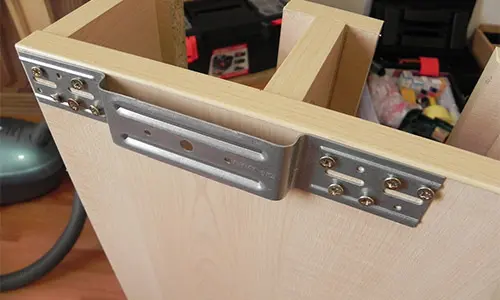
Now it’s time to strengthen the backside some more. Cans aren’t light after all and with so many of them, the weight puts some serious strain on the can rotator.

While I haven’t yet bought the proper nails to hang my can rotator on the wall, I did add to it the metal pieces needed to do so later on.
Here’s the finished product:
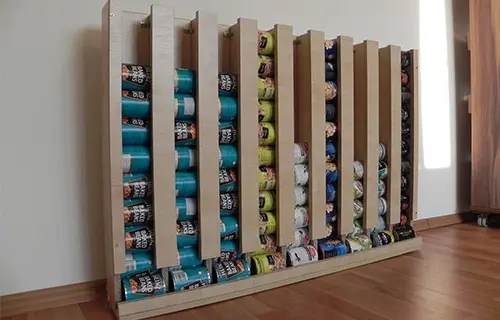
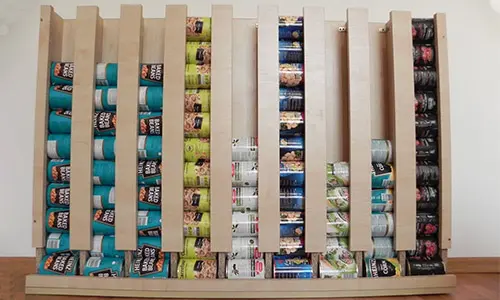
My first wall hanging can dispenser for my pantry!
It did take a bit of planning, and some work too. But the feeling of building something with your own two hands is next to none.
After the task was done, I couldn’t help but think of my grandfather who build most of his own furniture, sheds, root cellar and anything else he needed around the house.
Nowadays many of us have lost the ability to make something with our bare hands and a couple of tools. And we’ll have to pay a price for that I’m sure.
So, what did you make or build for your preps recently? What’s your latest survival project? Please share it down below.
You may also like:
How to Can Meat for 10 Years Shelf Life Without Electricity (Video)
How to Make Your Own DIY Homestead Defense Kit


Rather than bothering with hanging, you could make this into a floor piece! Add a top shelf (though you’d have to modify the entry portion) and then make some doors if you wanted (so it’s like a cabinet).
It would be well hidden in plain sight if you put a large piece of artwork over it & framed it around the sides. It could just slip over the whole piece & look like art
on the wall. Just lift it off to retrieve or replace cans.
A french Cleat may work better for this application. Just a thought.