
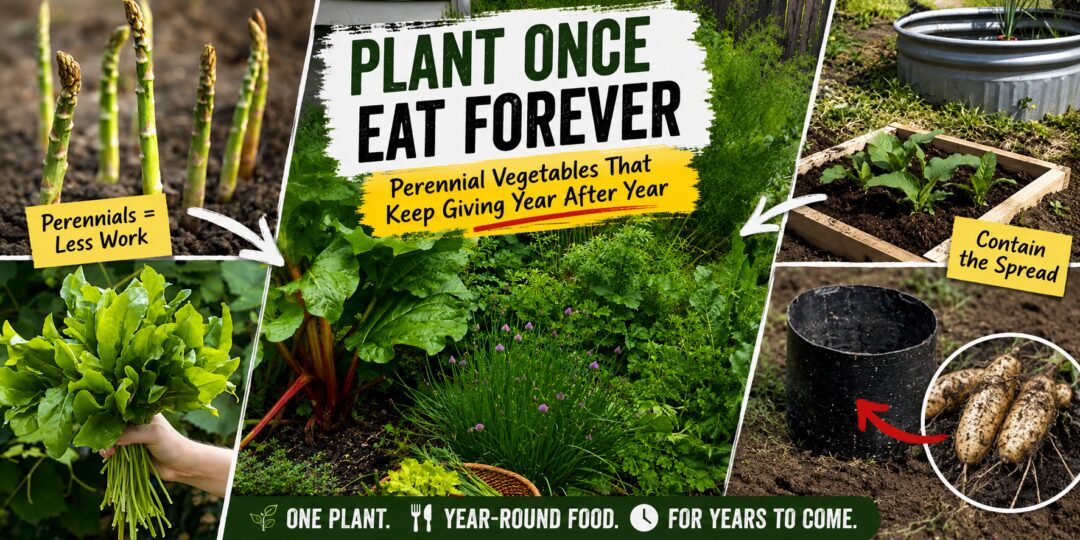
Just imagine planting something one time and then keeping harvesting it every single year after that. And the best part is that you don’t need to start seeds or keep the seedlings under a light.
This is what perennial vegetables give you. You put them in the ground once, and they keep feeding you for years, sometimes for decades.
I grow a handful of these on my place, and they have turned into some of the easiest, most dependable food in my whole garden. They just show up on their own every spring and I don’t need to do anything!
So in this article, I want to walk you through the best plant-once vegetables for every corner of the country, whether you are up north in the cold or down south in the heat. And at the end, I will show you how to build a buried, walled-in bed that keeps the pushy spreaders like horseradish and sunchokes right where you put them.
Asparagus (Zones 3 to 8)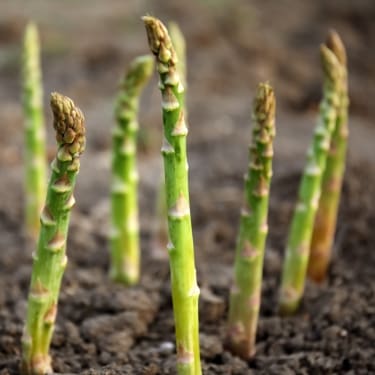
If you plant one perennial vegetable in your life, make it asparagus. A good bed keeps producing for 15 to 20 years, and I have heard of beds going even longer than that when they are looked after. Mine has been feeding us every spring for a good while now, but every time I go snap those spears I feel excited like it’s the first harvest.
The thing with Asparagus is that it makes you wait. You should not harvest at all the first year, and you only take a light cut the second year.
By year three, you get the full six to eight weeks of spears every spring. It feels like a long time, but think about how many years of harvest you get after that. It pays you back many times over.
Virginia Cooperative Extension points to research where beds that got harvested a year after planting produced 23% less over the next five years than beds that were left alone until the second year. So a little patience up front pays you back for a long time.
If you want your asparagus to grow nice and strong, make sure you offer it a sunny spot and well-drained soil.
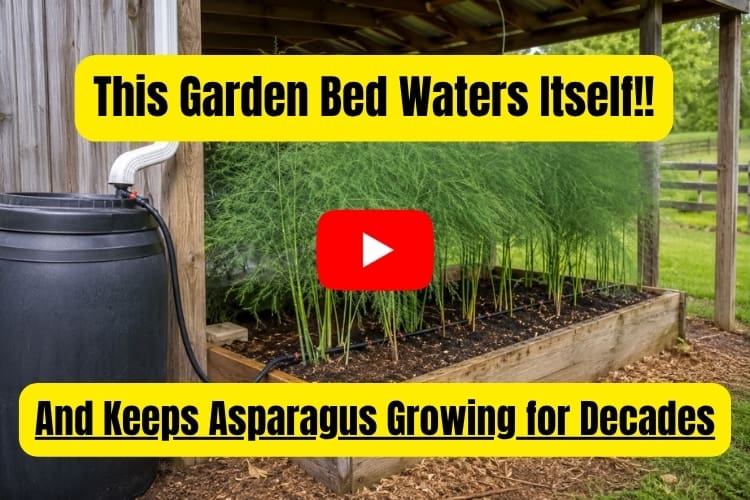
How to Build a Raised Garden Bed That Will Keep Asparagus Growing for 20+ Years
Now, planting asparagus in your garden might be a challenge because you want it to keep growing, which means you need a fixed spot for it. Mixing it in your main vegetable patch is not a smart idea because this will limit you.
That’s why building a special garden bed is the best move. Why do I say a special garden bed? Because asparagus can also be a little bit fussy about the type of soil and the amount of water it needs.
So, a garden bed is perfect because you can control both factors. You are the one choosing the type of soil and you can also be the one controlling the watering schedule. If you simply plant it in the garden, the rain might drown it. This is why your garden bed should be placed in a place that is sheltered from the rain.
Ok, now let’s get back to the part about controlling the watering schedule. Most of the time, people simply want to forget about the asparagus they have in the garden and just harvest it.
You can do this by simply making a garden bed that knows how to water itself. And the best thing about this system is that you can build it in a way that allows it to get the water from the rain. See how to make the watering system and how to attach it to the garden bed here →
Rhubarb (Zones 3 to 7)
If you live somewhere with real winters, rhubarb is your friend. It actually needs that cold to do well, and it struggles in the hot southern states. So this one is for my northern readers.
You grow rhubarb for those thick, tart stalks that make the best pies and jams. Plant a crown in early spring, and you can start taking a few stalks the year after. One plant keeps giving for many years before you ever need to touch it.
One warning I want to make sure you hear. You only eat the stalks. The leaves are toxic, so cut them off and toss them on the compost pile. And after about eight to ten years, when your plant starts throwing lots of thin, sad little stalks, that is your sign to dig it up and split the crown into pieces. Replant those, and you have got free rhubarb all over again.
Horseradish (Zones 2 to 9)
Horseradish grows almost anywhere in the country, and it is about as tough as a plant can be. If you like a little kick in your cooking, one plant will keep you in fresh horseradish for good.
Here is the thing you need to know before you plant it. Horseradish spreads like crazy. Any little scrap of root you leave behind in the soil will grow into a whole new plant.
But don’t worry, I’ve got a simple way to keep it in its place, and I’ll show you exactly how to build it later in this article
Plant a root cutting in spring, and dig up the roots you want in late fall after the first frost. Grind it fresh and your sinuses will let you know it worked.
Also, one thing I like to do with my horseradish is the Amish Fire Cider.
This is a traditional Amish remedy that combines the unique anti-bacterial properties of the horseradish with apple cider vinegar, honey, and a few other ingredients such as garlic and pepper to create a perfectly balanced tonic.
I personally use it each time I have a cold. The warming, spicy kick is the whole point, and people take it for that scratchy-throat, stuffed-up, run-down feeling that comes with the season. Some folks also swear by a spoonful to wake up their digestion before a heavy meal, since the vinegar and the sharp roots get things moving.
If you want to add this tonic to your cupboard, you can find the recipe I use to make it here →

Jerusalem Artichokes (Zones 3 to 9)
Folks also call these sunchokes, and they are one of the easiest things you can grow. They are actually a kind of sunflower, so you get tall plants with cheerful yellow flowers, plus a pile of knobby tubers under the soil that taste a little like a water chestnut.
Depending on where you live, one planting can hand you pounds and pounds of tubers. They are so easygoing that the trouble is usually the opposite of most crops. They spread fast, just like horseradish, so give them their own corner where they cannot crowd out anything you care about.
Plant the tubers in spring, and dig them after the first frost when they turn sweeter. Every two or three years, dig them all up and replant a few, or the tubers start getting small.
Egyptian Walking Onions (Zones 3 to 10)
I love these because they are so strange and so useful at the same time. Egyptian walking onions grow little bulbs right on top of the plant, up where you would expect flowers. When the stalk gets top-heavy, it flops over, the little bulbs touch the ground, and they root themselves and start a new plant. That is how they “walk” across your garden.
You can eat every part of them. Snip the green tops like scallions, or dig the bottoms for a small oniony bulb. And since they replant themselves, you get onions coming back year after year with almost no work from you.
Just tuck a few bulbs about an inch into the soil in a sunny, permanent spot, and let them do their thing.
Sorrel (Zones 3 to 9)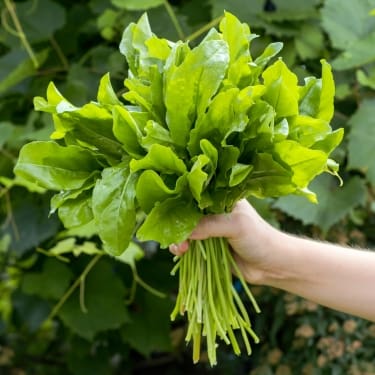
Sorrel is a leafy green with a bright, lemony taste, and it is one of the very first things to green up in my garden every spring. When I am hungry for something fresh after a long winter, sorrel is usually the first thing ready.
You cut the outer leaves and the plant keeps making more, all season long. Toss a few leaves in a salad, or cook them down into a simple sauce for fish. One little clump comes back every year and asks for almost nothing in return. Give it some sun, a drink of water when things get dry, and keep the weeds off it.
Globe Artichokes (Zones 7 to 11)
Now for my warm-climate friends. If you live somewhere with mild winters, you can grow globe artichokes as a true perennial, and an established plant will feed you for four to seven years before it needs dividing.
These are big, silvery, good-looking plants, so they earn their keep in the yard even before you eat them. The part you eat is the flower bud, picked while it is still tight and closed. Once it starts to open, it turns tough, so keep an eye on them and cut the buds when they are a few inches across.
Give each plant plenty of room, around four feet, because they get large. If you are up north, you can still grow them, but you will be starting fresh each year instead of getting the perennial payoff.
Chayote (Zones 8 to 11)
If you are down in the deep south, chayote is a fun one. It is a climbing vine that grows a mild, crisp fruit somewhere between a squash and a cucumber, and it produces like nothing else once it gets going. One healthy vine can give you dozens of fruits.
The way you plant it is different from anything else on this list. You take a whole sprouted chayote fruit, lay it on its side with the fat end down, and half-bury it. That is it. Give it a sturdy trellis or a fence to climb, because it wants to run.
Where winters stay warm, it comes back year after year. In the cooler edge of its range, cut the vine to the ground in fall and pile on a thick blanket of mulch to carry it through.
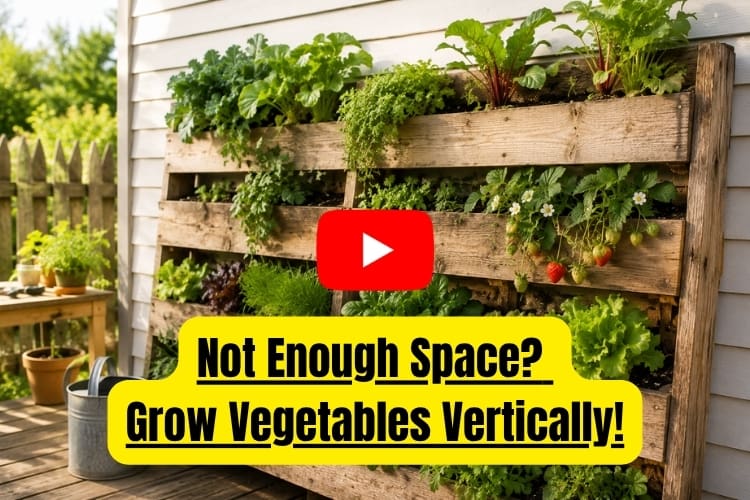
If you’re planning to build a trellis, I have one fun and useful project for you. Build a DIY wall-hanging vegetable garden.
This is the perfect project for anyone struggling with a lack of space. Gardeing is an essential part of homesteading, but many of us are limited by the amount of available ground that we have for planting. This is why I challenge you to imagine how this project can change your gardening strategy.
Why not take advantage of the vertical space that you have? This is a trick only long-time homesteaders use, but I think anyone should know about it. That’s exactly why you can find the full set of instructions with pictures and blueprints here →
Build a Bed That Keeps the Spreaders in Check
I promised you a project, so here it is. A couple of the best perennials on this list, horseradish and Jerusalem artichokes, share the same flaw. They spread very fast and can easily take over your garden.
Leave one scrap of root or one little tuber behind, and it comes back next year a foot to the left. The fix is simple. You grow them inside a bed with walls that go down into the soil, so the roots hit a barrier and stop instead of running off into the rest of your garden.
You can do this in an afternoon with stuff you probably have lying around. A bottomless 5-gallon bucket works for one plant. An old stock tank works for a few. Or you can knock together a simple wood box. Any of them does the job.
Here is how I do it: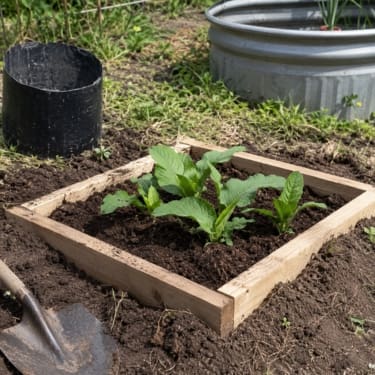
- Pick your container. Whatever you use, it needs to be at least 18 inches deep, because that is about how far these roots reach down. For a bucket, cut the bottom out so water can still drain. For a stock tank, drill a few holes in the bottom. For a wood box, leave the bottom open and just build four sides.
- Dig the hole. Set your container on the ground and trace around it, then dig a hole that deep. You want the top of the container sticking up about 2 inches above the soil line. That little lip is what stops the roots from creeping over the edge.
- Drop it in and backfill. Set the container in the hole and press the soil back around the outside so it sits snug. Then fill the inside with a good mix of soil and compost.
- Plant your roots or tubers. For horseradish, lay a root cutting at an angle, with the fat end up, and cover it with about 2 inches of soil. For sunchokes, push the tubers down about 4 inches deep and space them 12 inches apart. Water everything in well.
- Let it grow, then harvest in fall. Both of these get dug after the first frost, when the flavor is best. When you dig, take out everything inside the box, then save a root or a few tubers to replant for next year. Because the walls kept them corralled, you are not chasing runaway roots all over the yard.
That is the whole trick. One buried box, and you’ll have these vegetables available for years with zero worries.
Final Thoughts
If you are working toward being more self-sufficient, these plants are about as close to a sure thing as a garden gets. They do not care if you have a bad year, a busy spring, or a bum knee that keeps you off the ground for a while. They come back anyway.
So pick whichever one fits where you live and put it in the ground this year. You will thank yourself every spring for a long time
You may also like:
DIY Corner Vegetable Storage Bin
If You See This Plant in Your Backyard, Burn It Immediately! (Video)
Vegetables You Can Re-Grow From Scraps
How To Make A Self-Watering Planter From A Water Bottle














In the UK Taunton Dean Kale (it sounds a bit like your ‘tree kale’ is a winner. It is a tasty green perennial kale grown from cuttings. It spreads rather but doesn’t need much attention and can be harvested during the ‘hungry gap’ Caterpillars find it a bit tough and it isn’t much bothered by them. It’s excvellent in bubble and squeak and stir fries.
What is bubble and squeak? Stir fries ee know but bubble and squeak????
Basically potato pancakes, but potatos loaded with leftover vegetables, maybe bacon or ham.
By garlic scraps, do you nean garlic SCAPES?
Lol I figured.
What about artichokes?
Never received
Hi,
Thank you for your message.
You will receive an email from [email protected] regarding your request.
Let us know if you need further assistance.
You’ve listed asparagus as zone 3 though 8. I’m in zone 13 (Cambodia) and I grow asparagus with no problem. You just let the fronds grow for 6 months. Cut them down and then you get spears.