Worried your tiny homestead can’t support your self-sufficiency goals? Produce piling up with nowhere to go? Don’t panic just yet. Here’s how to store your food if you don’t have a lot of space.
Sure, limited space can feel like a huge obstacle, but it’s actually a chance to flex your creative muscles. We’ve got a toolbox of tricks to help you maximize every nook and cranny of your home.
Here’s how to store food when space is tight. When floor space is at a premium, the only way to go is up! Here’s how to use your vertical space:
Maximize Wall Space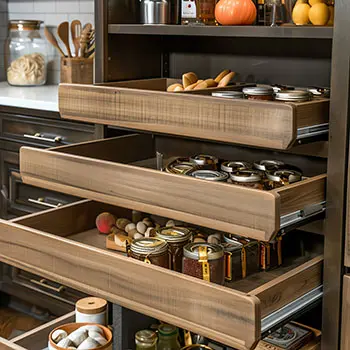
Remember that blank wall by your kitchen table?
It’s prime real estate for food storage. Adjustable shelving is a game changer. I’ve set mine up to store everything from home-canned goods to dry staples in containers, and even those small appliances I don’t use often. And if you’ve got an old wooden ladder, don’t toss it.
I repurposed one as a vertical pantry—each rung now holds baskets packed with potatoes, apples, and other hardy produce. It’s rustic and functional.
Stackable Bins and Containers
Stackable storage bins are a homesteader’s best friend.
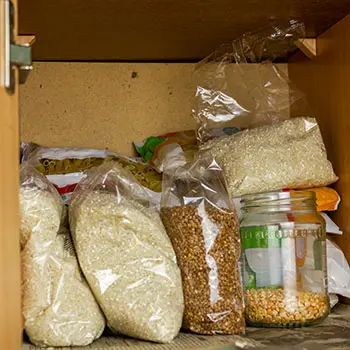
I use them for everything from storing bulk grains to keeping my dried herbs organized. My system is all about efficiency. Clear, labeled containers are a must—I can see what’s inside without digging around, and labeling them with contents and dates makes life easier. I also use stackable bins for under-table storage, which fit snugly under my dining table. They’re perfect for keeping root vegetables and winter squash organized and out of the way.
Invest in square or rectangular containers rather than round ones. They stack more efficiently and waste less space.
Related: Do NOT Store Your Dry Goods Like This
Hanging Baskets for Fresh Produce
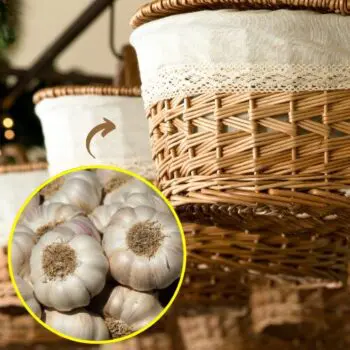
Don’t forget about your ceiling space! Hanging baskets are perfect for storing fruits, vegetables, and herbs. Here’s how I put them to work: I’ve got three-tiered hanging baskets in the kitchen holding onions, garlic, and small squash.
They free up counter space while keeping the produce fresh with good airflow. And macramé plant hangers aren’t just for plants—I use them to store bundles of herbs, keeping them handy and well-ventilated.
Alright, let’s get sneaky with our storage! There’s a whole world of hidden space just waiting to be discovered in your home. I’ve turned every odd corner and unused gap into a food storage bonanza, and you can too.
Hidden Storage Under Furniture
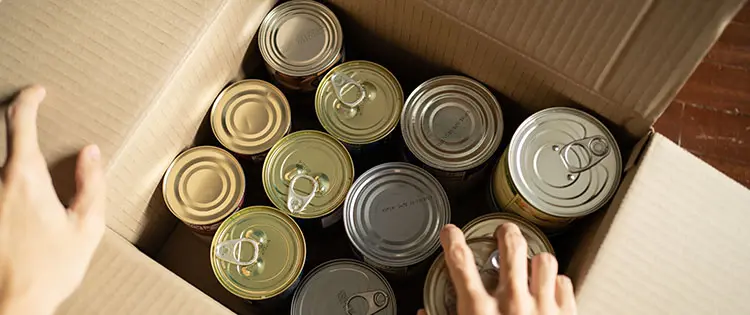
You’d be amazed at how much food you can squirrel away under your furniture. Here’s how I’ve maximized these overlooked spaces: Storage ottomans in the living room pull double duty—while they look like regular footstools, inside they’re packed with canned goods.
And the real game-changer? DIY under-couch storage. I built wooden crates on wheels that slide under the couch, creating the perfect spot to store root vegetables or onions in a cool, dark space.
Related: FEMA Will Never Take Your Stockpile If You Hide It Here
Repurpose Cabinet and Closet Doors
Don’t let those door interiors go to waste! Here’s how I’ve put them to work: Spice racks on pantry doors are a game-changer—I installed narrow shelves inside the door, perfect for organizing spices, small jars, and other compact items. Magnetic strips inside cabinet doors? They’re awesome for holding small metal containers of spices or tea, keeping everything tidy and within reach.
When adding weight to doors, make sure your hinges can handle it. I learned this the hard way when my overstuffed pantry door came off its hinges!
Above-Door Shelving
That space above your doors? It’s prime real estate for long-term storage. Here’s how I use it: High shelves above my kitchen and pantry doors are perfect for stashing bulk grains and emergency food supplies that I don’t need daily. To keep things looking tidy, I use decorative storage boxes that blend in with the decor while hiding all kinds of dried goods.
Safety first, though! When installing shelves this high, make sure they’re securely anchored to studs for stability. Always use a sturdy stepladder to safely reach the items, and keep lighter items up top to avoid any accidents.
Use Furniture with Built-in Storage
When you’re living in a tight space, every piece of furniture needs to pull double duty. I’ve learned to look at each item and ask, “But can it hold my pickles?”
Let’s explore some clever ways to make your furniture work harder for your homestead.
Related: Ingenious Ways to Repurpose Old Furniture on Your Homestead
Dual-Purpose Furniture
I’m all about multitasking, and my furniture is no exception. Some of my favorite dual-purpose pieces include the sneaky coffee table, which looks ordinary but has a hidden compartment under the top that’s perfect for storing canned goods I don’t need daily.
Then there are my dining chairs with hidden compartments under the seats, ideal for stashing dried herbs, spices, or small jars. Lastly, I transformed an old bookcase into a pantry. The lower shelves hold baskets of produce, while the upper ones are packed with canned goods and dry staples.
Vacuum-Sealed Bags: A Small-Space Savior
Now, let me introduce you to my secret weapon in the war against clutter: vacuum-sealed bags.
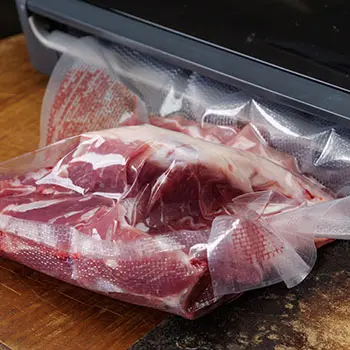
Vacuum sealing is a game-changer for compact storage. It can reduce the volume of stored food by up to 75%, making it a real space-saver. By removing air, it also extends the shelf life of many foods, keeping them fresh longer. Plus, it offers pest protection—without air, bugs like weevils can’t survive. It’s incredibly versatile too, working for everything from grains and jerky to coffee and crackers.
Here’s a quick rundown of my favorite foods to vacuum-seal:
| Food Item | Storage Life (Vacuum-Sealed) | Storage Life (Regular) |
|---|---|---|
| Rice | 25-30 years | 2-3 years |
| Nuts | 2 years | 6 months |
| Dried Fruit | 1-2 years | 6-12 months |
| Jerky | 1-2 years | 1-2 months |
| Coffee | 2-3 years | 3-5 months |
Store Vacuum-Sealed Food Under Cabinets
Here’s where it gets really clever. Those narrow spaces under your cabinets?
They’re perfect for sliding in flat, vacuum-sealed packages. I’ve set up a straightforward system for my vacuum-sealed ingredients. First, I installed slim drawers under my kitchen cabinets that pull out to reveal neatly labeled and dated vacuum-sealed bags.
For items I use often, I added strong magnetic strips under the cabinets, allowing the bags to stick right there for easy access. In some cabinets, I also installed tension rods a few inches from the bottom, so I can hang vacuum-sealed bags and make the most of vertical space.
Hidden Cellars and Cool Storage Solutions
When you’re really pressed for space, sometimes you’ve got to think outside the box – or in this case, under the floorboards.
I created a hidden pantry that’s both clever and functional. First, I found a spot in my living room where the floorboards weren’t crucial for support and crafted a trap door that blends seamlessly with the flooring. For staircase storage, I removed the risers from my bottom two steps and added hinged compartments that open up, perfect for stashing bottles of home-brewed cider or jars of pickles.
For those living in apartments or without outdoor space, there’s still a solution! I built a small insulated box that fits snugly in my north-facing window frame, keeping eggs, cheese, and hardier vegetables perfectly cold in the winter. If you have a balcony, you can maximize storage there too—I constructed a well-insulated chest that sits on mine, providing cold storage for various items.
With these tips and tricks, you’ll be able to squirrel away a homesteader’s bounty in even the tiniest of spaces.
The key is to get creative, stay organized, and always, always label!
10 Foods To Store In Lard For A Long Shelf Life
How To Store Food Without Electricity That Can Last Up To A Year (Video)

