In a world where it’s easier to toss something out than to fix it, sewing a button might seem like a small, outdated skill, which is why many do not know how to sew a button. But ask anyone who’s torn a shirt while traveling, lost a coat button during a winter storm, or tried to find a tailor on short notice, it’s a skill that still matters. In fact, it’s one of the simplest ways to save money, stay self-reliant, and keep clothing in rotation longer.
Sewing a button isn’t just about thrift, it’s about independence. Knowing how to handle basic clothing repairs without running to the store or relying on someone else is part of the foundation of self-sufficiency. It’s also surprisingly satisfying to mend something with your own two hands.
What Makes Sewing a Button Seem Hard?
The truth is, sewing a button isn’t hard, but if you’ve never done it before, it can seem fiddly. The hardest parts are usually threading the needle, figuring out how to keep the button aligned, and knowing when it’s secure enough. But once you do it once or twice, it becomes second nature.
You don’t need fancy equipment, just a few basic supplies and a few minutes of patience.
What You’ll Need:
- A needle
- Thread (ideally in a color that matches your fabric)
- Scissors
- The button you need to replace
- Optional: A toothpick or matchstick for spacing
- Optional: Thimble, for thicker fabric
You can get all of these in a simple sewing kit for convenience, like this one.
Step-by-Step: How to Sew a Button
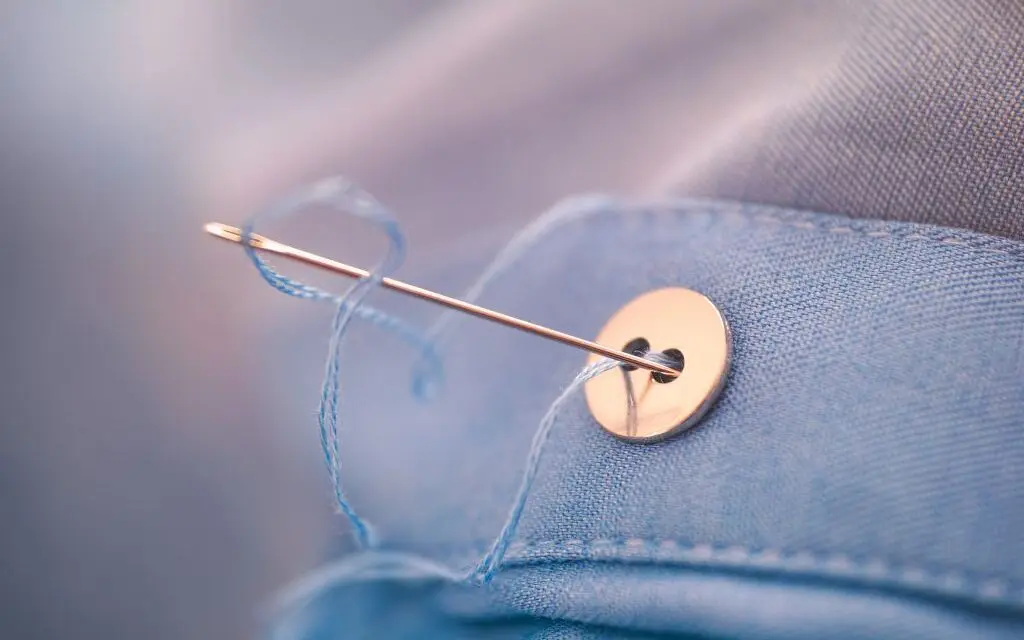
1. Thread the Needle
Cut a piece of thread about 18 inches long. Thread it through the eye of the needle and knot the two ends together to make it double-thick. This gives your stitch strength.
2. Position the Button
Place the button in its correct position, using another button on the garment as a guide if needed. Hold it steady or pin it lightly in place.
3. Start from the Back
Push the needle through the fabric from the back side so the knot stays hidden. Then push it through one hole in the button and down through the opposite hole (if it’s a 2-hole button). Repeat 4-6 times.
For 4-hole buttons, do the same thing but in an “X” or parallel pattern, just be consistent.
4. Use a Spacer (Optional but Helpful)
Place a toothpick or matchstick across the button as you sew to create a small space between the button and the fabric. This makes room for the fabric to sit under the button when fastened, especially important for coats or thicker materials.
5. Wrap the Shank (Optional for Strength)
Once the button is securely stitched, bring the needle up through the fabric but not through the button. Wrap the thread around the threads between the button and the fabric 3-5 times to create a “shank.” This adds strength and durability.
6. Finish and Tie Off
Push the needle to the back side of the fabric. Make a few small stitches and a knot to secure your work. Snip off any extra thread.
If you need a video representation and you want some extra examples of what you could do, like how to sew a button with 4 holes or a shank, you can look at this video:
A Lost Skill Worth Remembering
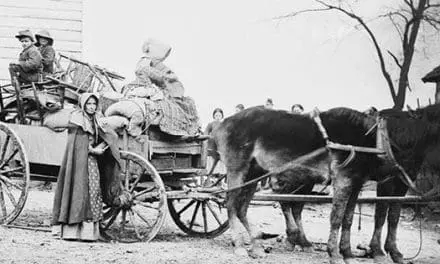
Sewing a button might not seem like much, but it represents something bigger: a return to the mindset of fixing, saving, and making do. These are the quiet, powerful skills that kept our grandparents going through hard times and they’ll serve us well in the days ahead.
Once you’ve tackled a button, who knows what’s next? Patching a hole, hemming pants, even making your own clothes. There’s a satisfaction in learning these things that you just don’t get from one-click convenience.
Rediscover More Forgotten Skills Besides How To Sew A Button
Sewing a button is just one of many practical skills we’ve slowly let fade into the background. If you’ve ever wondered what else we’ve lost, and how to get it back, The Lost Ways is the perfect place to start.
👉 Click here to discover The Lost Ways
This book dives deep into the old knowledge that once helped families survive through tough times—without relying on electricity, mass production, or modern comforts. From food preservation to shelter-building and self-defense, it’s a powerful guide for anyone serious about self-reliance.
Don’t wait until you need these skills. Learn them now, and pass them down.
You may also like: 
Recipes I Made From The Lost Super Foods Book: Canned Hamburger Meat
How to Make Salt from Plants (Video)
How to Clean a Cast Iron Skillet – The RIGHT Way
These Items Vanished When The Great Depression Hit
Ingenious Hacks I Learned from the Amish


