When uncertainty strikes, food storage provides peace of mind.
A few years ago, I decided I needed to have a better stockpile. I’m sharing my secrets to making food storage easier on my homestead pantry tour.
Make a Plan
First, I built a menu and made a budget.
I planned to buy a little at a time, and managed to build my food storage over three years.
I had a tight budget with kids at home and job insecurity. It wasn’t worth buying things my family wouldn’t eat so the menu was important.
The budget helped me recognize how much we spent eating out. That became the income source for my homestead pantry.
Building Short-Term Food Storage
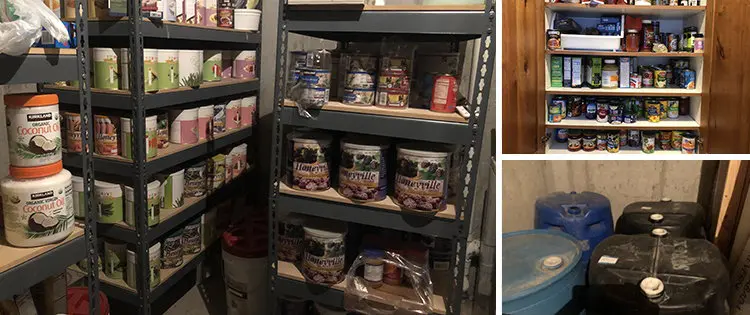
The next step on my homestead pantry tour is my short-term supplies.
These are the things I use weekly. I did the two-sides plan: it’s simple to buy two instead of one can of my favorite sauce, vegetable, or fruit.
My basics include tomato sauce for stovetop meals, salsa, chipotle, green peppers, and mint chutney to punch up the flavor. I love pears, peaches, and olives so I keep them fully stocked. Pasta is another staple I rotate on these shelves.
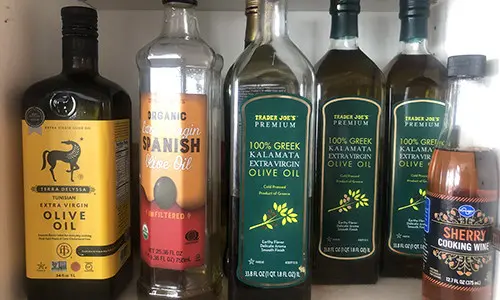
How Do I Store Oil?
I have to use butter or pure olive oil in my cooking because I have allergies. All oils last longer in a cool, dark place so I keep mine in my homestead pantry. When I get down to three bottles of olive oil, I restock. Oils spoil quickly and need to be replaced frequently.
Plan for Lot Sales
I planned for lot sales at my local grocery store. It’s a great way to expand food storage and save money. I buy staples like flour, oats, sugar, and my favorite canned goods.
The flour is used to make bread, but my kids like it for cookies. I also use it to thicken sauces. I use oats to make homemade granola (which is so much cheaper than store bought).
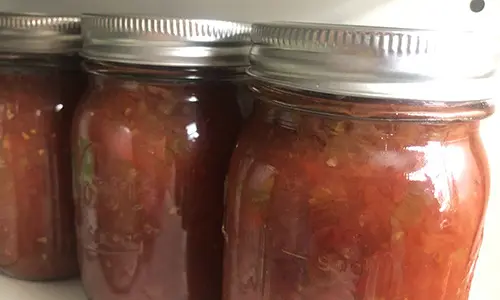
Preserving My Harvest
My grandparents taught me how to grow and preserve food.
What I bottle (or can) changes every year depending on my crop. When my tomato plant went wild with over 300 tomatoes, I made homemade salsa for my homestead pantry. I typically bottle applesauce, apple pie filling, grape juice, jam, salsa, tomato juice, and peaches.
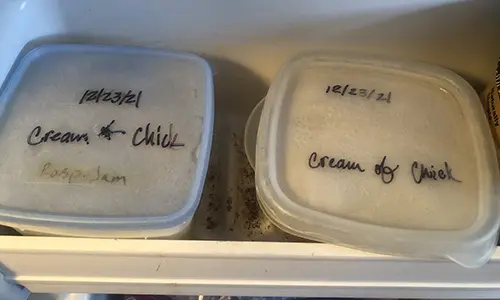
Another way to preserve food is to freeze it. I wash, slice, and freeze leeks for dishes that call for onion. I also freeze peppers for stir-fry, berries, freezer jam, and a copy-cat recipe for cream of chicken soup for casseroles.
Related: Cheap Recipes To Keep You Well Fed In The Next Crisis
Building Long-Term Food Storage
Next, on my homestead pantry tour is long-term storage. This supply needed to last a long time because I don’t plan on using it except in an emergency.
I invested in plastic bins of wheat so I could grind it for bread and cereal. Beans have so much nutrition, so they went into my stockpile. I keep at least one 25-pound bag of rice and flour.

Finally, I bought honey, maple syrup, and soy sauce because of their long self-life.
Sprouting seeds are great to have in long-term storage. I love how they store easily, grow in water, and give me fresh vegetables in a few days.
Mung beans and wheat are my favorite. In addition to long-term storage, I grow sprouts and use them in salads, bread, and soup because they’re so nutritious.
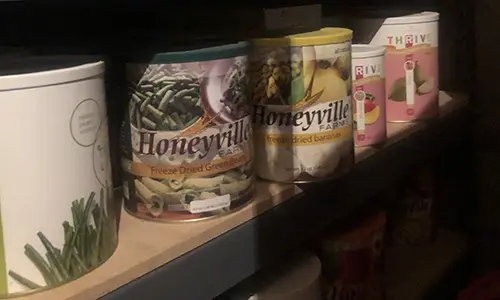
I decided to go with freeze-dried foods because they retain the most nutrients after fresh. Many of these items will last for 25 years or more! The down side is they’re expensive, so it took a while to build this part of my supply.
I bought items from the food pyramid to maintain a healthy diet.
Water is Essential
I bought large water barrels when they went on sale and purified the water with one teaspoon of bleach for every five gallons of water. I replace them once a year, using the water on my grass or in my garden. To use a large water barrel, I also bought an inexpensive manual pump.
My family camps and we needed a water purifier that worked on the go. I invested in a UV light that removes microbiological contamination. After seeing how easy it was to use, I decided it belonged in this homestead pantry tour.
Related: 5 Water Storage Myths

How Would I Cook Food in an Emergency?
Having a homestead pantry is great, but I wanted ways to cook without electricity. I already had a grill, camp stove, and Dutch oven along with the needed fuel from our outdoor trips.
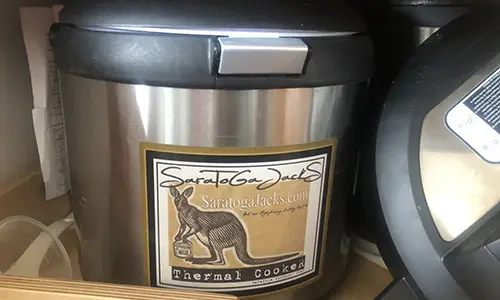
I saved money and purchased a thermal cooker. You can also make one. I love my thermal cooker to cook or keep a meal hot when we’re going on a trip. When we arrive, I just pull the thermal cooker out of the back of our car, and dinner is ready.
I also bought a Volcano Grill because the fuel sources are flexible. (As a true confession, I haven’t tried it yet.)
Bonus Items
Now that I had all the basics, I decided I increase variety in my homestead pantry.
For me, chocolate is my comfort food. So, I keep my pantry stocked with chocolate chips, chocolate bars, and cocoa. I added dried mango for my husband.
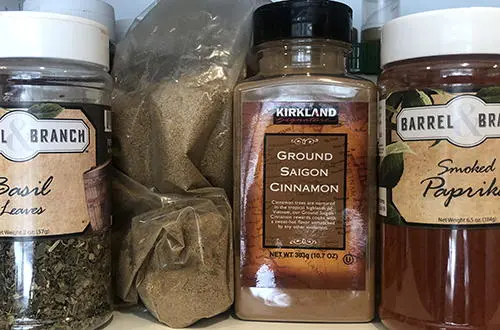
I have to cook with spices because I love flavor. My top spices for storage include salt, onion, pepper, paprika, ginger, basil, cumin, chili, and cinnamon.
I also keep freeze-dried sour cream and butter along with baking soda and dried milk.
Important Non-Food Items
Last on my homestead pantry tour is to include essential non-food items.
My local stores had a run on toilet paper during the pandemic. I was sure happy to have my pantry stocked.
Here are my basics: hygiene supplies, first aid kit, kitchen supplies, recipes, handyman tools, camping supplies.
I found creating a system to build food storage is easy when I took it a step at a time. The result of having peace of mind is worth the effort.
You may also like:
 8 Dangerous Mistakes To Avoid When Storing Your Food
What Our Forefathers Did and Built Around the House (Video)
If You Have Pets, Get Rid Of These Plants Immediately!
7 Common Raised Bed Mistakes Every Person Should Avoid
15 Reasons To Add 4lb Of Lard To Your SHTF Stockpile


Is there a web address for the freeze-dried foods you show in your pictures? I have looked online for Thrive products and have not been able to find a URL for them. Thanks!
https://www.thrivelife.com/
I hope those were stock photos of olive oil. I didn’t see one less than $14.00/bottle.
Tight budget indeed.
She mentioned she had allergies and pure olive oil is essential. Therefore, it is higher priced, but a necessity.