As a household that has always had pets as part of our family, we have been wary about using products around the house that may be laden with chemicals. It has been crucial for us to keep our home as a toxin-free environment that is safe for pets and children.
We inadvertently invite harmful toxins into our homes when we purchase cleaning products that are chemical based. A little further research reveals numerous reasons why we should be staying clear of commercial detergents, surface and floor cleaners, toilet cleaners and other similar household products.
Toxins In Our Bodies
The simplest argument to keep toxins out of our homes is for our own health and safety. Chemicals such as bleach can cause allergic reactions, itching of the eyes or even lung damage. Other chemicals that may be present could include nerve toxins, hormone disruptors, even carcinogens. These chemicals can easily be absorbed into our food and blood stream through continuous use and contact. Children and pets are more prone to exposure and would react more severely than adults.
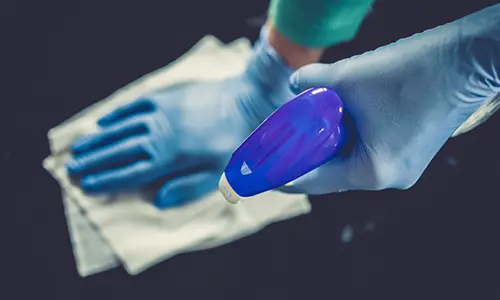
Toxins In Our Environment
These products enter our drainage and sewer systems, which means that they eventually leech into our soil and our water bodies. This results in destroying aquatic life, disturbing soil biodiversity and fertility, eventually having impact on human and animal populations around the world. At a personal level, I would not want to have these toxins in my own backyard!
Toxins From Manufacturing
The manufacturing process for mass produced products is energy and water intensive, while the by products from the process causes industrial pollution. Considering the carbon footprint from the manufacturing, packaging, and distribution of these products, it becomes important to look for easier and local solutions for our everyday needs.
After experimenting with several types of natural cleaners, I found vinegar to be an effective home cleaning solution. I would buy cartons of plain vinegar and diluted this for all my cleaning purposes – from floors to sinks to glass panes and mirrors.
There was a niggling problem though, the vinegar would be packaged in plastic PET bottles and that added to the plastic waste that I was generating.
I had the false notion that trying to create my own cleaning solutions would probably be difficult, time consuming and possibly not as effective, but this opinion changed when I learnt about bio enzymes.
Bio Enzymes
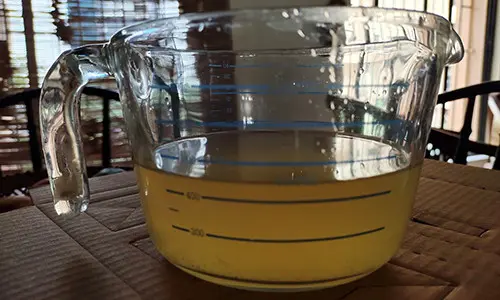
The idea is simple – use fermentation to break down the sugars in fruit and vegetable scraps to get a vinegar-like solution for cleaning your home. It did not need difficult ingredients and can be done with simple infrastructure that you would already have in your home.
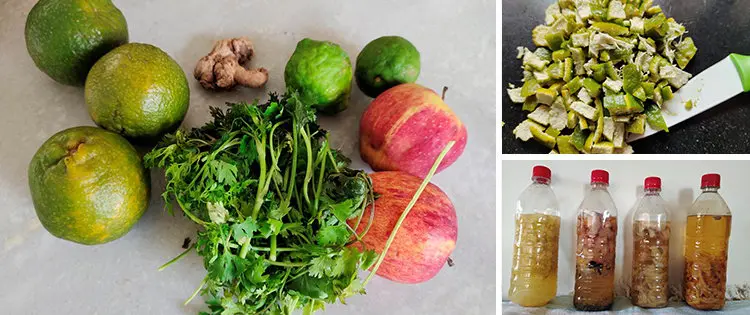
Bio enzymes comprise of “good” bacteria and enzymes. The enzymes break down stains into digestible food molecules for the bacteria, which is how the solution is very effective for cleaning and removing dirt and stains. It can be made with a wide range of fruit and vegetable scraps – in fact almost all fruit and vegetable kitchen waste other than onions and potatoes can be used. However, after a few rounds of experimentation, I found my own preferred list of kitchen scraps – selected based on the final odor of the solution as well as visual appeal.

I use peels of citrus fruit, skin and seeds of stone fruit, peels and core of apples and pears, pomegranate skin, cucumber peels, rose petals, coriander stem and a wide variety of other waste. I avoid waste that is pulpy or mushy because the solution ends up looking quite cloudy. I also avoid anything belonging to the bean and peas family (peas shells, etc) because the odor upon fermentation is quite unappealing.
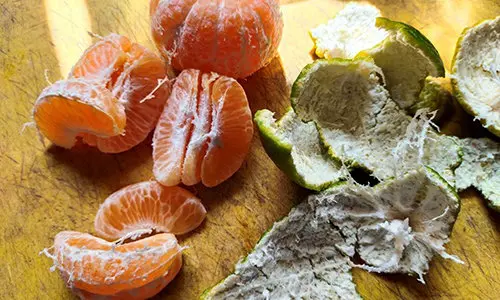
Some part of the selection of the waste I use is purely instinctive. It costs nothing to experiment, so would recommend that you do the same.
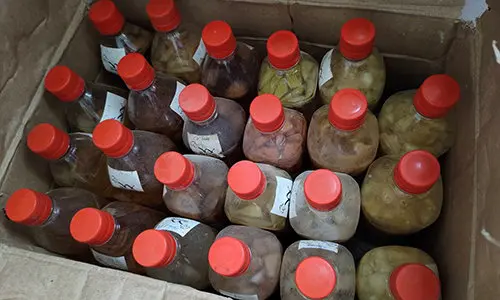
When I decided to make my own bio enzyme solution, I started saving the PET bottles from my last vinegar purchase. And every time a bottle of vinegar was empty, I converted it into a batch of cleaning solution. I used the vinegar carton to create a first-in first-out system such that I could keep rotating the bottles. It has been two years since I took on this project and I haven’t had to throw out any garbage since then in the quest of keeping my home clean!
It may not be the most elegant manufacturing setup, but I take pride in the fact that this portion of my lifestyle is now zero waste and does not add to the water and soil pollution arising from harmful chemicals. It is also very cheap.
Related: Ingenious Ways To Recycle Plastic Bottles
Ingredients To Make Bio Enzyme
- 3 units of fruit and vegetable scrap cut into small bits.
- 1 unit of sugar/jaggery/honey.
- 10 units of water
Steps Involved
1. A day of enthusiastic cooking typically ends with a fresh batch of bio enzyme. Cut up the waste bits into small pieces and put them into an airtight container (like a PET bottle) such that it occupies about 1/3rd of the space inside.
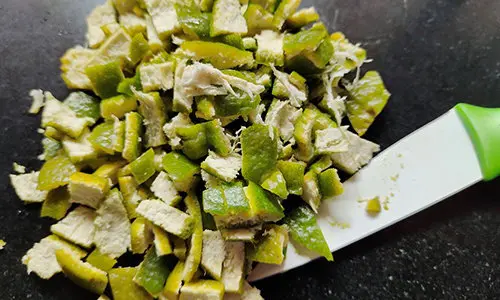
2. Sprinkle the required amount of sugar or jaggery or honey. The sugars help feed the right bacteria and helps with the process of fermentation.
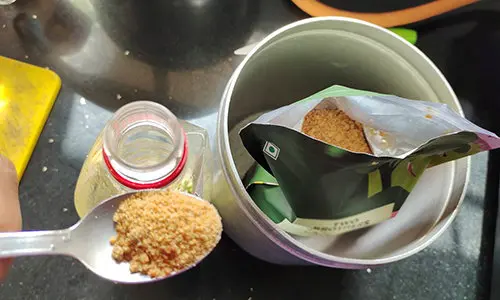
3. Top up the container with water but do not fill it to the very top. Close it tight and shake it around a bit so that the sugar dissolves. It is important that the bottle is closed tightly to create an anaerobic environment.
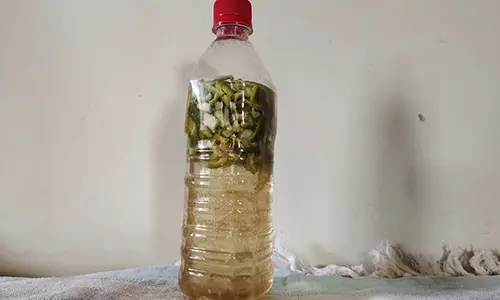
4. It will take about a month for the enzyme to be ready. In the first week the fermentation will be quite rapid, generating a lot of carbon dioxide. Remember to release the gases from the bottle once a day and reseal the bottle. If you forget to do this, it is possible that the CO2 build up will result in an exploding bottle! The solution releases less carbon dioxide after about a week, and this would not be a problem after that.
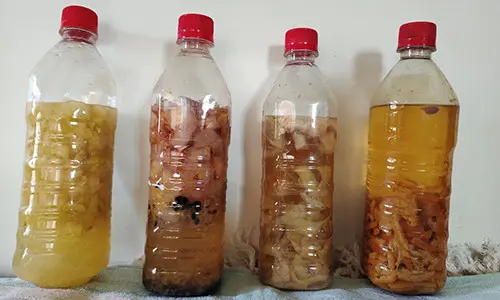
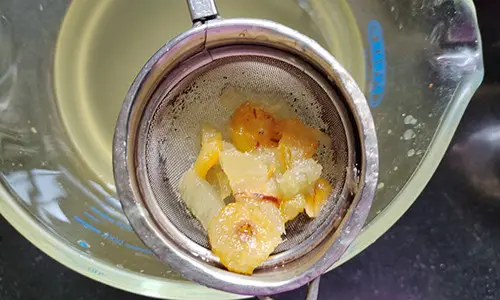
5. Over time you will see the waste bits inside the bottle slowly sink to the bottom and a clear liquid will be available. This is when the bio-enzyme is ready for use.
6. Strain well and use the bio enzyme for a sparkling home!
Using The Solution For Floor Cleaning
Add 2-3 caps of bio enzyme in a bucket of water for regular mopping of the floor. Increase the concentration for difficult stains. If you have any natural stone surfaces in your flooring, I would caution against using a strong solution, as it could corrode the natural materials. I have natural gray stone flooring in my home that corrodes easily which means that I err on the side of caution.
Using It For Kitchen Counter Tops And Glass Surfaces
Mix the enzyme in a ratio of 1:5 or 1:10 (based on the intensity of stains you wish to clean) and fill it in a spray bottle for easy use.
Bio enzymes have a variety of other uses. They help unclog drains, can be used to clean toilets and tiles as well as difficult grease stains.
Once you start using them, you will find that they are versatile and effective, easy on the pocket and light on the environment!
You may also like:
 How To Make Bio Fuel From Kitchen Scraps
An Ingenious Eggshell Remedy and 25 Others Made from Things People Usually Throw Away (Video)
How To Keep Your Garden Alive During Winter
21 Gardening Items You Should Get From the Dollar Store
How To Make A Safe and Effective Organic Garden Pest Control Spray



Great recipe!!
do you have a DIY carboy to let the CO2 out automatically so it doesn’t explode if Life gets crazy and I forget for a few days LOL?
What is “Jaggery”?
Brown sugar
For the CO2 release just use a latex glove on the opening and it will inflate and let you know when to let it out.
Great details description about the chemical free solution, which is almost free and can be made easily at home.