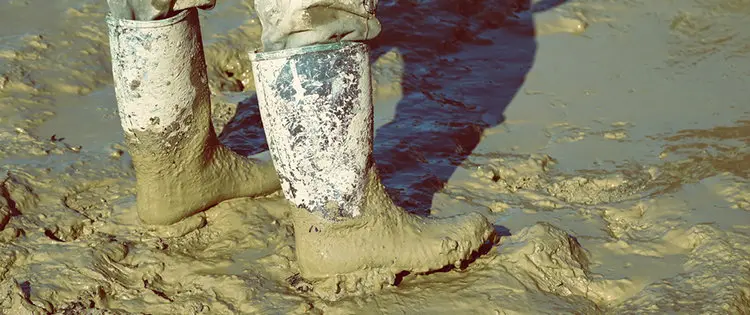
If you are keen on working outdoors – be it in your shed, backyard or garden – chances are, you own a pair of boots. Work boots are great. They are durable and have plenty of benefits.
One such benefit is that they are pretty much resistant to water and mud. This is very practical, especially if you’re prone to working in wet conditions. Some of them will lose their waterproof technical aspects over time. Other shoes will just allow water to seep through them as if you’re barefooted.
Waterproofing your boots ensures your boots stay in better shape. In this article, we will show you a step-by-step process of waterproofing your boots yourself.
What You Need For Waterproofing Your Boots
To waterproof your boots, you need to get the following materials ready:
Brush, Cloth. Newspaper. Mild Soap, Waterproofing Product (Wax, Cream, Spray)
The Importance Of Waterproofing Your Boots
If you don’t know, boots are treated in such a way that help them endure all kinds of rough treatment, especially from water penetration. However, the older your boots get and the more wear they receive, the poorer they get in keeping water away.
Waterproofing your boots does two things.
1: it extends the lifespan of your boots.
2: it keeps your feet dry and protects them from blisters, fungal infections, and trench foot.
So, what are waiting for? Let’s get right into it.
Step 1: Preparation
The first thing you want to do is to prepare your boots for the entire process.
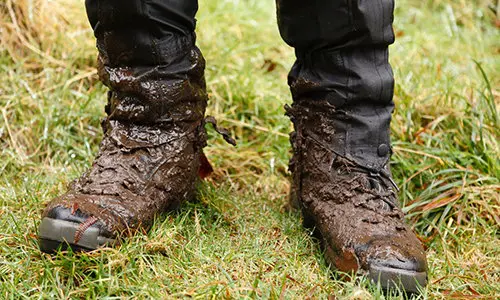
Begin by cleaning away any excess surface dirt that you can find on your boot’s exterior. To remove any loose mud or dirt stuck to the surface or sole of your leather boots, simply bang them together or against any hard surface. Gently brush away any leftover dirt with a stiff brush.
Step 2: Cleaning And Drying
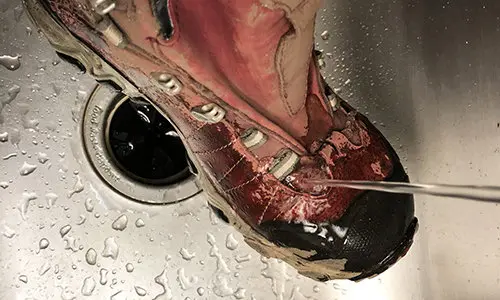
Next, you need to clean the whole boots using water and mild soap. This will ensure that no minuscule dirt or dust will remain in the boot’s exterior. It will also make the waterproofing product settle nicely into your boot’s material.
If the mud or dirt is stuck firmly on your boot, be patient and soak it in water. Remember, don’t force it to come off by violent scrubbing as you risk scratching your boot’s surface.
After washing the boot, rinse it and soak it in clean water. Soaking the boots will ensure that they will fully absorb the waterproofing treatment which you will apply later. Come back after a few hours and let your boots rest out in the open air.
Step 3: Waterproofing
After washing your boots, it is now time to apply your waterproofing product. No matter what your choice is, it is best to apply it while the boots are still damp to make the treatment more effective.
Note: Applying a seam sealer is also highly recommended. This not only prevents ripping, but also prevents water from entering the boot through the seam, which is the most common entry point for moisture. However, you need to make sure that you apply this first before the waterproofing product.
Here are guidelines for applying waterproofing products to your boots.
Spray
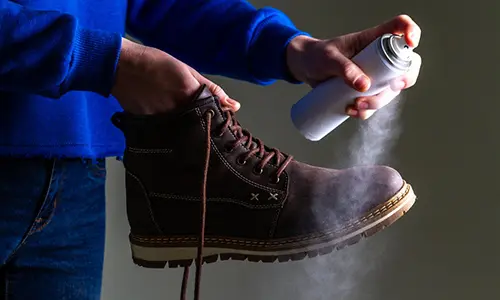
Sprays are extremely flexible since they fit all styles of footwear, including synthetic boots. They’re also the simplest to apply, but they’re not as resilient as other treatments. However, the convenience comes at the cost of necessitating frequent reapplication.
To apply, keep the can about six inches away from the boots and spray a thin, even coat over the boot’s exterior. You may opt to apply a second coat depending on the recommendations of the product which you are using.
Wax
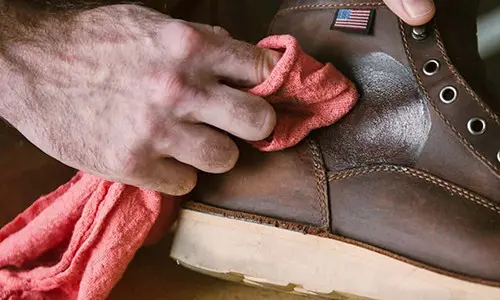
Wax is suitable for leather and suede boots, but not ideal for fabric or synthetic-based boots. It’s the most time-consuming to apply, but it’s much more stable and effective at reaching the seams and corners of your boots.
Warm the wax in your hands or with a hairdryer before applying it to your boots with a clean cloth. Remove any excess wax and buff the boots to a sheen when you are done.
Cream
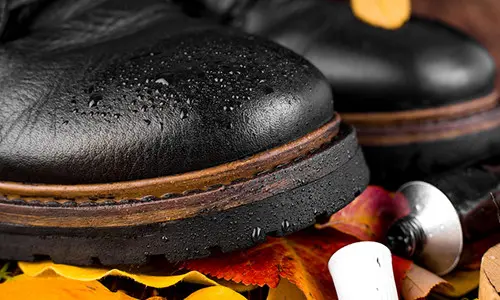
For waterproofing leather boots, cream is the best choice.
To use, simply rub the cream all over the boot’s surface and allow it to absorb into the leather. Make sure the whole boot is covered, including all gaps and seams. Wipe away any excess cream when done.
Step 4: Rinsing And Drying
After cleaning and waterproofing your boots, It’s time to rinse and dry them out.
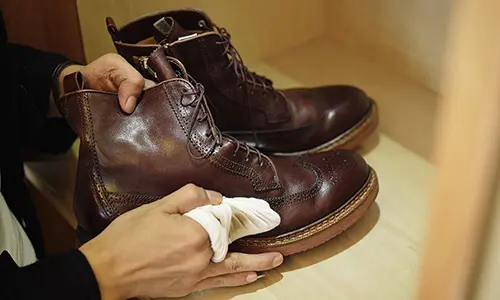
To do this, wipe any residue from the surface of your boots with a damp rag. If the residue on your rag becomes too thick, rinse it off with clean water and repeat the process. Continue doing so until there is no more trace of residue left.
Next, start the drying process by stuffing your boots with newspapers. The newspapers will absorb any moisture that may be left inside. After that, wipe away any excess moisture with a clean, dry cloth before storing the boots in a well-ventilated area to dry at room temperature.
Waterproofing Alternative
Waterproofing requires you to buy additional products just like we have discussed above. However, if you are looking for an alternative without having to shell out an extra few bucks and just want to use a few items that you may find in your house, then this might be for you.
Related: 15 Reasons To Add 4lb Of Lard To Your SHTF Stockpile
Enter Beeswax And Candle!
To do this, you still need to cleanse your boots. But, the thing is you have to make sure that the boots have fully dried first. Meaning, there’s no moisture left in its surface. You need to remember to avoid drying your boots under direct sunlight lest you want to damage your shoes.
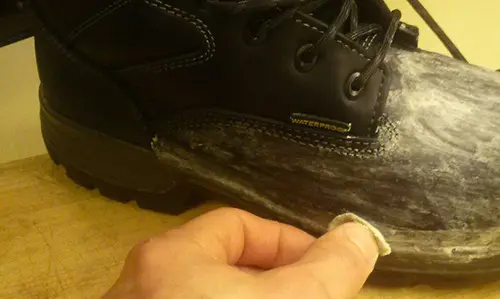
Once you’re sure that your boots are dry, rub the candle or the beeswax all over your boots’ surface. Using a blow-dryer, melt the wax that’s on your boots and let it set for five minutes. Afterward, you may then use your boots in wet conditions. You’ll be surprised how effective it is.
Make Your Boots Last Longer
As someone who works outside frequently, water and mud are hard to avoid. Hence, waterproofing your boots is a necessity to ensure that your feet stay dry and comfortable.
Taking care of our boots, not only equates to taking care of our feet but also connotes taking care of our pockets. Why? Because it would mean that we won’t have to buy a new one now and then.
If you need any help or have questions regarding this topic, let us know.
You may also like:
 How To Get Rid Of Termites On Your Property
World’s Smallest Battery Powers House For 2 Days (Video)
5 Ways To Power Your Homestead
15 Things You Should Teach Your Children That Can Save Their Lives

