When you think of canning or jarring chicken, the first thing you think of is probably soup. That, or a stew; something with noodles that sticks to your ribs and puts you to sleep next to a roaring fire. Right?
Well, I’m here to tell you that canned chicken doesn’t always have to be like that. Preserving chicken is a wonderful way to always have some thawed, ready meat on hand in case an extra couple of people show up for dinner or you simply forgot to pull the meat out of the freezer that morning before work. And, let’s be honest; it happens more often than I’d like to admit.
Please note, if you do not have a canner, you will need one for this. While I recognize that people have been pressure canning for years without actually having pressure canners, it is very dangerous to force pots not rated for canning to do so. Please have the proper equipment before you try this recipe. I want everyone to remain safe while they enjoy these articles.
What Kind of Chicken?
You can can bone-in and boneless chicken. Doesn’t matter what cut or what breed of chicken it was. If canning an entire chicken, I strongly advise looking for a recipe specifically for that since it’s a little bit more tricky than just canning pieces.
Some of my favorite things to can are cheap drumsticks, boneless and skinless thighs, and shredded chicken that is perfect for tacos and pizza toppings.
Is It Shelf Stable?
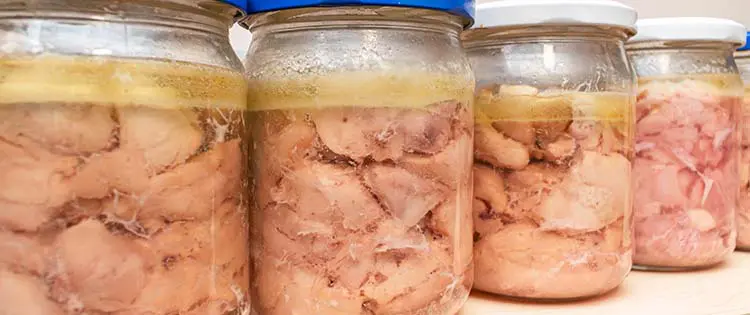
So long as your seal remains intact, chicken can be shelf-stable for up to 15 years. The FDA says 3 years, but many cans and jars have been tested even up to two decades later and found to be safe. I, of course, only recommend that you use chicken within the FDA’s currently suggested date of use.
The type of jar or can you use is also of interest in this. Glass jars that are exposed to constant light and not kept in optimal temperatures may go bad sooner than ones kept in dark corners of pantries. If you only have a bright pantry with full, open access to your kitchen, store your jars in a large plastic box (with the lid kept loose) or in a cabinet that has a door. Those who are canning with dark glass or actual cans do not need to concern themselves with this since the darker material will not allow light through.
Okay, How?
In this recipe, I’ll be doing what all the cool kids are doing: canning boneless, skinless chicken breast. Besides the typical gear you’ll need for canning, please use the list below to go shopping before you start the process of canning. You can’t run out after you turn on your pressure cooker, after all.

You’ll need:
- 8 pint jars, lids, and screw-down caps
- 15 pounds boneless, skinless chicken breast
- canning salt
- access to safe drinking water
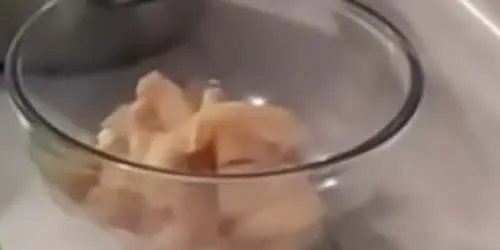
Slice your chicken breast into 1-inch cubes. If they’re a little smaller or larger, it’s no big deal. You’ll be putting these birds through enough that you won’t have to worry. Tiny pieces of chicken should be discarded or used as scraps for tonight’s dinner. Trust me, after you cut up all of this meat, you won’t want to have to cut up more for tonight. Save your scraps and make a stir-fry.
Pack your jars. Make sure to give the chicken an inch or so of breathing room around the rim of the jar. Add approximately 1/2 teaspoon of canning salt to each jar. If you use iodized salt, the chicken will look yellowed and have a vaguely sulfur-y smell to it once you’ve finished. You can still eat this chicken if you’ve made this mistake, but it doesn’t look as nice when stored on your pantry shelves.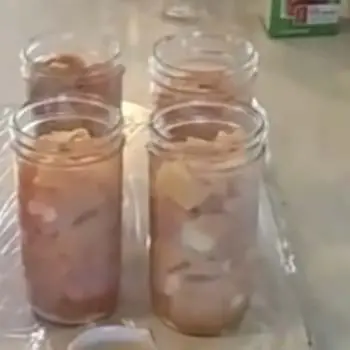
Attach your lids as you would for any canning project. Generally speaking, I don’t tell people how to can throughout the method as sometimes certain models of canners will have particular needs to be met. Most come with their own cookbooks and tell you how long to process the individual meats, cuts, and exactly what you’re looking for.
Related: Cow In A Jar
However, most pressure canners (all the ones I’ve ever worked with) require chicken to be processed at a weight of at least 10 pounds. This means I encourage you to carefully examine your jars before placing them in. While 10 pounds of pressure isn’t much, it’s still plenty to bust a jar or two if they have a fissure or a chip in them. It is always better to go ahead and retire these jars to being drinking glasses (after being washed, of course) than to end up with a pressure cooker full of glass or, in very rare cases, an explosion.
Please follow your canner’s directions regarding the correct pressure weight and time to process your jars. Typically speaking, as said above, it is a 10-pound weight and a variety of processing times depending on your exact canner.
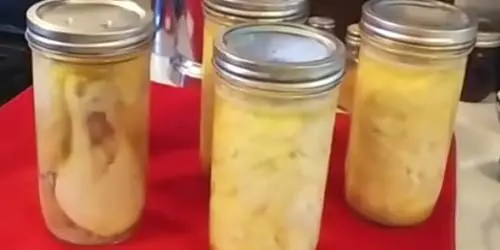
Once finished, allow your cans to cool on the counter as far from your refrigerator or any hot/cold points in your home as possible for at least 12 hours. At this point, you can check the seals on the containers. If you do not have a vacuum seal on a container (which is very rare but does happen from time to time), you must discard the contents of that jar (or can) due to a risk of botulism and the rapid bacterial growth that happens on meat.
Last Thoughts
While I enjoy canning chicken, I’m more likely to can other meats. It feels as though it is rare that some piece of chicken or another is not on sale at my local grocery stores and there is almost always a steady supply. However, with this most recent bird flu (H5N1), that could be changing. We’ve lost millions of production birds in a very short time and the price of poultry has certainly risen when not on sale.
Canning chicken is a worthwhile venture regardless of the price. And remember, you can can with or without ingredients for soup, bone broth, etc. Be creative and put up enough food to last for you and your family. Happy Canning!
You may also like:
This Is Why You Should Raise Bantam Chicken
An Insanely Effective Way to Build a 5 Year Food Stockpile (Video)
Chicken Secrets Nobody Told You About
How To Restore A Cast Iron You Bought At Garage Sales


