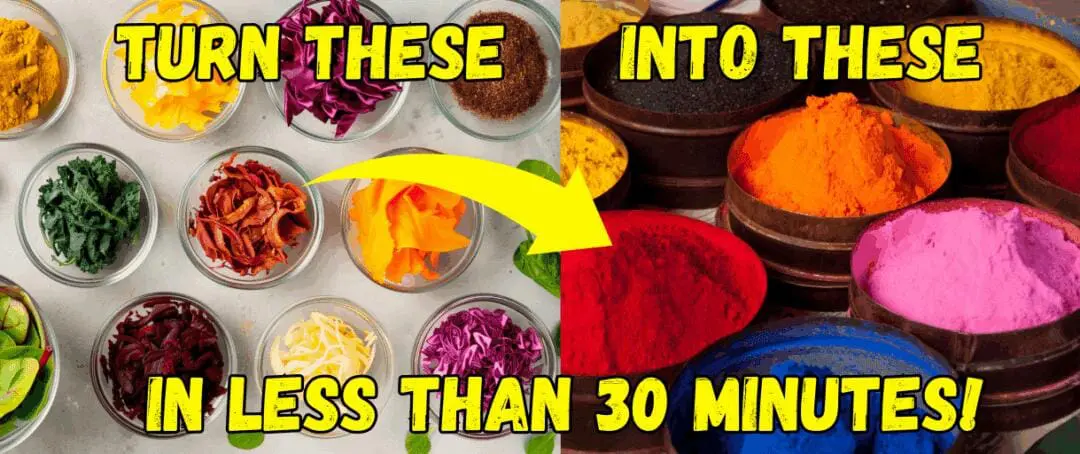
Long before harsh chemicals came to dominate colors across fabrics and furniture stains, natural sources were used to dye clothing and everything from structures to furniture. If you think about, many fruits, and other natural elements like flowers, spices and even nuts that you have ever handled have often left a stain on your fingers and hands. Welcome to your first experience with natural dyes.
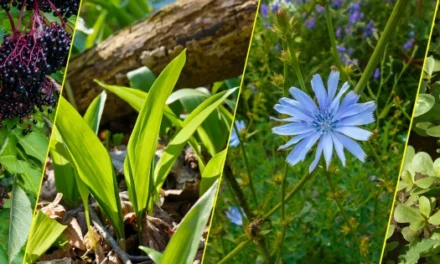
Some of the usual suspects for dyeing and staining include black walnuts, blueberries, beets, onion skins, blackberries and even sumac berries from the red sumac clusters that grow from the tops of sumac trees. Here’s a short list in a chart that captures some of the various possibilities for natural dyes:
| Red: | Beets, raspberries, hibiscus |
| Orange: | Onion skins, carrots, pomegranate peels |
| Yellow: | Turmeric, dandelions, marigolds |
| Green: | Spinach, mint, artichoke |
| Blue: | Blueberries, red cabbage (with baking soda) |
| Purple: | Blackberries, red cabbage |
| Brown: | Coffee grounds, walnut shells, tea |
Those same beets, berries, and roots you’re using for dye used to be stored underground too—without electricity. Easy Cellar shows you, step-by-step, how to build your own root cellar using simple tools and materials. Highly rated for beginners, with video walkthroughs and a 60-day money‑back guarantee.
Check out Easy Cellar and see if it fits your needs!
Various methods are used to extract the dye, and additives were added at various points in the dyeing process to both set and fix the colors making them somewhat impervious to rain and repeated washings.
One example is presoaking fabric in a water and either a solution to help the dye set when the fabric is immersed into the dye for the first time. We’ll cover that formula in a bit.
Another interesting technique is the way that the pH of the dye affected the final color. At times, vinegar was added to the dye or baking soda. The results vary but an acidic solution (vinegar or even lemon juice) will often change a color in one direction on the spectrum while an alkaline solution (baking soda) will take it in another direction.
As an example, mixing and acidic solution made with vinegar or lemon juice to a purple die will change it to a dark pink. You simply have to do some small scale experiments with a small sample to see what result you get.
The intensity of the color is often determined by the amount of time that the fabric is allowed to soak in the dye. This can takes hours up to days. After drying, the fabric can be re-immersed in the dye to intensify the color.
With some of the observations in mind, here’s the standard process for extracting a dye from natural materials.
1. Prepare the Fabric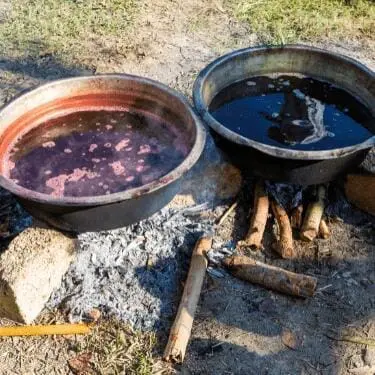
- This is a crucial first step before dying any fabric. The best types of fabrics to dye include linen, cotton, silk or wool. All tend to absorb dyes more effectively. Synthetic fibers like polyester don’t work as well if at all.
- Wash the fabric thoroughly to remove any dirt, chemicals or finishes that will hinder the dye absorption.
- When using cellulose based fabrics like linen or cotton it important to pretreat the fabric in something called a “mordant” solution to enhance the colorfastness. Here’s the formula:
Ingredients:
- Aluminum hydroxide or aluminum acetate powder (You can buy it online or at hardware stores or home centers)
- 4 cups of White vinegar
- Water (amount varies depending on viscosity of the solution)
Directions:
- Mix 2 cups of aluminum hydroxide with 2 parts vinegar.
(You can make your own aluminum hydroxide with vinegar, baking soda and alum if you want)
- Add water gradually until the solution resembles syrup.
- Heat gently (don’t boil) while stirring until fully dissolved.
- Let cool and immerse the fabric in a plastic tub.
- Pour in the mordant solution and stir with a stick until fabric is soaked.
- Remove the fabric and rinse well in 2 changes of water and hang to dry.
- Your fabric is ready and you’re now ready to make your dye.
2. Extracting the Dye
The process is fairly standard but may vary a bit depending on your source material.
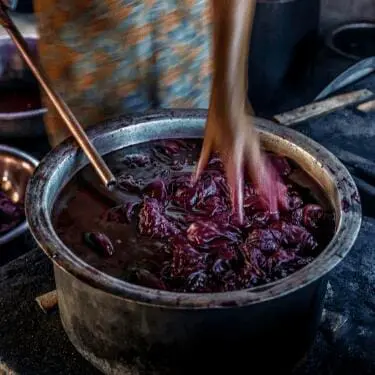
- Start by chopping or crushing the fruits, vegetables or flowers (marigolds) if that is you source. You can use a food processor, blender or a mortar and pestle. Get the bits as small as you can to maximize the release of the natural colors. If possible, try to get things to a paste-like consistency.
- Add the crushed ingredients to a saucepan plus an equal amount of water in a 1:1 ratio. If you’re only using a spice like turmeric add one tablespoon of turmeric to one cup of water. You can scale up the amount proportionately depending on the size and quantity of fabric or clothing you are going to dye.
- Simmer the mixture until the color is intense and at the level you expected. Simmering typically takes 1 to 2 hours and you should stir occasionally to further extract the dye.
- Once you have the desired color, strain the liquid through cheesecloth or a sieve to remove any particles or solids.
- If you want to alter the color, now is the time to do your experiments with either vinegar (or lemon juice) or baking soda. Both will alter the color but you have to experiment with a small amount to assess your desired result.
3. The Dyeing Process
You’ll need a large metal pot big enough to hold your fabric plus the dye. Here are the steps:
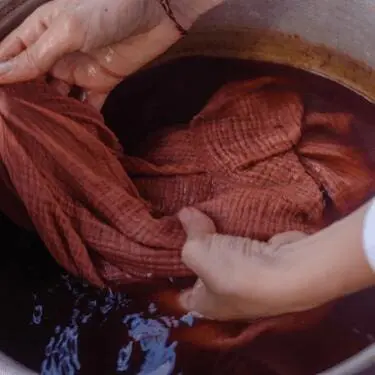
- Wet your fabric thoroughly and wring it out making shirt all parts have been wet.
- Pour the dye into the tub and immerse the fabric. You might want to wear rubber gloves or you can stir with a stick or metal spoon.
- Simmer the fabric in the dye bath over low heat for about an hour. Some people prefer to do this outside. Stir it occasionally to make sure you get a uniform distribution of color. If you want a deeper shade of color, extend the dyeing time.
4. Setting the Color
Setting the color will prevent fading in the sun or when laundering. It’s also recommended that you should launder in cold water. Here are the steps to set the color:
- Rinse the dyed fabric in cold water with frequent changes until the water runs clear.
- Reapply your mordant by immersing the fabric in the mordant mix and rinse again.
- Hang the fabric to dry out of direct sunlight to avoid fading while the dye sets.
- Iron the fabric to remove any wrinkles and you’re done.
- If you want a deeper color, repeat the process.
Staining Furniture and Wood
It’s not just for fabric. Many antique furnishings were stained with natural dyes and furniture makers from Japan to Amish communities still use natural sources for wood stains or dyes. You simply apply the dye stain with a brush and gently wipe it off. After it dries you can apply additional coats to deepen the color.
The final color will also depend on the type of wood. Softwoods like pine are more absorbent and will turn darker than a hardwood like oak or maple.
Remember too the dye is water based. After it dries it’s wise to seal it with a polyurethane sealer or at least keep it indoors and use lots of coasters.
If you’ve ever wondered how Amish craftsmen manage to build and preserve furniture that lasts for generations, without a single drop of synthetic stain, you’re not alone. That curiosity led me to The Amish Ways Book, written by Eddie Swartzentruber, a man who grew up inside the community and now shares their best-kept secrets.
This isn’t a storybook, it’s a toolbox. Inside, you’ll find things like:
- How they keep food fresh without electricity using cold cellars, underground greenhouses, and natural cooling
- How they treat pain, illness, and infection with remedies from their backyard
- And dozens of other practical, build-it-yourself projects that still work in today’s world
If natural dyeing is just the beginning of your interest in old-fashioned self-reliance, trust me, this book is the next step.
👉 Click here to take a peek inside The Amish Ways Book
Storing Your Dye
Mason jars are all you need with a tight fitting lid. Store it where you store your paints and other stuff like that and it should be good for years.
Now that you’ve learned how to make and preserve your own dyes and fabrics – why stop there?
This guide offers 70+ hands‑on builds for harvesting rainwater, solar cooking, cold storage, and more, using everyday materials, zero electricity required.
It Might Take Some Practice
The good news is you will get results with your first attempt. Fabric will be dyed and furniture will be stained. What might take a few attempts is getting the exact color you’re looking for and mastering the art of modifying the color with vinegar or baking soda. After a few attempts you should have it down and you’re free to explore many of the other possibilities we listed at the beginning.
You may also like:
DIY Tools You Can Make from Bark, Rocks and Trees
This Backpack-Sized Water Generator Produces Up To 40 Gallons Of Water Per Day (Video)
Better Than Concrete: DIY Cob Projects You Should Do Today
DIY Mosquito Repellent Candles


