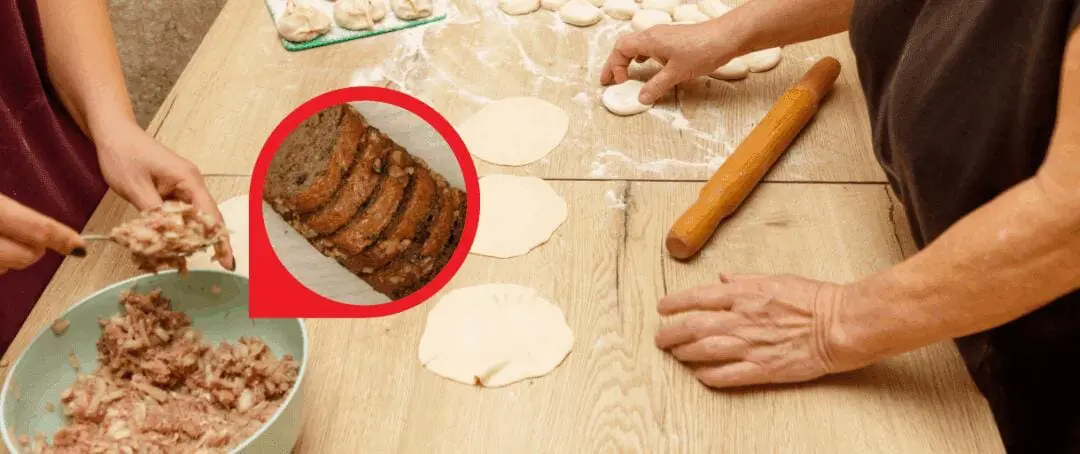
What if I told you there’s something you can make in your own kitchen that uses nothing more than basic ingredients — but lasts longer, keeps you fuller, and might even be more valuable than bread when times get tough?
For generations, bread has been a kitchen staple. But long before store-bought loaves and expensive machines, people relied on simple, shelf-stable recipes to get them through food shortages, hard winters, and uncertain times.
And you don’t need to worry about it going stale in a few days. This forgotten recipes deliver long-lasting nutrition, stores beautifully, and may become your most trusted backup when the world turns upside down.
7 Delicious Bread Recipes
Bread is one staple that all your family members would love to nibble on. Want something light to munch on? Get yourself a piece of bread with butter. Even the little ones in your family would never say no to it. However, sometimes it may get boring trying out the same recipe over and over again.
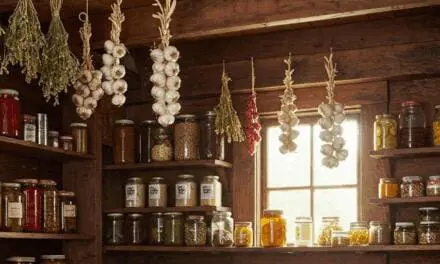
If you want to learn how to preserve food for decades for the pennies on the dollar, all you need to do is learn from the only people who have been living without electricity, toxin-ridden foods and modern conveniences for all their life. Here, you’ll get access to several never-before-seen videos where you can see:
• The deadly canning mistake the Amish never make (but most Americans do… without even realizing it)
• Why the Amish put this single leaf in their flour
• How they store eggs for over a year—without a fridge, vacuum sealer, or added chemicals
And that’s barely scratching the surface of what these videos will reveal. They’re made by a former Amish who has been excommunicated for sharing these secrets with the outside world. So try and check them out before the videos get taken down!

Only 45 spots left + 4 FREE GIFTS. Secure yours today!
Don’t worry, you can still have bread, but with a twist of other ingredients. Let’s begin with the simplest one, which even beginners can try.
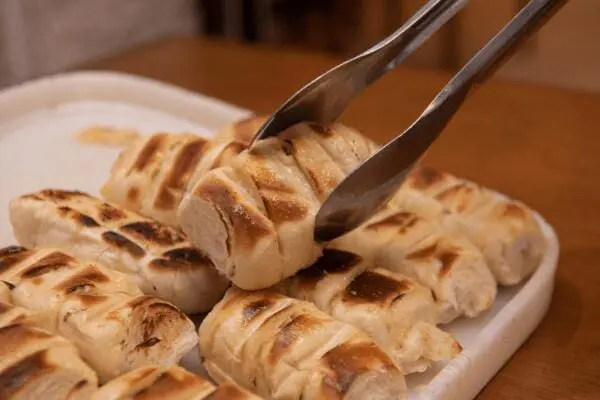
Flatbread
Things You Will Need
● 2 cups all-purpose flour
● ¾ cups water
● ½ tsp salt
● 2 tbsp olive oil
👉 Most people don’t realize just how fragile our food system really is, not until the shelves are empty. When the last flour bag disappears off the shelf, it’s already too late. That’s why I locked in this emergency supply years ago. And it’s still as good to use today as it was back then. It has a shelf-life of 30+ years, and it’s safe from moisture, bugs and mold. No last-minute runs to the store. No scrambling when prices double or supplies vanish. I have clean, ready-to-use flour sitting safely in my pantry at all times — whether I need it next month or in 2052. If you’re serious about real food security, this might be one of the smartest and cheapest insurances you will ever buy, and I highly recommend it. You can check it out right here.
Recipe
1. In a bowl, mix all the dry ingredients, such as flour and salt.
2. Gradually start pouring water and knead the dough until it comes together.
3. Add a tbsp or two of olive oil and knead until the dough is smooth.
4. With the help of your hands, divide the dough into 6 or 8 balls.
5. Heat an iron skillet over medium heat and cook each flatbread dough in it for 2-3 minutes, and that’s it, your flatbread is ready.
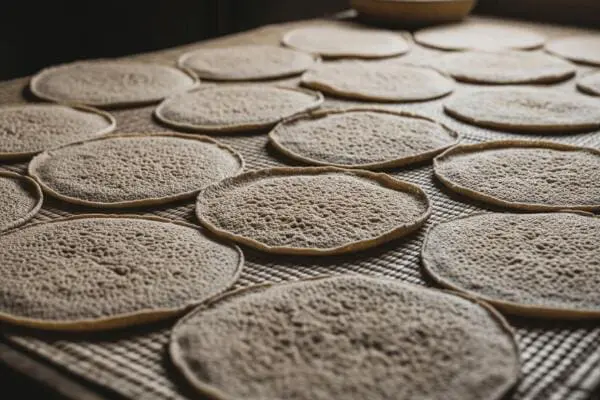
Dried Injera-Style Fermented Flatbreads
Things You Will Need
● 2 cups millet flour
● Pinch of salt
● 2 ½ cups water
Recipe
1. Mix millet flour with water in a large plastic bowl until a smooth paste is obtained.
2. Cover the bowl with a loose cloth for up to 3 days and stir once daily.
3. When the mixture bubbles and develops a sour aroma, add a pinch of salt to it.
4. Heat a dry iron skillet and pour a thin layer of the batter into it. By swirling the pan in slow motion, spread the batter evenly.
5. Let it cook with a lid for 2 to 3 minutes and then turn off the heat.
6. Lay the flatbreads on a clean cloth in the open air until they turn crispy.
👉 Let me share a very important detail with you. Be very careful when it comes to choosing your cookware. Did you know that the pans you’re using may be quietly poisoning your family right now? Many non-stick and coated skillets release very toxic chemicals and flake off dangerous particles every time they heat up, and this can cause serious health problems down the line.
Cooking bread or any food on these risky surfaces means you could be eating poison with every bite, and you might not even know it until it’s too late. It’s scary, I know, but it’s true.
So if you are ever forced to survive without electricity or simply want to get the perfect bread every single time, you need gear that won’t quit on you. I swear by my Lodge 10.25-Inch Cast Iron Skillet. Unlike those risky pans, it’s completely safe for your health, has no harmful coatings, and it’s made of pure iron seasoned naturally over time. It is built for both kitchen and campfire use — perfect for emergency situations. And the best part? With minimal care, it can easily outlast every other pan you own, and be ready when you need it most.
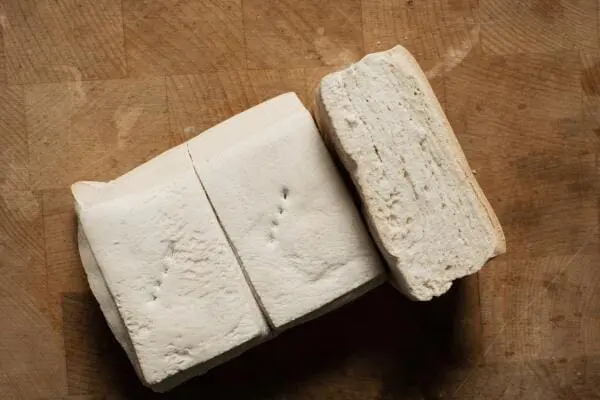
No-Knead Bread Without Dairy

Things You Will Need
● 3 cups all-purpose flour
● 1 tsp active dry yeast
● 1 tsp salt
● 1 ½ cups warm water
Recipe
1. Combine flour, dry yeast, and salt in one bowl and add warm water to combine the mixture.
2. Cover the bowl with a lid for at least 12-18 hours so the dough has enough time to rise.
3. Grab the largest pot in your kitchen and preheat it over a campfire.
4. Shape the dough into a ball, place it in the preheated pot, and bake for about 30 minutes with the lid.
5. Remove the lid and bake the bread for an additional 15 minutes. Slice the bread when it has cooled down to room temperature.
Hardtack
Things You Will Need
● 2 cups all-purpose flour
● ½ cup water
● ½ tsp salt
Recipe
1. Mix flour and salt in a bowl and gradually add water while kneading until you have a stiff dough.
2. Roll this dough flat and cut it into small squares using a knife. Or if you have little ones at home, you can also use fun cookie cutters.
3. Preheat an iron skillet on the stove and spread a baking sheet into it.
4. Place the dough into the skillet and poke it using a fork to prevent puffing.
5. Bake for at least 30 minutes on each side until dry and crisp.
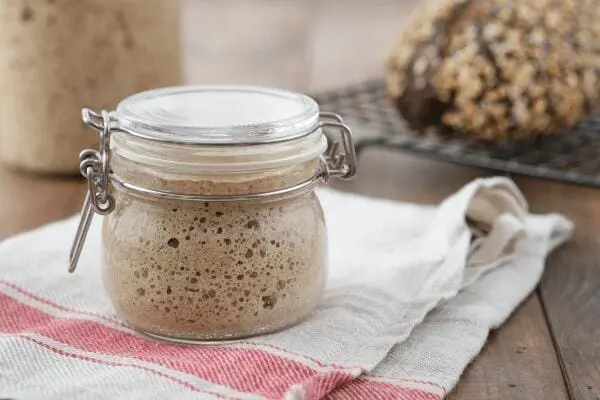
Rye Sourdough
Things You Will Need
● 1 cup rye flour
● ¼ cup sourdough starter
● 1 cup bread flour
● ½ tsp salt
● 1 tsp sugar
● ¾ cup warm water
Recipe
1. Mix rye flour, bread flour, salt, and sugar in a bowl.
2. In another bowl, combine the sourdough starter with warm water and then add it to the flour mix.
3. Stir the mixture so all the ingredients blend well, and then knead for at least 10 minutes to make a smooth mixture.
4. Store this dough aside for about 4-6 hours to rise.
5. Heat a heavy-bottomed pot over the campfire and place the dough loaf inside it.
6. Cover the loaf and bake it for about 30-40 minutes. Or you can use my trick: tap the top of the loaf using a spoon when it turns brown. If the inside feels hollow, your rye sourdough is ready to serve.
Garrison Bread
Things You Will Need
● 3 cups whole wheat flour
● 1 cup oats
● 1 tbsp honey
● 1 tsp salt
● 1 ½ cups sour milk
● 2 tsp baking soda
Recipe
1. Mix flour, oats, salt, and baking soda in a large bowl. Add honey and sour milk and mix until the batter is thick.
2. Using a clean piece of cloth, grease the baking pot and pour the batter into it.
3. Cover the pot with a lid and bake for at least 45 to 60 minutes.
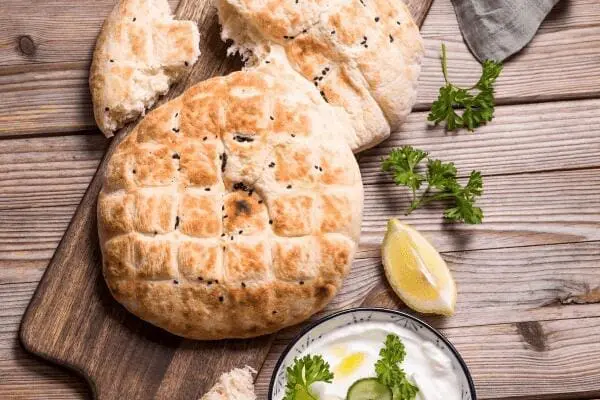
Khobz

Things You Will Need
● 2 cups all-purpose flour
● 1 cup whole wheat flour
● 1 tbsp olive oil
● 1 tsp salt
● 1 ½ cups warm water
Recipe
1. Combine all-purpose flour with whole wheat flour and salt in a mixing bowl. Add water to the dry ingredients gradually with olive oil and mix until a soft dough is obtained.
2. Knead this dough for about 10 minutes and let it rest for 1 hour.
3. Divide the dough into 3-4 pieces and spread them into thick, round, flat loaves. You can also use a rolling pin to give a perfect circular shape.
4. Heat an iron skillet or preheat a pan and spread the rolled flat loaf over it.
5. Cook each loaf for 30-35 minutes and change sides halfway through the process.
Many people think they’re prepared, until they realize their canning methods are dangerous or unreliable. The Amish have perfected chemical-free canning that keeps food safe for years, even without refrigeration. Inside this guide, you’ll discover how they safely store meats, fruits, and vegetables without modern equipment—and how you can too.
Final Thoughts
To sum it up, there are endless bread recipes you can make while living on a homestead. However, if I have to talk about them here, it would take me volumes to do so. Whether you try flatbreads or the sweet-filled rye sourdough, store it in an airtight container to have it last longer.
With the right planning and a few tricks, you will be covered with a nutrient-rich yet scrumptious staple all year round.
Happy homesteading and happy baking!
You may also like:
How to Make Cowboy Bread (Lasts Months in Your Pantry)
How To Build Your Own Endless Food Supply At Home (Video)
10 Canning Recipes From The Amish
Recipes I Made From The Lost Super Foods Book: Canned Hamburger Meat
The Best Old Fashioned Pickled Eggs Recipe


