If someone told me a 10-minute change in how I prepare my garden beds could double my harvest, I’d have called it a stretch. But then I tried it, and the results were impossible to ignore.
It’s actually one of the oldest methods pioneers (and even those before them) used to grow richer crops from even the toughest soil. This method transforms ordinary garden scraps and soil into a nutrient-packed superfood for your plants, and it feeds them like nothing else can.
How Does It Work?
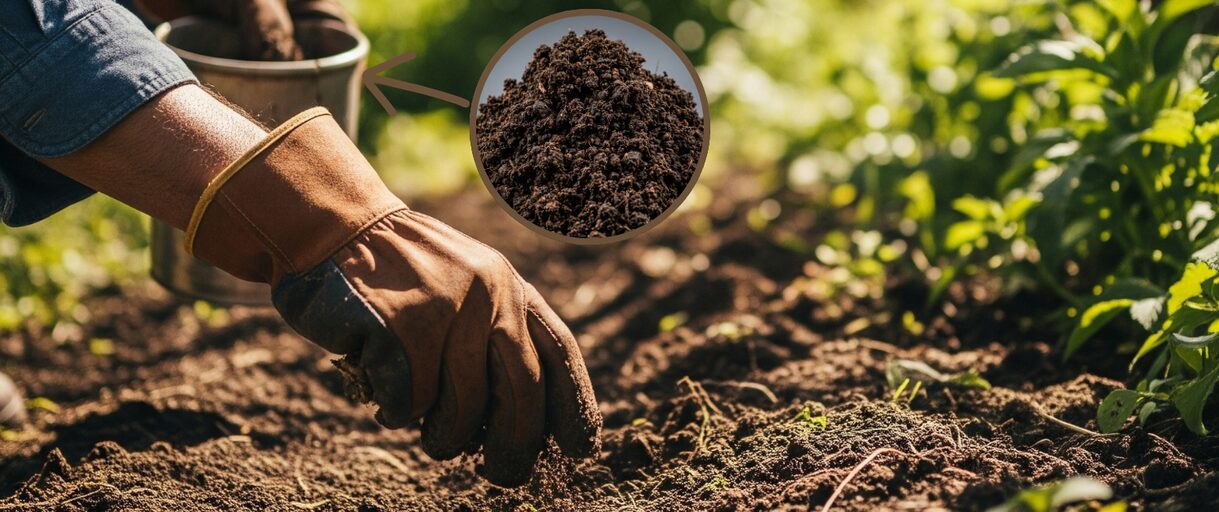
Most of us are familiar with compost as a beneficial addition to any garden. But there’s a way to supercharge decomposition in compost with a combination of physics, biology and would you believe – worms. In a nutshell, this is all about layering soils and organic materials and putting the worms to work to not only accelerate the composting process, but to produce something called tailings or worm excretions that are soil nutrient powerhouses.
The whole concept of using worms in carefully built layers is known as vermiculture or vermicomposting. It’s been around for centuries and is becoming more popular as more and more people turn to organic gardening.
It Works in the Garden or the Compost Heap
The trick is simple, and it’s called soil layering. It consists of layers of soil that will provide beneficial properties to plants across all of their needs from food to water.
Some of the layers hold water while others allow excess water to drain. Significantly, the layers are designed to decompose and provide nutrients to plants almost as a time release in the garden or as a concentrated compost in a compost heap. And then the layers are turbocharged with the addition of worms to accelerate the composting and produce those nutrient dense tailings.
What’s significant is that the combination of layers, worms and regular watering rapidly accelerates composting. It only takes minutes to put this together and the benefits will go on and on throughout the season.
The Perfect Layers
Most of us are familiar with the various things we put into a compost pile. They include green plants like vegetable trimmings from the kitchen or even green grass clippings and leaves. We also add dry leaf litter and dead plant stems. Another addition is manure although make sure you give your manure plenty of time to decompose. That’s another benefit of this approach. Instead of waiting months to get your manure composted to a safe level it can happen in weeks. Thank the worms and the layers.
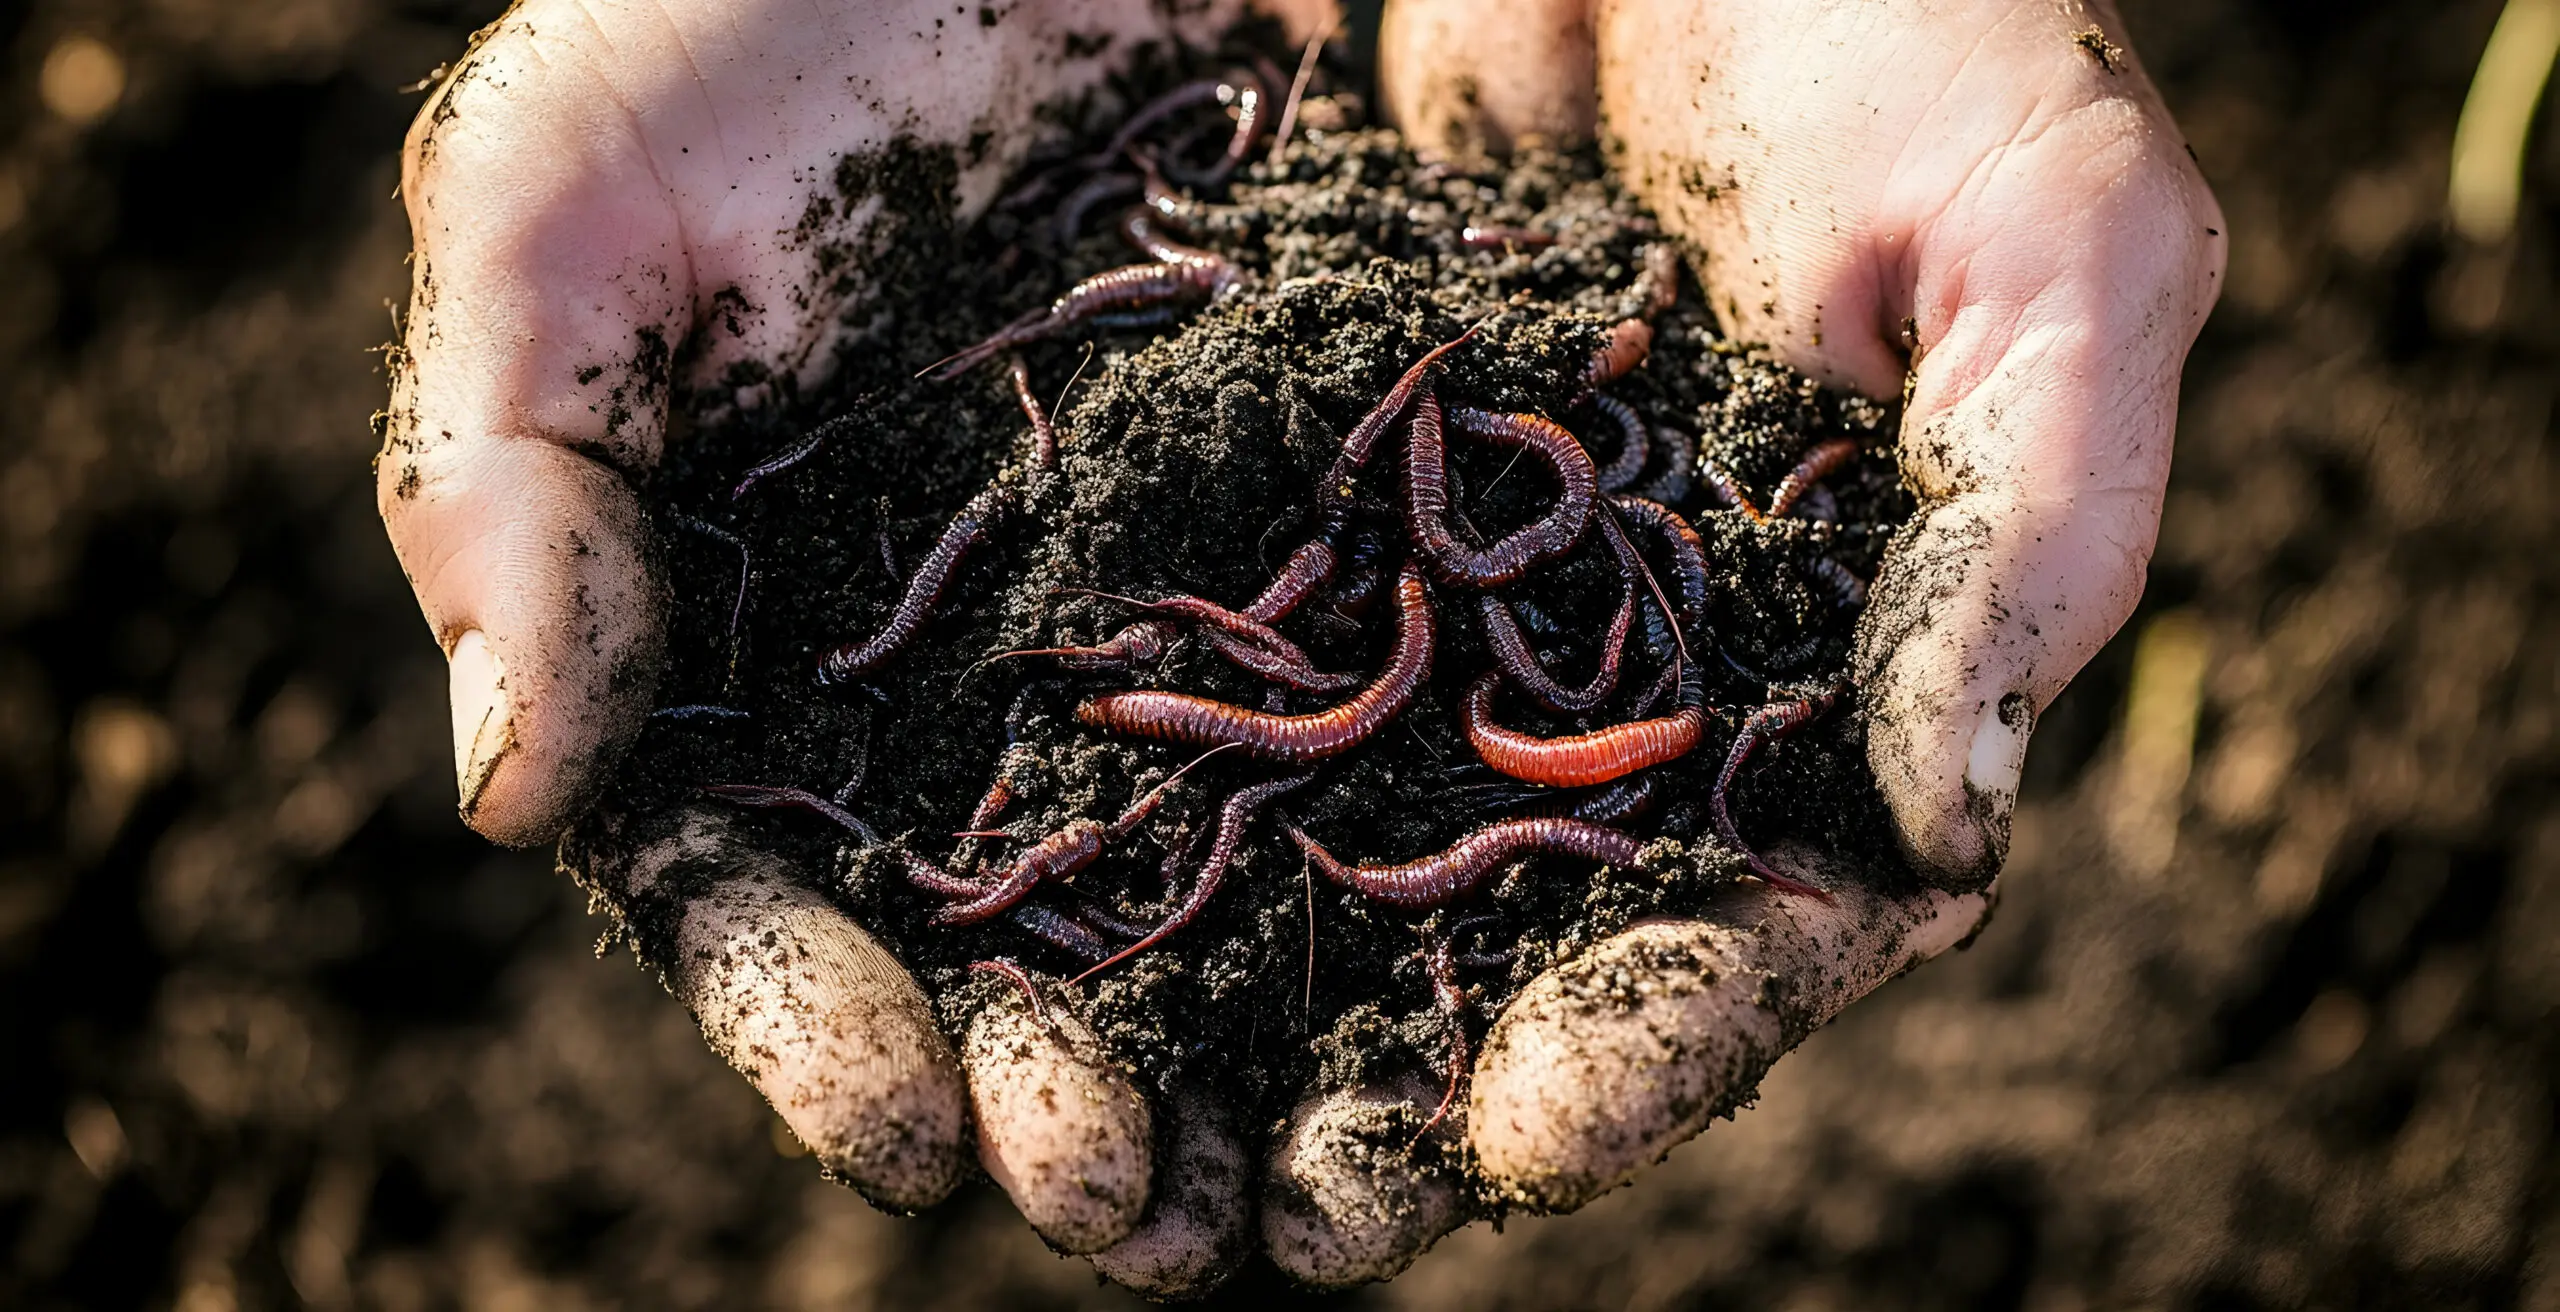
Worms Matter
The best worms for vermicomposting are red worms, sometimes known as red wigglers. They’re popular with fishermen and you can buy them at a tackle shop and even online. Better yet, they reproduce rapidly especially in the perfect environment you are creating for them.
Nightcrawlers can work, but the red worms are the champs when it comes to vermicomposting and producing piles and piles of tailings.
3 Ways to Supercharge Your Garden
We’re going to look at 3 ways to use layered vermicomposting. The first way is in a compost heap. The second way is directly in the garden. And finally, a variation on a compost heap that produces a compost tea.
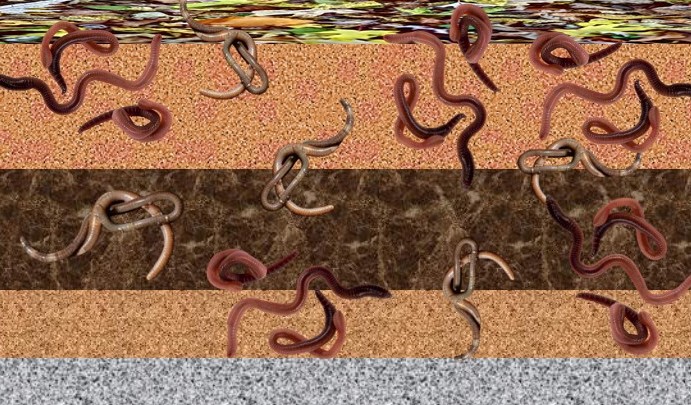
The Layers Defined
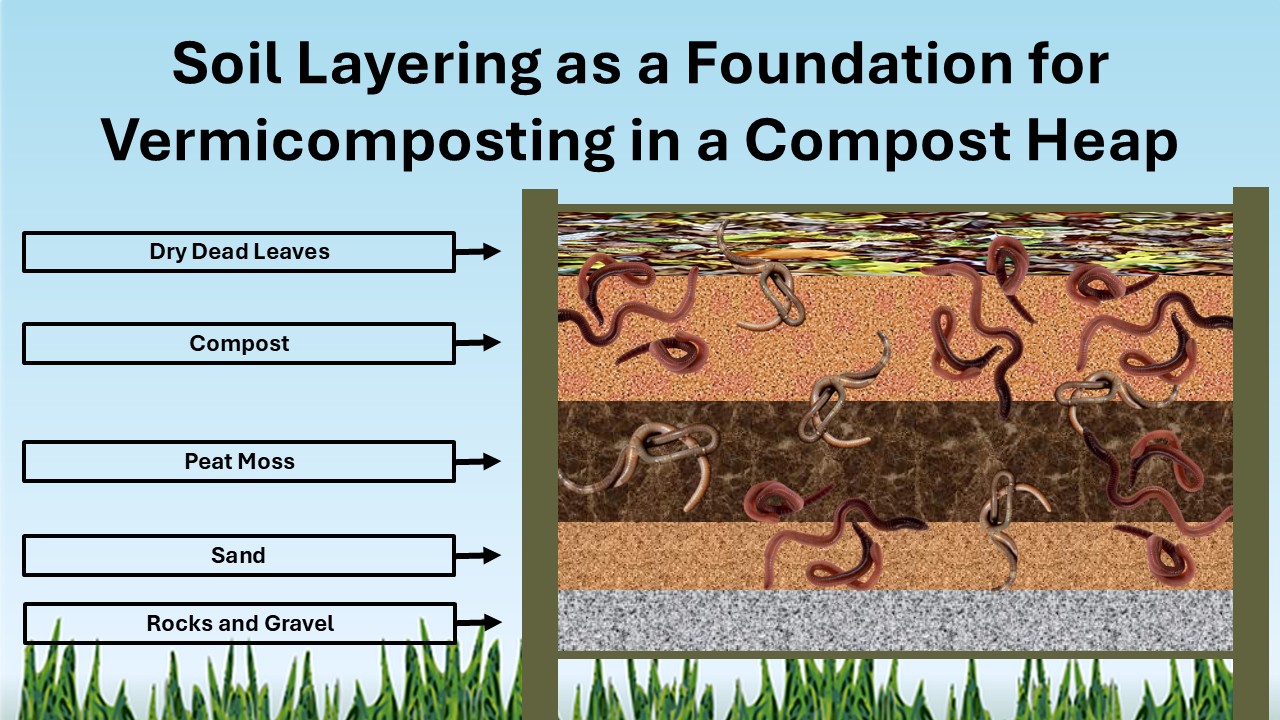
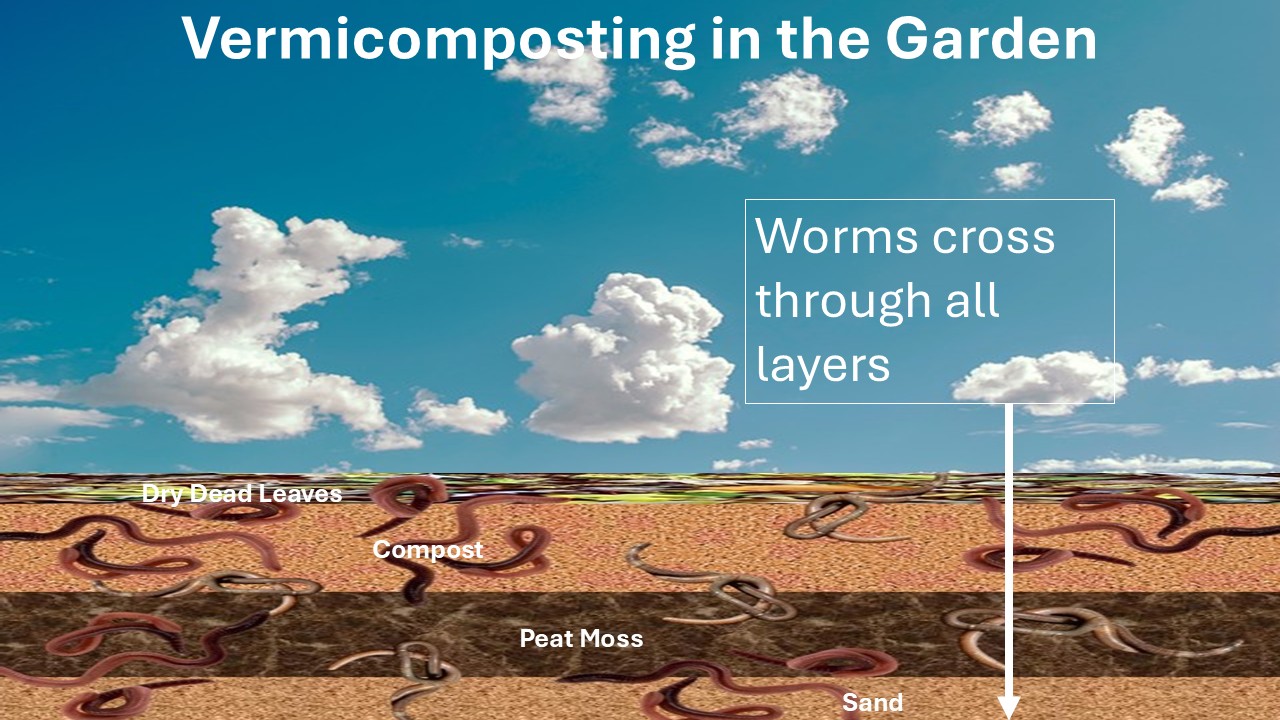
The layers consist of a combination of materials including rocks and gravel topped by a layer of sand, topped by a layer of peat moss or wet leaf litter to hold moisture followed by a layer of compost materials like green plant trimmings and manure and finally a topping of dry leaf litter and dead plant stems. Here’s a cutaway view with the worms wiggling throughout the layers.
1. Soil Layering and Vermicomposting in a Compost Heap
If your garden is already established, it doesn’t make sense to dig it up so you can create layers for a bunch of worms. However, you can easily accomplish a lot by applying these principles to a compost heap. The result will be a harvest of super compost you can top dress in your gardens. The cutaway explains the concept.
How long it takes your worms to do the job depends on a variety of factors from the weather to the quality of materials you layer in the heap. The good news is that no matter what the conditions may be, the whole composting process will happen faster and give you a much richer compost due to the addition of the worm tailings.
Harvesting the Tailings
This isn’t a necessary step, but the tailings or worm dropping will begin to appear on the surface of your compost heap over time. They look like small spirals of black and dirty spaghetti. You can scrape them off the top and add them to a flowerpot or any other container as an excellent top dressing. Work them into the soil in your pot or container and the next time you water you’ll be delivering a punch of nutrients.
2. Soil Layering and Vermicomposting in the Garden
Okay, this may take more than 10 minutes depending on the size of your garden. But it’s easy enough to shovel the layers over each other and then sprinkle the top with worms. In fact, you might want to put that final topping of dry leaves over your worms to keep the wild birds at bay.
You can use this soil layering and worm combination in just about any garden — whether you’re growing vegetables, flowers, or even a patch of healing herbs. It works especially well with plants like calendula, yarrow, echinacea, and others you’ll find in this Medicinal Garden Kit, since most medicinal herbs prefer nutrient-rich, well-draining soil. Once your layers are in place and the worms are nestled beneath the leaf mulch, you’re good to go.
If planting seeds, you’ll need a top dressing of topsoil or plant them under the dry leaves. Most seeds don’t germinate too well in dry leaves. But don’t despair, the leaves on top will act as a mulch to hold in moisture and get your germination rates off to a fast start. Here’s a cutaway of how layering and vermicomposting works in the garden and notice that we skipped the bottom layer of rocks and started with a layer of sand.
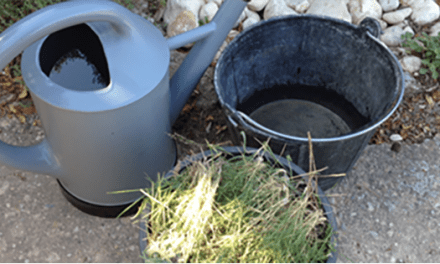
The Compost Tea Setup
The concept of compost tea is new to some, but people have been doing it for centuries. Think of it as ancient Miracle Grow. It’s a liquid concentrated with nutrients and is ideal for potted plants, raised beds or any other growing situation where plants are confined and not exposed to the level of nutrients in an open garden.
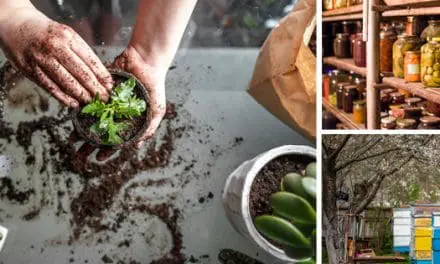
In fact, the Amish have used similar natural gardening methods for generations, without synthetic fertilizers or store-bought shortcuts. Their approach still produces some of the healthiest soil and most abundant harvests I’ve ever seen.
And it’s not just compost tea they’ve perfected. They have many more tricks just like this one.
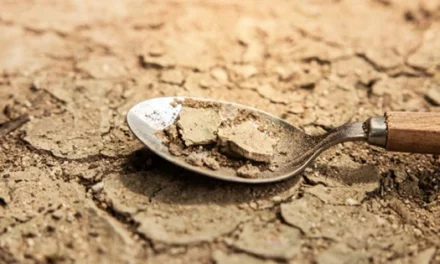
One involves something most people toss in the fireplace…but the Amish sprinkle it in their gardens instead. Another uses an unusual pantry item. Not to feed the plants, but to keep certain critters at bay. There’s also the curious reason behind why they bury fish heads beneath their tomato plants every spring. Sounds strange, I know, but once you see the results, it’s hard to argue.
If you’d like to try some of their methods yourself, there’s a video you can watch where an ex-Amish member walks you through exactly how they do it. From burying unexpected items under their plants, to using simple kitchen and farm scraps to boost soil fertility.
But that’s just the beginning. In the same video, he also shares many other nearly-forgotten tricks he grew up with. Not just for gardening, but also for canning, making natural remedies, and even old-school DIY projects that require no use of electricity. ⬇️
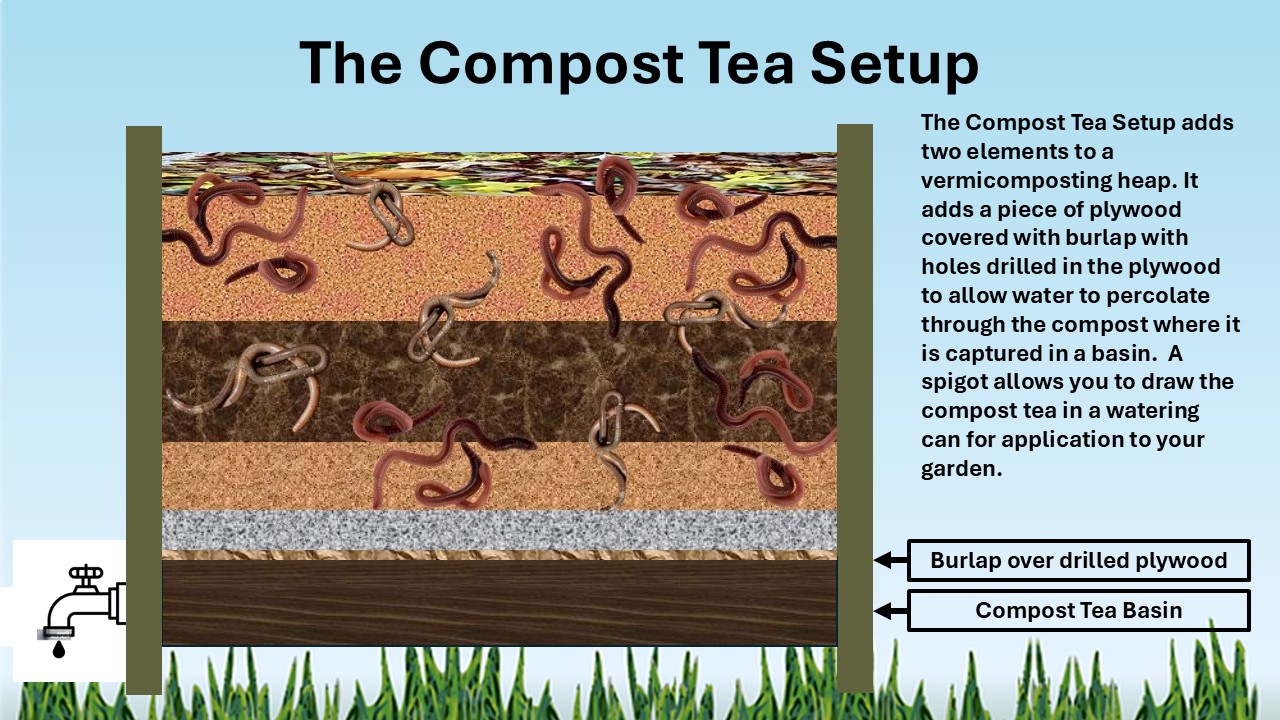
The whole idea is to allow the water you add to your vermicompost heap to percolate through both the layers and the worm tailings. The addition of a sheet of plywood at the bottom of the heap with holes drilled and a layer of burlap allows the compost tea to drip into a tub. A spigot on the side of the tub lets you tap it when you need to give your plants a good dose of nutrients. Here’s a cutaway of how it works.
The only caution with compost tea is to avoid overdoing it. The concentration of nutrients will vary, and you don’t want to burn your plants with too much fertilizer. Try a little and assess the results and if you’re worried about the concentration, you can always dilute it with water.
Revitalize Your Layers Over the Seasons
This is easy to do but it’s not a one and done proposition. As you harvest compost and as your layers decompose, you’ll need to add new layers to revitalize the system. With any luck your worm population will have grown so you might not need to add more worms, but winter can take its toll.
One solution that people have tried is to place plastic bottles filled with hot water on top of their vermicomposters. It can be enough to get your worms through winter but eventually the bottles will chill and freeze, so you have to keep an eye on things.
The good news is that an active compost heap will generate its own heat and that might be enough to get your worms through the cold days of December and January. If not, you just need to either hit the bait shop or get back online and buy another batch or those red wigglers.
Layered Vermicomposting Fails
 Like anything else, things can go wrong. Here are few things to keep in mind to get the best results with vermiculture.
√ Remember to water
Effective composition requires moisture. Plan on watering your compost heap the way you water your garden and potted plants. If you’ve layered your garden that will take care of itself, but a dedicated compost heap is like a potted plant and requires some extra attention.
√ Avoid Plants that Have Been Exposed to Insecticides
If your grass clippings or any plants have been sprayed with insecticides, it can kill or at least cripple your worm population. Most people who garden organically avoid chemicals, but even a basic lawn care treatment can make your grass clippings a problem for the worms.
√ Forgetting to Drain the Tea Tub
If you’re set up to make compost tea, don’t forget to drain the tub regularly. Otherwise, the water level can rise up into the top of the heap and halt decomposition and drown your worms. One solution is to have an overflow valve at the top of the tub. If the water level gets to that point, the tea will automatically drain.
It’s Really Not That Hard to Do
If you’re anything like me and enjoy rolling up your sleeves to figure things out the old-fashioned way, this guide is right up that alley, and I swear by it. It’s full of no-grid projects you can build with just a few basic tools, that work without flipping a switch or plugging anything in. Some of the ideas actually reminded me of the kind of things my grandparents used to do on their homestead.
Once you have your layers set up and your worms feeding, the results are most often very positive. Just remember to keep things moist and dig down from time to time to see how the worms are doing. You’ll be pleasantly surprised by the increase in your harvests, and you can pat yourself on the back for mastering an ancient and organic solution to successful gardening.
You may also like: 
How To Use Weeds To Read Your Soil
How To Build Self-Watering Raised Garden Beds (Video)
Vermicomposting: A Simple Way to Turn Scraps Into Black Gold
Does Potting Soil Go Bad? The “Simple” Answer!
Soil Testing Methods Used By Pioneers That Still Work Today


