Beef tallow is fat that’s cooked down from rump roast, ribs, steaks, or any other cut of meat of the cow.
For this article, I use leaf fat from my local butcher shop which usually surrounds and protects the organs in the abdominal cavity. You can use any type of fat with the two main methods we will be using today.
Tallow is amazingly versatile. It has been used in cooking, for making soap, and candles, as a healing salve and skin balm as well as a lubricant for wood, leather, and metal working. My favorite use is making pie crust.
Historically tallow was used as a lighting medium in the form of tallow dips, tapers, or lanterns as in the earliest street lighting in London.
McDonald’s cooked their fries in tallow until 1990. It even has its own holiday Beef Tallow Day on July 13th.
Since tallow has so many uses it is a must for any homesteaders out there. Tallow is both nutrient and energy-dense. A single tablespoon of tallow contains 110 calories and 12 grams of fat.
As long as tallow is kept at room temperature and properly sealed it will last a little over a year. Just make sure to give it a little sniff test to see if it’s gone rancid.
How To Make Tallow
All you need to make tallow is a crock pot, a muslin cloth, beef fat table salt, a cooking sieve, and a knife.
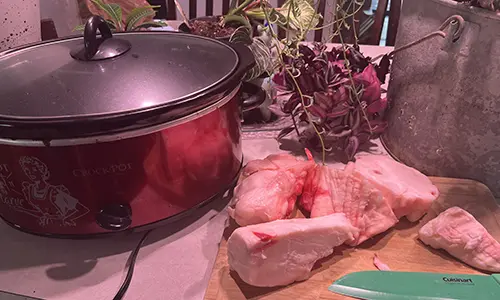
I’m starting off with 3 pounds of leaf fat from my local butcher shop. It costs me $ 4.95 and makes 2 quarts of tallow.
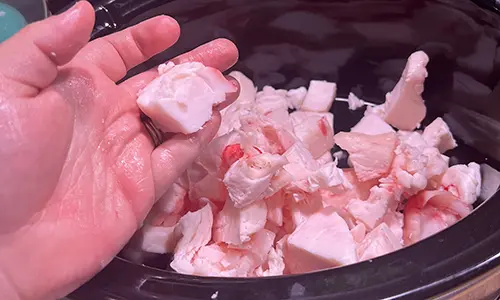
Step 1: We’re going to chop the fat into about inch-sized cubes. We’re using the dry rendering technique first, which is cooking the fat on its own.
We’ll put the fat into the crockpot (or stovetop) on low for six hours stirring every once in a while.
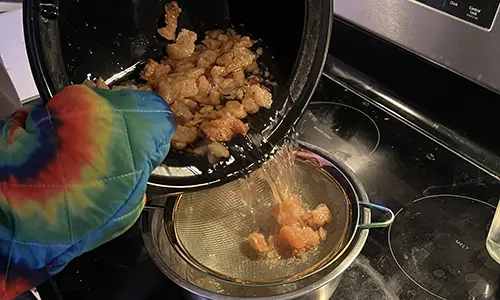
Step 2: Now we’re left with solids and the rendered fat.
You can blend it up and do another dry render for another three hours but the fried fat makes a wonderful little snack called cracklings which my kids can’t get enough of.
So we’ll strain the fat liquids from the fat solids into a mixing bowl, then feed the crackling to the kids.
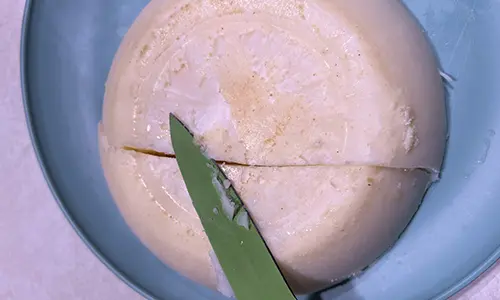
Step 3: We’ll let our first render solidify overnight. Next, we’ll pop the tallow cake out of the bowl and scrape off the bottom of any impurities such as granules or discoloration.
Step 4: Now for the rest of our readers we’ll wet render. Wet rendering is when you add water and salt to draw out as many impurities as you can. The more we render the purer the tallow and the longer it will last.
We’re going to chop the fat up and add it to the pot on the stovetop with 2 cups of water and half a cup of table salt.
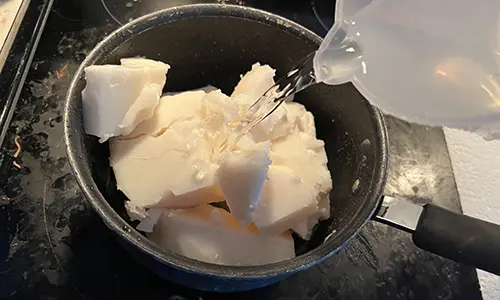
It needs to be on the stove for at least three hours on low heat. Once it’s finished we’re going to pour it into a new clean mixing bowl and stick it back into the fridge to solidify again overnight.
Step 5: Now, just as before, we’ll pull the tallow cake out but this time you can see how the water and fat separated pulling out impurities into the water.
We’re going to give it another scrape and repeat the wet render again for our 3rd render.
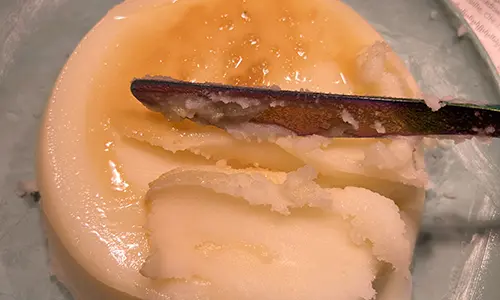
You may have to do more renders depending on how many impurities you get with each render.
This batch is done once I scrape off a few impurities and the water is clear, the tallow is ready to be canned.
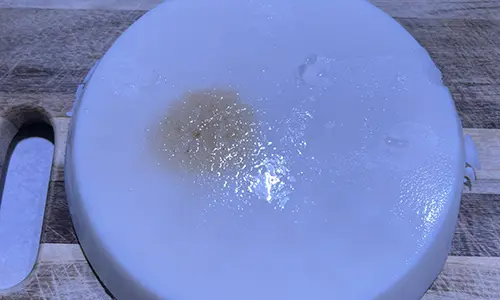
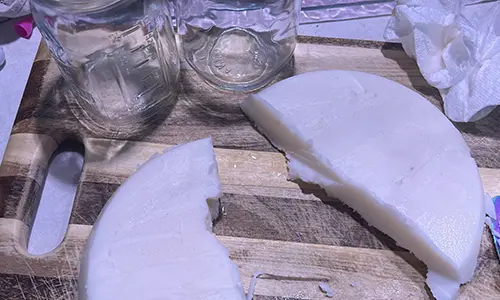
You can reheat it and pour it into the jars but I’m chopping mine up to triple-check for impurities and put it into the cans.
Pressure Canning Tallow
We’re going to use the pressure canning method to preserve our tallow. Pressure canning is the only safe method of preserving low-acid foods.
Low-acid foods include vegetables, meats, fish, and poultry. Pressurized steam creates the needed temperature of 240 degrees Fahrenheit or higher which will destroy the bacteria present in the tallow.
Step 1: Fill your pressure canner with 3 inches of hot water. Unlike the water bath method, the jars don’t have to be fully covered. It is imperative to have adequate water level or risk damaging your pressure canner.
Step 2: Put a rack at the bottom of the pressure canner and add your jars. The stew will be hot so I recommend using jar tongs to avoid burning yourself or dropping the jars.
Step 3: Turn on the heat to high on your stove. Pop the lid of the pressure canner and tighten the seal.
Related: Long Lasting Oils You Should Stockpile Right Now
Step 4: Once the vent starts steaming, set the timer to 10 minutes.
Step 5: When the venting period is complete, use an oven mitt to place the weighted gauge on the canner.
Step 6: Turn the stove to low heat. Process filled jars in a pressure canner at 10 pounds pressure for 25 minutes.
Step 7: Release pressure from the pressure canner. Remove the jars carefully with jar tongs and allow the jars to cool. Check for the seal
Tallow should be on all homesteaders’ needs list along with a Swiss multitool pocket knife and flint. It can do almost anything.
When S.H.T.F. you can’t go to the store and buy soap, but you can make it with beef tallow.
If food supply is low it can be an important source of calories and nutrition. Tallow can light your way when used to make candles. Above all else, it makes the best pie crust so no matter the situation you can raise morale.
Making tallow is an easy process that reaps one of the most valuable things you can have in your pantry.
This article first appeared here.
You may also like:
What Not To Do When You Go Off-The-Grid
How To Make The Invisible Root Cellar (Video)
Survival Tricks Learned from Homeless People
50 Uses For Aluminum Foil In Your Homestead
Livestock Animals You Should Start Raising For The Upcoming Economic Crisis

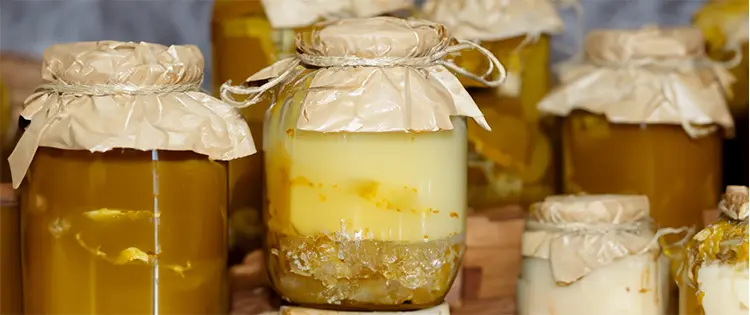


I rendered 14 kilos of ‘Grasa de Pecha’ (I guess it translates as Chest Fat) over a very low flame, for about 4 hours. Strained out the solids, let it cool, and put it in wide mouth jars. I just used the last of it, after two years. Kept it in a cabinet, dark and away from sun. I was just fine. I had the butcher grind it, as I think you get more oil.
I live at 8500’ and always pressure can at 15# usually for 30 min
I have never pressure canned tallow and I’m worried they may explode? Has anyone pressure canned tallow at 15#
Also my jars all sealed just from the hot oil itself. Any thoughts?