Canning most foods is nothing new to most preppers. Yet, only a few of you know that you can also can your bread. You heard that right. Bread can also be canned and preserved for two to five years. Some even claim that the period can be extended up to ten years. Let me show you how to make bread last for longer.
Imagine having such a staple food always ready whenever you need it. You can have it with any meal a day, accompanied by whatever you like.
I used to be hesitant before trying it, fearing it would be a little too complicated to make or even time-consuming, but, to my surprise, it was quite the opposite. I found the process to be really simple, fast, and easy.
It turned out that making canned bread is as simple as making regular bread. The only difference lies in using canning jars instead of regular baking trays.
The thing I love most about bread recipes is how extremely versatile they can be. Therefore, feel free to use any recipe that you like, or simply substitute ingredients or add and let go of other ones, adjusting to your preferences and available products.
Before getting to the recipes, here are some important instructions for making canned bread.
You should use wide-mouthed jars. It will help you get your bread out easily once it has been cooked, without messing up its shape or damaging it.
Sanitize your jars properly before using them. We don’t want any dust or germs in our bread. Make sure you have your jar lids ready to seal immediately after it’s cooked to avoid air from getting in.
How To Make Bread Last For Up To 5 Years: Ingredients
I chose to make carrot bread. The recipe I used makes about 6-8 jars, depending on the size.
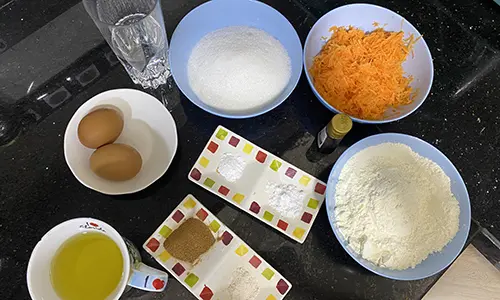
I cut the recipe in half this time. Feel free to double it or adjust it to your needs. To make this bread you will need:
- 2 cups of sugar
- 1 cup of vegetable oil
- 3 large eggs
- 2/3 cup water
- 1 teaspoon baking powder
- 2 teaspoons baking soda
- 1/2 tsp salt
- 1 tbsp cinnamon
- 2 c. grated carrots
- 3 cups flour
- 2/3 cup nuts/ raisins/ chocolate (optional)
- 1 tsp vanilla extract (optional)
Alternative Ingredients
As I said before, feel free to substitute carrots with any available ingredients, whether it’s a fruit, a vegetable, or a sauce. You can also add any type of nuts, chocolate, or dried fruit. Whatever you and your family fancy.
When it comes to how to make bread, the possibilities are endless. You can get creative with the ingredients. For example, you can use 2 cups of shredded zucchini, mashed bananas, shredded apples, canned or cooked pumpkins, pineapples, or peaches instead of carrots.
You can also use 1 can of cranberry or pineapple sauce, or mix ingredients like bananas and apple sauce together with raisins and nuts. It’s all about experimenting and making it your own. Have fun with it!
If you can find shortening, it makes a great substitute for oil as it doesn’t go rancid as quickly. If not, oil works fine, and I personally always go for vegetable oil since it’s flavorless and affordable. Some recipes also call for coconut, avocado, or olive oil, though these have a strong flavor. If you don’t mind that taste, go ahead and use them. But for a more neutral flavor, vegetable oil is your best bet.
How To Make Bread Last For Up To 5 Years: Directions
1. Preheat your oven to 325 degrees.
2. Prepare your jars by sterilizing them and greasing them using any oil of choice, nonstick spray, or butter.
I used soap and hot water for the sterilization and coconut oil for the greasing. Then, place them on a baking tray, ready to be filled.
3. In a large bowl, cream the sugar and oil. Add in your eggs, mixing well.
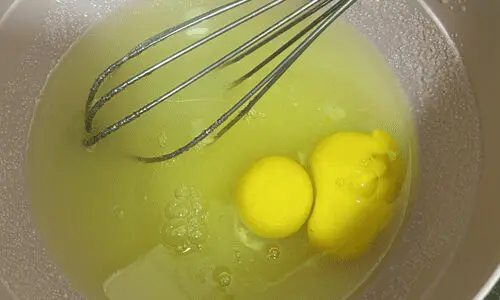
4. Add water and vanilla extract. Then add in the carrots or your ingredient of choice.

5. In a separate bowl, mix all the other dry ingredients. Add the wet mixture to them and blend.
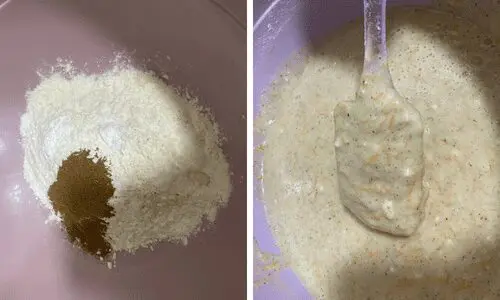
6. Lastly, stir in your nuts or raisins. I used a mix of walnuts almonds and raisins.
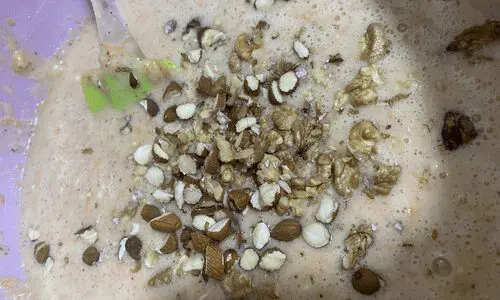
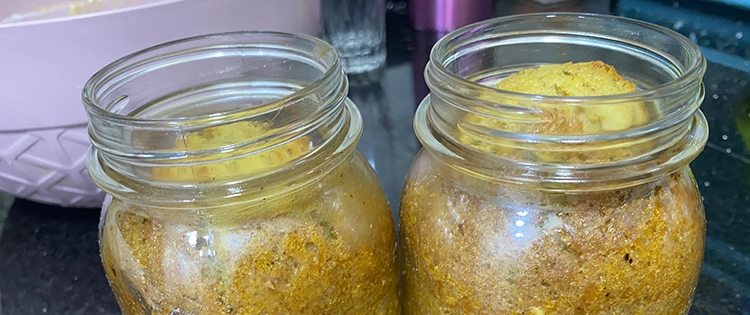
7. Pour the mixture into the prepared jars, filling them only halfway through. If you overfill them, the batter will overflow and your jar will not seal well.
Related: How to Bake Bread Off-Grid
It’s okay if you make a mess too. Just wipe off the tops of the jars ensuring there is no batter on the tops.
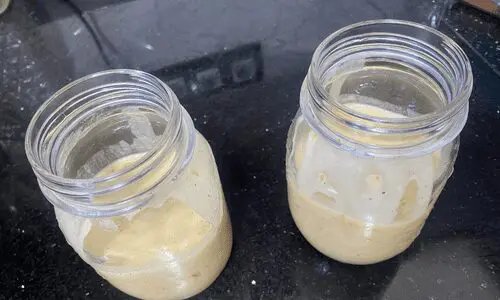
8. Bake them in the oven for 45 to 60 minutes, or until a toothpick comes out clean. It took mine about 50 minutes to be ready.
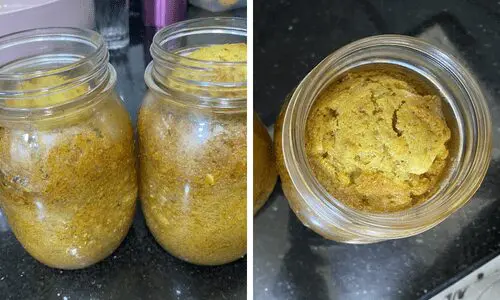
9. When done, remove the jars one at a time. Wipe the rim with a cloth to clean it and then place the lid on your jar, sealing and securing it. Repeat with the remaining jars.
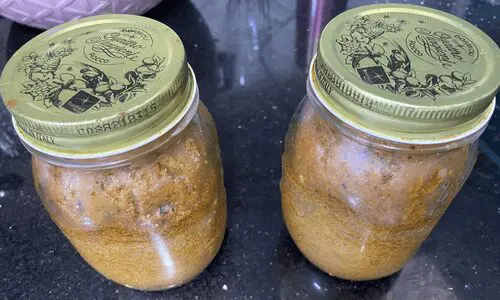
10. Put your jars back in the oven until they completely cool down. The heat helps them seal better.
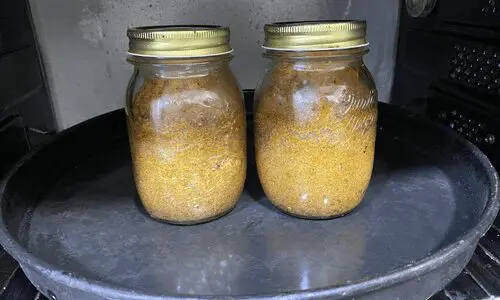
After they have cooled down and you take them out, place them in a dry, dark place until ready to be consumed, and enjoy. If sealed right, canned bread will last you for 5 years on a shelf.
I made this bread two different ways. Both times, the final product was absolutely delicious, and we devoured a couple of jars within weeks, saving the rest for later.
Now, I know there are people who find it hard to trust canning that much, so if you’re wondering how to make bread ahead of time and save time, there’s another alternative way to do it.
Related: Survival Bread To Make In An Emergency
Make your own dry mix in jars. You can combine all the dry ingredients, mix them well, and leave adding the wet ingredients, such as eggs, water, and oil, until you are ready to use.
When that’s the case, you transfer your dry mix into a bowl, just like you would a store-bought one, add in the wet ingredients, mix, and then pour into an oven pan to bake.
If you’re wondering how to make bread this way, it’s simple and convenient. Just follow the same steps as you would for cakes or other baked goods.
If you opt for this method, make sure you mention each jar’s ingredients on a note attached to it, along with the dates, ingredients to add, and any other useful information.
This also works for cakes. A tip to extend your mix’s shelf life is to add a commercial oxygen absorber to it.
This article first appeared here.
Stop Throwing Away Stale Bread. Do This Instead
The Succulent Red Plant That Tastes Like Bacon (Video)
10 Canning Recipes From The Amish

