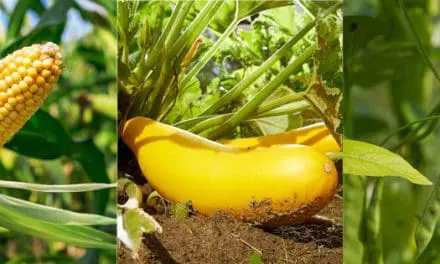
Ginger has been cultivated for thousands of years, prized for both its culinary punch and its medicinal value. But it’s not just for tropical farms or grocery store shelves—you can grow it right at home with a bit of planning and patience. Whether you’re homesteading full-time or just building your backyard skills, learning how to grow ginger is a step toward greater self-sufficiency.
Let’s break down the full process from rhizome to harvest.
Why You Should Grow Ginger
If you’re aiming for a more self-reliant lifestyle, ginger is a must-grow. It stores well, offers incredible health benefits, and adds flavor to everything from teas to stews. But more importantly, it’s a powerful home remedy. Ginger is known to help reduce inflammation, settle upset stomachs, boost immunity, and even ease cold symptoms.
It also grows well in containers, making it perfect for small spaces, patios, or indoor setups. Once you learn the basics, you can keep a continuous supply year-round with very little maintenance.
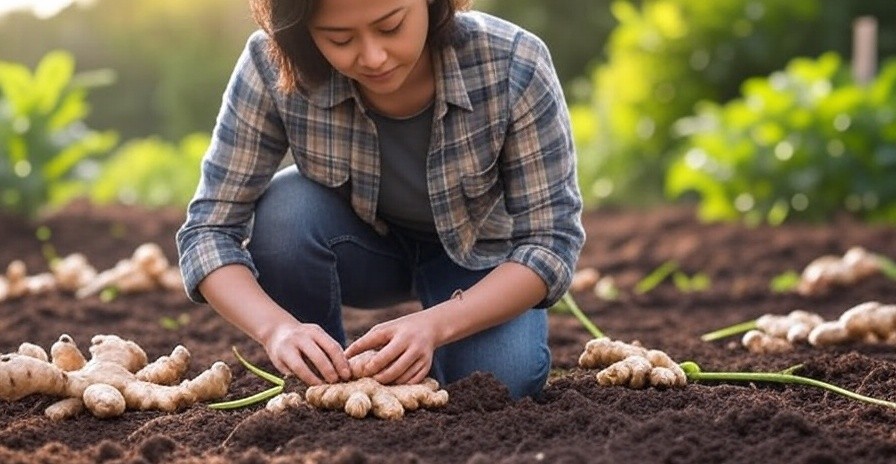
Step 1: Find Your Ginger Rhizomes
Ginger isn’t grown from seeds. Instead, you’ll start with the rhizome, what you see sold in stores as the “root.” You can plant store-bought ginger, but look for organic varieties to avoid chemical growth inhibitors. Better yet, buy seed ginger from a nursery or gardening supplier to ensure clean, viable pieces.
Look for plump, firm rhizomes with well-developed eyes (small nodules that resemble potato eyes). Each piece you plant should be 1 to 2 inches long with at least one good bud.
Step 2: Prepare Your Ginger for Planting
Before you plant, soak the ginger rhizomes in warm water for 8-12 hours. This helps wake them up and softens the skin, encouraging sprouting. If your climate is cooler, you can pre-sprout ginger indoors in trays or seed starting pots to give it a head start.
Once you see buds forming, it’s time to get them in the soil.
Step 3: Choose the Right Containers (or Beds)
Ginger can be grown directly in raised beds or in containers at least 12 inches deep. Containers give you more control over temperature and moisture, ideal if you live in a colder climate. Plastic, ceramic, or even recycled buckets work fine, as long as there’s good drainage.
If you’re planting outdoors, choose a sheltered area that gets morning sun and afternoon shade.
Step 4: Use Rich, Loose Soil
Ginger thrives in well-draining, nutrient-rich soil. Mix compost with loamy garden soil and a bit of sand for improved drainage. Avoid heavy clay or soggy soil, which can rot the rhizomes. A slightly acidic to neutral pH (around 6.0 to 6.5) is ideal.
If you’re planting in containers, a homemade mix of 2 parts compost, 1 part coco coir or peat, and 1 part perlite or sand works great.
Step 5: Plant and Water Carefully
Plant ginger rhizomes 2-4 inches deep, with the buds facing up. Space them about 8 inches apart to allow room for spreading. Water thoroughly after planting, but don’t let the soil stay soggy. Ginger likes moisture, but too much standing water leads to rot.
Keep the soil consistently damp, especially in hot weather. A layer of mulch helps regulate moisture and temperature.
Step 6: Keep Your Ginger Growing Strong
Ginger takes its time. You’ll see shoots emerge in 2-3 weeks, but it may take 8-10 months to reach full maturity. During the growing season:
- Water consistently, especially during dry spells.
- Feed with compost tea or a balanced organic fertilizer monthly.
- Mulch heavily to keep weeds down and moisture up.
- Protect from direct afternoon sun in hotter climates.
If your season is short, bring containers indoors when nighttime temperatures drop below 55°F.
Step 7: Harvest and Store Your Ginger
You can start harvesting baby ginger in about 4-5 months, this is milder and more tender. For mature ginger with full flavor and medicinal properties, wait 8-10 months. The leaves will start to yellow and die back, signaling it’s time.
Carefully dig up the rhizomes with your hands or a small trowel. Rinse off the soil and let them air dry in a cool, shaded spot.
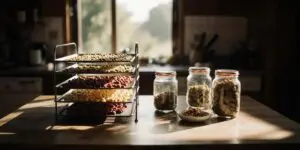
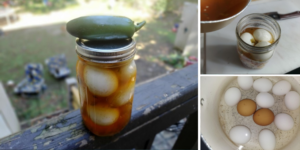
Store ginger in a cool, dry place or freeze it for long-term use. You can also dehydrate it or steep it in honey for a powerful home remedy.
Want to Learn More About Ginger’s Healing Power?
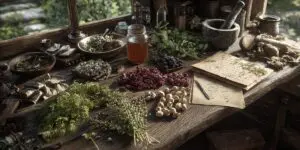
Ginger isn’t just food, it’s medicine. Centuries ago, healers used it in everything from poultices to tonics. Those forgotten recipes still work today—and you’ll find dozens of them in The Forgotten Home Apothecary.
This book is a treasure trove of ancient remedies, with step-by-step instructions to make your own tinctures, teas, and salves at home. If you’re serious about self-sufficiency, knowing how to use what you grow is just as important as knowing how to grow it.
➡️ Get your copy here and start using ginger the way your great-grandparents did.
Final Thoughts
Growing your own ginger is a rewarding step toward food independence and natural health. It doesn’t take much space, and with a bit of planning, you can enjoy a steady supply all year long. Whether you’re looking to spice up your cooking or stock your home apothecary, ginger is one of the most useful plants a self-sufficient gardener can grow.
It’s low-maintenance, high-value, and full of purpose – exactly what every prepper or homesteader needs in their garden.
You may also like:
No Seeds Needed! How to Grow Tomatoes from a Single Slice
The Easiest Way To Tell Apart Edible Plants and Their Poisonous Lookalikes (Video)
Growing Kunekune Pigs: A Practical Guide for Self-Reliant Homesteads
How to Grow an Endless Supply of Food in Thin Air
How To Grow An Emergency Garden


