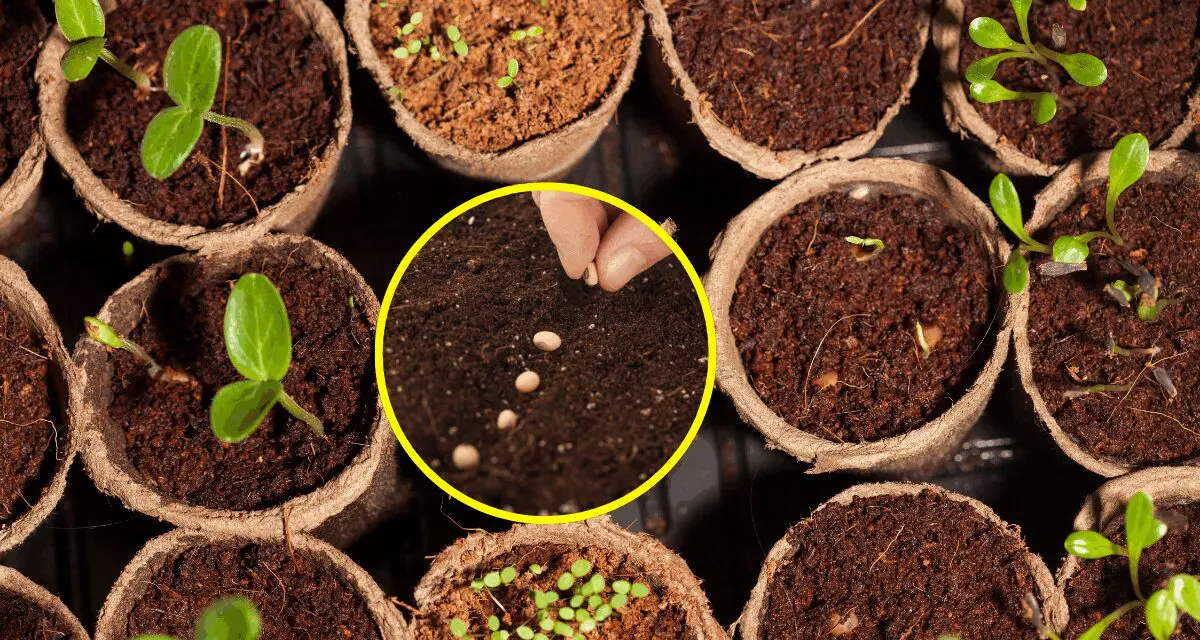
Throughout the growing season and into the fall our gardens often provide us with a regular harvest of fruits and vegetables. We carefully cook them, prepare them and often preserve them. But while we’re harvesting the fruits of our labor, how often do we think to harvest the seeds.
Seeds Aren’t Getting Cheaper
Sticker shock has come to your garden center. It’s not uncommon to pay up to $3 US for a single packet of the most basic seeds. And when we open the seed enveloped how often does shrinkflation show up as only 15 to 20 seeds tumble out of the package. For an ambitious gardener the seed costs alone get up to $100 or more.
Seed Harvesting is Simpler Than You Think
Let’s start with some of the simplest seeds to harvest. Peppers top the list.

The seeds are all attached to either the pith ribs or a central core running through the pepper.
They’re easy to remove onto a paper plate and exposure the air and especially the sun will dry them out in days.
Melon and squash seeds are another easy harvest. Buy a seeded watermelon and they are black and easy to spot and pick out. The same is true for Butternut squash, corn squash, pumpkins, spaghetti squash and more. Melon and squash present hardened seeds that are easy to pick out and easy to dry on one of those paper plates.
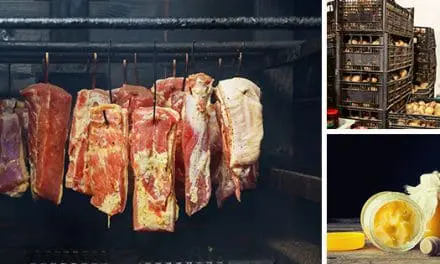
Pit fruits are another easy harvest, but you have to break the pit in a vice to get to the seed inside. They’re also referred to as “stone” fruits sometimes.
>>> The Amish Medicinal Garden You Should Have in Your Backyard <<<
A vise with the seams of the pit on either side of the jaws will crack open into two halves revealing the seed inside. Getting to that seed inside will increase the chances of germination. This requires a bit of effort but if you put a peach pit or nectarine pit in a vise you’ll make short work of cracking those stones.
Other pit fruits include plums, apricots, mangoes, dates and avocados. If any of those are on your grow list, get out in the garage and get that vise going.
Beans and peas are another easy harvest but require a drying period that may take longer than smaller seeds like peppers.
Harvesting Some Seeds Can Also Be a Bit Challenging
Tomato seeds are a good example. They are surrounded by a gelatinous layer that prevents the seeds from germinating inside the tomato. You have to ferment tomato seeds and dry them if you want them to germinate. We’ll get into the whole process and method a little later in this article.
Apple seeds are another example. They need to actually be refrigerated for a period of weeks before they’ll germinate. This is another defense mechanism to prevent apples falling from the tree in Autumn from germinating into a sapling that will die in the winter.
Cucumber seeds also need some processing, but none of this is terribly difficult if you have a bit of patience.
Start Stockpiling Your Seeds
Inside A Navy SEAL’s Bug-In Guide, you will discover exactly which seeds could save your family when every grocery store is empty and help is days or weeks away. It starts with the heirloom varieties that reliably produce food year after year, even when supply chains collapse or chaos hits your town. You’ll also learn how to store them so they remain viable for decades, even without perfect conditions, or electricity.
You’ll see which seeds can keep your family fed in a long-term crisis, and which ones could leave you with nothing when it matters most. This isn’t about gardening as a hobby; this is about survival. Choosing the wrong seeds to stockpile could mean going hungry when disaster strikes.
- Besides what I’ve mentioned so far, here are some other things you’ll find inside
- The Under $1 Walmart Canned Goods You Absolutely Need to Add to Your Food Reserves
- A Meal in a Jar That Can Feed You for a Week
- How to Make the Ultimate Survival Food with a 25-Year Shelf Life
- What Item You Should Remove from Your Pantry Immediately
- How to Hide That You Still Have Power Left in a Blackout
- What Great Depression Foods We’ll Be Eating Again Soon
- How to Use a Car Battery to Power Up Your Radios
- What Happens if You Take Expired Medications
And so much more!
The author has printed only a limited batch of copies this time, and once they’re gone, they’re gone for good. Don’t risk your family going hungry. Secure your copy today. You can access my personal discount from the button below!

Drying Your Home-Harvested Seeds
There are a couple of options for drying seeds. Just putting them on a paper plate or paper towels in a warm, dry location will do the trick. Putting them on a black plastic plate in the sun will dry them quickly. Put them in a sunny spot by a window. Drying them outdoors in the sun can also work but that could make them vulnerable to birds and squirrels. An enclosed sun-dryer can work or even a food dehydrator on a low setting. (You don’t want to cook them).
Packaging Home-Harvested Seeds
Envelopes are the standard package for seeds. They keep them dry and the paper will absorb any residual moisture. You could also store them in jars but if there’s any residual moisture in the seed they could sprout in the jar. A moisture desiccant package in the jar could help.

You Can Also Harvest Seeds from Store-Bought Fruits and Vegetables
If you’re planning to plant something next season but failed to plant it in your garden this year, there’s another option. Many fruits and vegetables in the produce section of your local grocery store can provide you with plenty of seeds. Look for the heirloom varieties. They’re more likely to germinate. Fruits and vegetables that are hybridized sometimes won’t germinate or you’ll end up with a totally different variety. You could always roll the dice and try it, but more and more fruits and vegetables in produce sections are hybrids.
Easy Seed Harvesting 101
Here’s a review of the easy seeds to harvest from your garden or the store. Some won’t be available at the store because the stems of many root vegetables that hold the seeds are cut off, and even some vegetables with the leaves attached won’t provide seeds because the vegetable is harvested before they go to seed:
You can collect seeds from all varieties of peppers, beans, and peas (just shell and dry them in the sun), radishes, beets, dill, oregano, and fennel when allowed to bolt and go to seed, as well as from fruits like blackberries, raspberries, and grapes (dry the berry or flick out the seeds). Corn seeds can be removed once the cob is fully dried, and all melons and squash can be harvested by rinsing, rubbing, and separating the seeds from the pith.
Seed Harvesting 201 – The Tough Guys
We mentioned tomatoes and apples earlier and they present two of the basic challenges for seed harvesting. We’ll start with tomatoes.
Harvesting Tomato Seeds
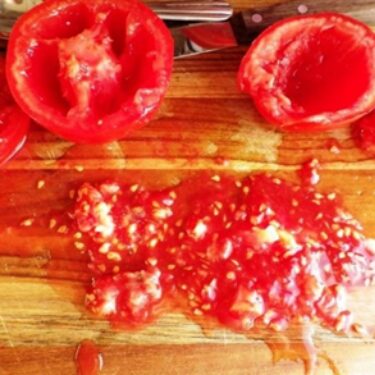
Cut the tomato in half and pull out the seeds and the gelatin surrounding them.
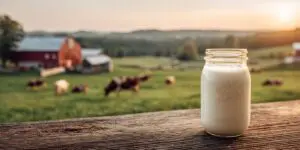
You then need to ferment the seeds. That will dissolve the gelatin allowing you to separate the seeds. You do this by placing the seeds and the gelatin in a mason jar and filling it with about an inch of water.
Put the cap on the jar loosely and let sit in a warm place for about a week. After a week, pour the mixture into a fine met strain and under running water rub the gelatin through the strainer. Once the seeds are released from the gelatin, place them on a plate to dry.
Once dry, package them in an envelope and label and date it.
Harvesting Apple Seeds
Cut the apples in half and carefully pick out the seeds with a toothpick. You may need to cut the apples into quarters to get to any buried seeds.
Check the seeds over and toss any that don’t look right, are misshapen or have been accidentally nicked by your knife. Once you’ve collected your best seeds, rinse them in a strainer under cold water. Some seeds actually have a coating that prevents them from germinating inside the fruit, and if your apple variety has this coating rinsing will wash it away.
Cold Stratifying the Apple Seeds
This is all about tricking the apple seeds to think winter has passed and it’s okay to germinate. To start, moisten a paper towel and spread around 12 seeds across one side of the towel.
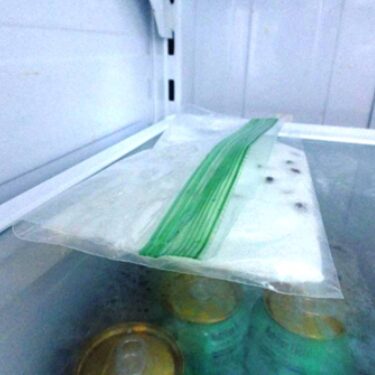
Fold over the top of the paper towel to cover the seeds and place in a plastic sandwich bag.
Leave the top of the plastic bag partially open and place the bag flat somewhere in the back of the fridge.
The best temperature is between 36 and 38 degrees, but do not let them freeze. You can also stack additional bags one on top of the other. After 6 weeks you’re ready to dry the seeds on a paper plate. Once dry, store in an envelope and you’re done.
Storing Your Seeds
The key to storing seeds in envelopes is to store them in a dry location. You can put them all into a plastic box but leave it open. Don’t put a lid on it. The top shelf of a pantry or closet is a good spot. You don’t want moisture to get to the envelopes. You want to keep those seeds dry until it’s time to plant.
Keep Experimenting
Once you get in the habit of harvesting your own seeds you’ll find yourself looking every cut fruit or vegetable in a whole new way. Take the time to harvest the seeds and dry them when you can. Before you know you’ll have a significant seed bank that will always keep you in the seeds and save you a lot of money.
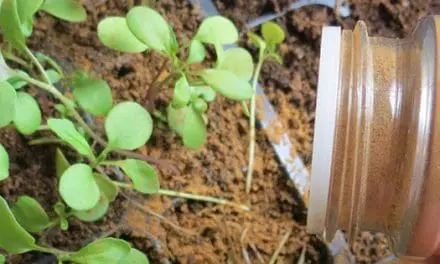
If you want to be ready when grocery stores run dry and help is days—or weeks—away, building a seed stockpile is critical. Start with plants that don’t just grow—they give you seeds you can save to keep your garden producing year after year. Medicinal herbs like calendula, chamomile, and yarrow are perfect for this. Their deep roots protect and improve your soil, their leaves return nutrients to the ground, and their flowers attract pollinators—while giving you plenty of seeds to harvest and store for future planting.
These herbs aren’t just good for the soil—they’re practical survival tools. Calendula soothes burns and cuts, chamomile can calm digestion and support sleep, and yarrow helps with wounds and inflammation. By planting them now, you’re not just improving your garden—you’re creating a reliable, renewable supply of natural remedies and seeds that could feed your family when disaster strikes.
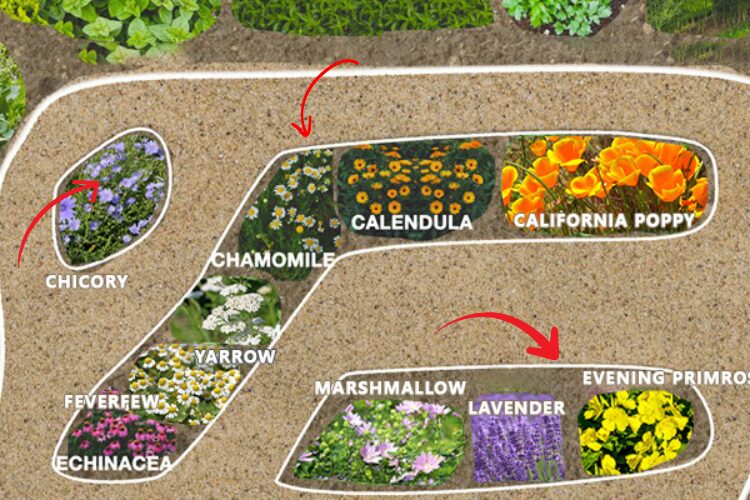
This kit makes it simple. It includes non-GMO, carefully selected seeds with step-by-step instructions for planting, harvesting, and storing each one. Each kit is prepared by a trusted herbalist, giving you high-quality plants that strengthen your soil, attract pollinators, and help you build a seed stockpile your family can depend on in a crisis.
🌱 Supplies are limited. Secure your kit today before it’s too late, and make sure your garden is ready to keep your family fed when it matters most.
You may also like:
The SHTF Medicinal Garden You Should Have in Your Backyard (Video)
10 Medicinal Seeds You Should Start This Winter
No Seeds Needed! How to Grow Tomatoes from a Single Slice
20+ Must-Have Seeds For The Upcoming Crisis


