As a homesteader, ensuring the long-term shelf stability of your food supplies is a top priority. One essential protein source that deserves your attention is sausage—a versatile ingredient that can be used in meals from breakfast to dinner. Home canning sausages is a great way to preserve this protein for months, ensuring you always have a ready supply on hand.
Pressure canning is a great way to preserve food, ensuring its safety and extending its shelf life. Canning sausage helps homesteaders avoid the need for refrigeration, reduce waste, and make the most of limited storage space.
If you think your sausage canning method is foolproof, you might want to check out this Amish recipe. It offers some unique tips and tricks that might take your preservation skills to the next level, ensuring your sausages last even longer
Canning sausage isn’t just a practical way to store protein-rich food; it also guarantees its longevity and safety. By following these simple steps, using the right equipment, and taking the necessary safety measures, you can confidently prepare and store different sausage varieties for future use.
Equipment Needed for Home Canning Sausages
- Glass canning jars with lids and bands
- Pressure canner
- Wide-mouth funnel
- Jar lifter
- Magnetic lid lifter
- Spatula or bubble freer
- Skillet or griddle
Home Canning Sausages Safety Precautions
- Ensure all equipment is thoroughly cleaned and in good working condition.
- Follow proper food handling and hygiene practices.
- Use only fresh, high-quality sausage.
- Discard any sausage that shows signs of spoilage before canning.
- Always follow approved canning methods and times for your specific altitude.
- Never consume canned food with an unusual odor or appearance.
Home Canning Sausage Links
If you don’t buy sausage from a store for canning to preserve long-term, you’ll probably be using butchering bags like these—or your butcher will. They hold one pound of meat.
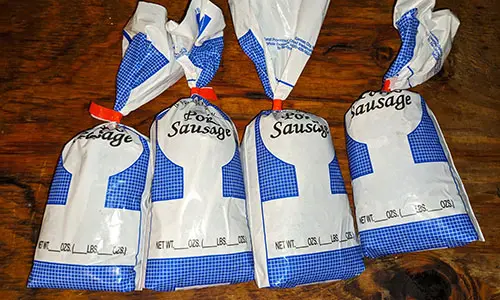
Prepare sausage links: Take a portion of raw meat, about the size of a half-dollar, and shape it into a link by gently squeezing it in your hand.
For more uniform links, like those you might buy at the store, roll them back and forth on a cutting board. The goal is to make the links as similar in size and weight as possible.
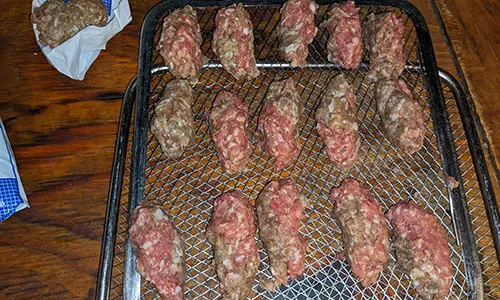
Brown the sausages: Brown the sausages in either an air fryer or a cast iron skillet. The browning method won’t impact the canning process—just make sure they’re thoroughly browned.
Prepare the canning jars: While the sausages are browning, get your pressure canner ready. Preheat your oven to its lowest setting to warm and sterilize the canning jars. I typically set the oven to 200°F and leave the jars in there for about 15-20 minutes.
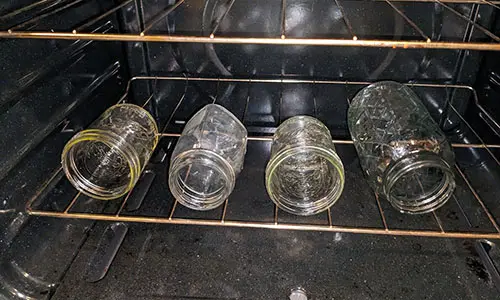
Now, I know some folks are wary of putting canning jars in the oven because they’re worried about them bursting or “blowing up” and causing harm. If you have any concerns, feel free to skip this step and clean the jars however you prefer.
Related: Pioneer Recipes Every Homesteader Should Learn
Fill the jars: Once the sausages are browned, transfer them into Mason jars. Wide-mouth jars are great for sausage links. Use tongs to move the browned sausages into the jars, allowing any extra grease to drip onto a paper towel for a minute.
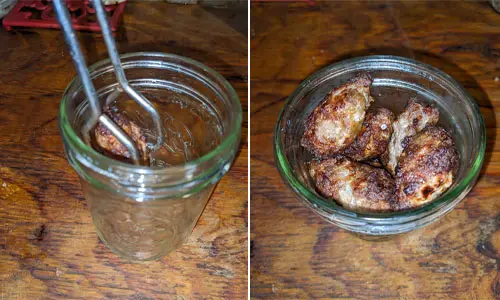
Fill the jars, leaving about 1 inch of headspace. Remove any air bubbles with a bubble freer or a plastic spatula. Wipe the rims of the jars with a clean, damp cloth, then place the lids on and tighten the bands until they’re finger-tight.
Load the pressure canner: Carefully place the filled jars into the pressure canner. You can either add hot or boiling water beforehand or bring the water up to temperature after the jars are in. Just make sure not to place a cold Mason jar into boiling water, as it could crack.
Different pressure canners have different ways of locking. Make sure the lid is securely attached before processing.
Related: Canning $5 Amish Stew
Our pressure canner is vintage and uses an old-fashioned metal locking ring that you must manually tighten after placing the lid on top of the pot to secure it.
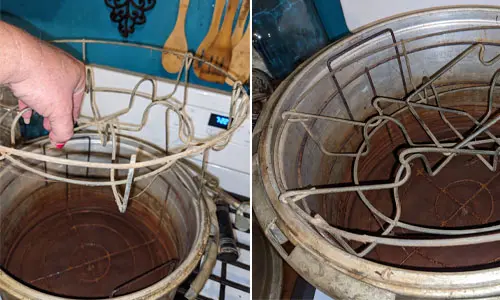
Process the jars: Follow the recommended processing time based on your altitude and the manufacturer’s guidelines for your canner. Once processing is complete, turn off the heat and allow the pressure to naturally return to zero.
Cool and check seals: Carefully remove the jars using a jar lifter and place them on a towel-lined surface. Let the jars cool undisturbed for 12-24 hours.
After they’ve cooled, check the seals. If any jars are unsealed, refrigerate them and consume them within a few days. Properly sealed jars can be stored in a cool, dark place.
A root cellar is an excellent choice for this purpose, as it provides consistent low temperatures and keeps the jars away from light. If you don’t have one, here is a cheap and easy way to build a root cellar in your backyard.
Canning Crumbled Sausage
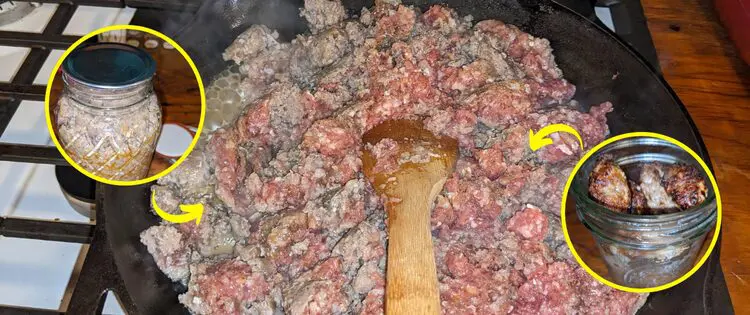
Cook the crumbled sausage completely until browned. Drain the excess fat by placing the sausage on paper towels. Allow the crumbled sausage to cool completely before canning.
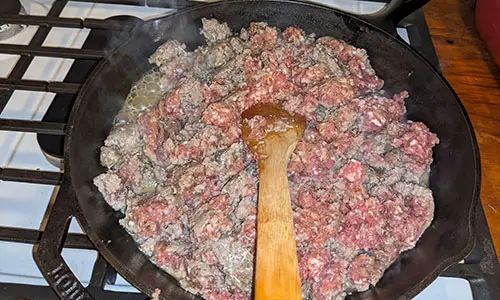
To can crumbled sausage meat, simply follow the same instructions provided for the sausage links.
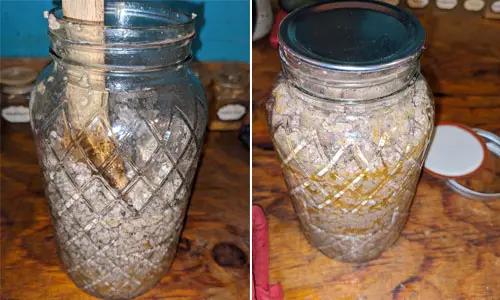
Follow these steps and safety precautions to successfully can sausage links and crumbled sausage for your pantry.
In times of disaster, when fresh ingredients are scarce, canned sausage becomes a valuable resource. Experts agree that keeping a variety of preserved foods is essential for emergency preparedness. Home canning sausages provides a reliable, protein-packed ingredient to sustain families during tough times.
With its versatility and high protein content, canned sausage enhances meals, offering comfort and sustenance when resources are limited. Start home canning sausages today and gain the peace of mind that comes from having a dependable protein source ready for any emergency.
Civil War Recipes That We Will All Be Eating Again Soon
How the Amish Can Bread in Mason Jars (Video)
6 Foods You Should Bury in Your Backyard

